
 Introduction:
A loose kitchen faucet can be an annoying issue, causing water leakage and inconvenience during daily use. Knowing how to tighten a kitchen faucet can help you address this problem quickly and effectively. In this comprehensive guide, we will provide a step-by-step approach to tightening a kitchen faucet. By following these simple instructions and using basic tools, you can secure your faucet and prevent further leakage or damage.
 Some common types:
There are various types of kitchen faucets available to suit different needs and preferences. Here are some common types:
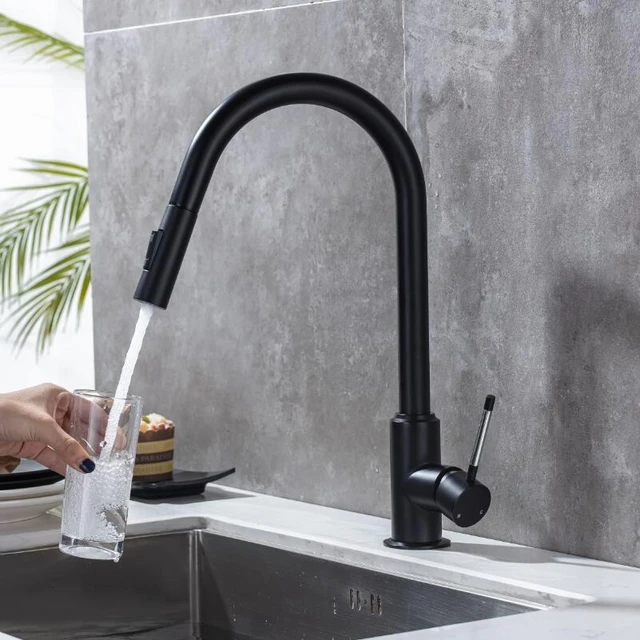
Single Handle Faucets:
Single handle faucets, also known as single-hole faucets, have one lever responsible for controlling both the flow and temperature of water. They are compact and easy to operate, making them a popular choice for many kitchens.
Double Handle Faucets:
Double handle faucets have separate handles for hot and cold water controls. They offer precise control over the water temperature and are available in a variety of designs and styles.
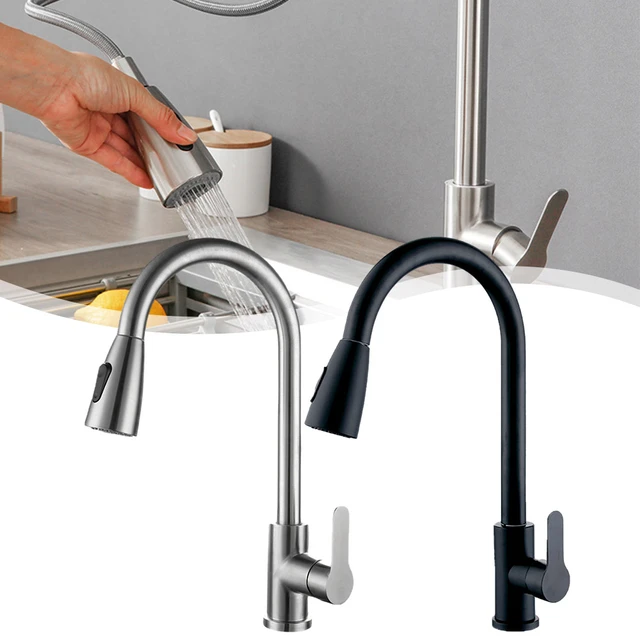
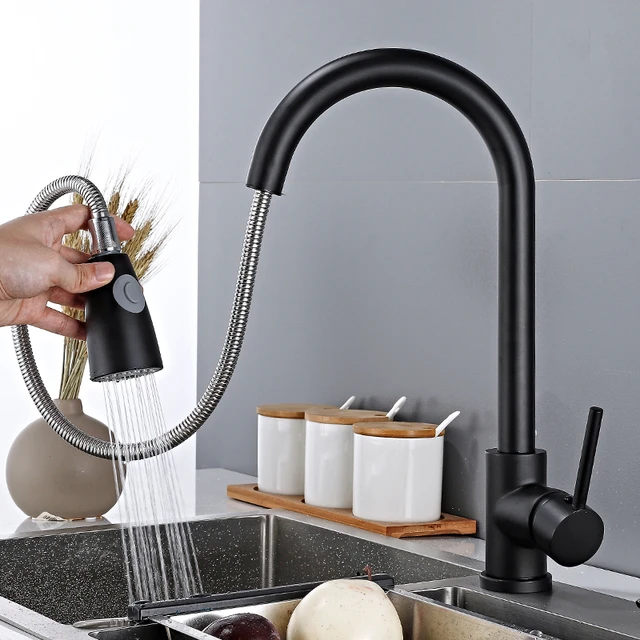
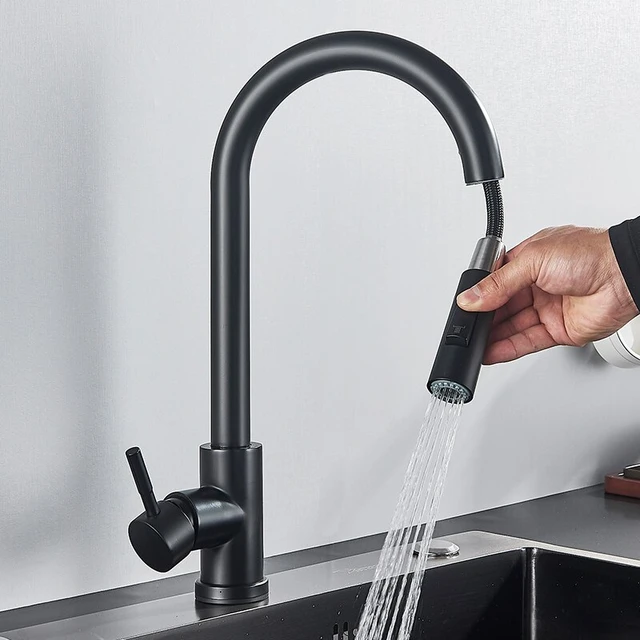
Pull-down Faucets:
Pull-down faucets feature a spray wand that can be pulled down directly into the sink. They are convenient for tasks like washing dishes or filling pots, as the spray wand can be maneuvered around the sink area.
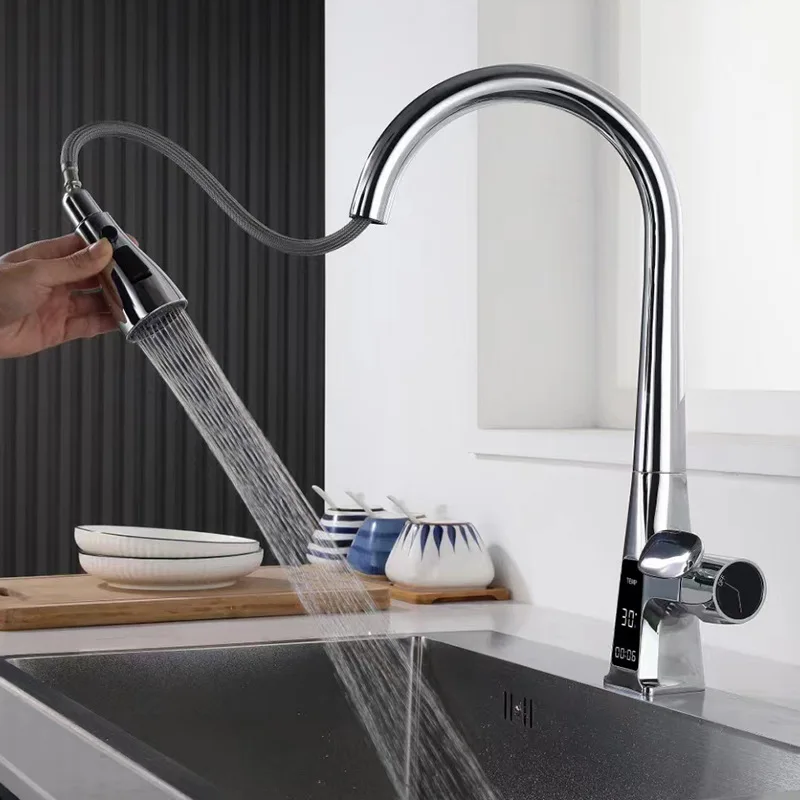
Pull-out Faucets:
Pull-out faucets have a detachable spray head that can be pulled towards you. They are similar to pull-down faucets but usually have a shorter spout. Pull-out faucets are versatile and useful for various kitchen tasks.
Bridge Faucets:
Bridge faucets have a traditional and elegant design with two handles and a high arch connecting the handles and spout. They often require mounting on a three-hole sink.
Commercial Style Faucets:
Commercial-style faucets, inspired by professional kitchens, feature a high-arch spout and a flexible hose or spray nozzle. They are durable, efficient, and ideal for those who do a lot of cooking or have a large kitchen space.
Touchless Faucets:
Touchless faucets use motion sensors to activate the water flow, allowing for a touch-free operation. These faucets are hygienic and convenient, as they eliminate the need to touch the handles with dirty hands.
Wall-mounted Faucets:
Wall-mounted faucets are installed on the wall above the sink instead of being mounted on the countertop or sink itself. They create a sleek and minimalist look and are often used with undermount or vessel sinks.
These are just a few examples of the types of kitchen faucets available. Factors such as style, functionality, and personal preference should be considered when selecting the most suitable faucet for your kitchen.
 Introduction to a Loose Kitchen Faucet
A loose kitchen faucet can result from frequent use, improper installation, or worn-out components.
A. Consequences of a Loose Faucet: A loose faucet can cause water leakage, reduced water pressure, and potential damage to the surrounding area.
B. Types of Faucets: Different types of faucets require different tightening methods, including single-handle and double-handle faucets.
Preparing for the Repair
Before tightening the kitchen faucet, gather the necessary tools and prepare the workspace.
A. Tools Required: You will need an adjustable wrench, pliers, a screwdriver, and plumber’s tape for the repair.
B. Shut Off the Water Supply: Locate the shut-off valves under the sink or at the main water supply and turn off the water to avoid any accidental leaks.
Tightening the Base of the Faucet
The first step in tightening a kitchen faucet is securing the base or mounting nut.
A. Access the Mounting Nut: Remove any decorative caps or covers on the faucet handles or base to access the mounting nut.
B. Tighten the Mounting Nut: Using an adjustable wrench or pliers, carefully tighten the mounting nut located under the sink. Rotate it clockwise until it feels firm and snug.
C. Avoid Over-Tightening: Be cautious not to over-tighten the nut, as this can cause damage or cracking.
Securing the Faucet Handles
If the faucet handles feel loose or wobbly, you can tighten them using a screwdriver.
A. Locate the Set Screw: Find the set screw, typically located at the base or underside of the faucet handles.
B. Tighten the Set Screw: Insert the appropriate screwdriver into the set screw and turn it clockwise to tighten the handle. Ensure it is firmly secured but not overly tightened.
Applying Plumber’s Tape
Plumber’s tape, also known as Teflon tape, can be used to create a watertight seal and prevent leaks.
A. Remove the Handle: If your faucet has a cartridge or stem assembly, remove the handle to access the valve stem.
B. Apply the Plumber’s Tape: Wrap a few layers of plumber’s tape counterclockwise around the threaded end of the valve stem.
C. Reassemble the Handle: Put the handle back in place, ensuring that the stem aligns properly with any grooves or notches. Tighten any set screws to secure the handle.
 Testing the Tightened Faucet
After completing the tightening process, it is important to test the faucet for any leaks or looseness.
A. Slowly Turn On the Water Supply: Gradually turn on the shut-off valves or main water supply, allowing the water to flow back into the faucet.
B. Check for Leaks: Inspect for any signs of leakage at the base, handles, or other connections. If leaks persist, further tightening may be required or professional help should be sought.
C. Verify Stability: Ensure that the faucet handles and base feel secure and steady during use.
Seeking Professional Assistance
If you encounter difficulties during the tightening process or if the issue persists, it may be necessary to contact a professional plumber for assistance.
A. Expert Evaluation and Repairs: A plumber can assess the situation and provide the necessary expertise to fix any underlying problems.
B. Prevention of Further Damage: Promptly resolving faucet issues can help avoid further damage and potential costly repairs.
 Conclusion
A loose kitchen faucet can cause inconvenience and potential water damage. By following the step-by-step instructions outlined in this guide, you can effectively tighten your kitchen faucet and prevent further leakage. Remember to gather the necessary tools, turn off the water supply, and secure the base, handles, and connections. If difficulties persist, do not hesitate to seek professional assistance. With a properly tightened kitchen faucet, you can enjoy a fully functioning and leak-free kitchen sink.


