
 Introduction:
Installing a new kitchen faucet is a straightforward DIY project that can greatly enhance the functionality and appearance of your sink area. Whether you are replacing an old faucet or upgrading to a more modern design, this guide will provide step-by-step instructions on how to install a kitchen faucet. From gathering the necessary tools to connecting the water supply, let’s explore the process of installing a kitchen faucet and enjoy the satisfaction of a successfully completed home improvement project.
 Several types of kitchen faucets:
There are several types of kitchen faucets available in the market. Here are some common types:
Single-handle Faucet:
This type of faucet has a single lever that controls both the temperature and flow of water. It offers convenience and ease of use, allowing you to adjust the water with one hand.
Double-handle Faucet:
Double-handle faucets have separate handles for hot and cold water. They offer more precise control over water temperature but require both hands to adjust the hot/cold balance.
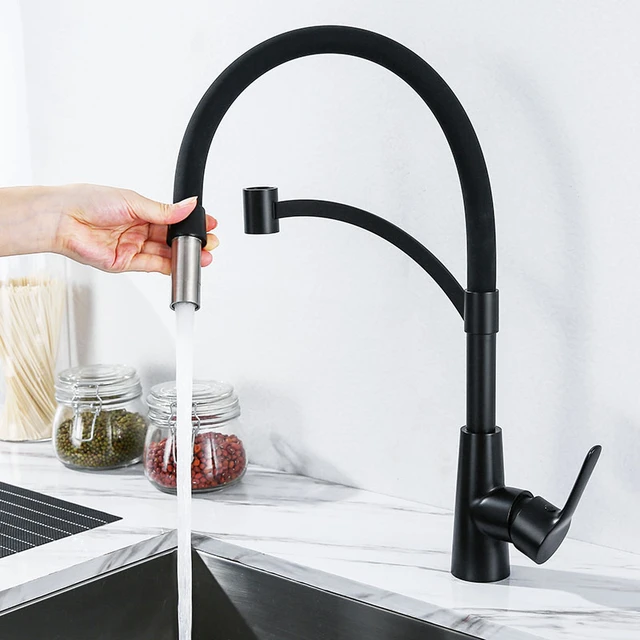
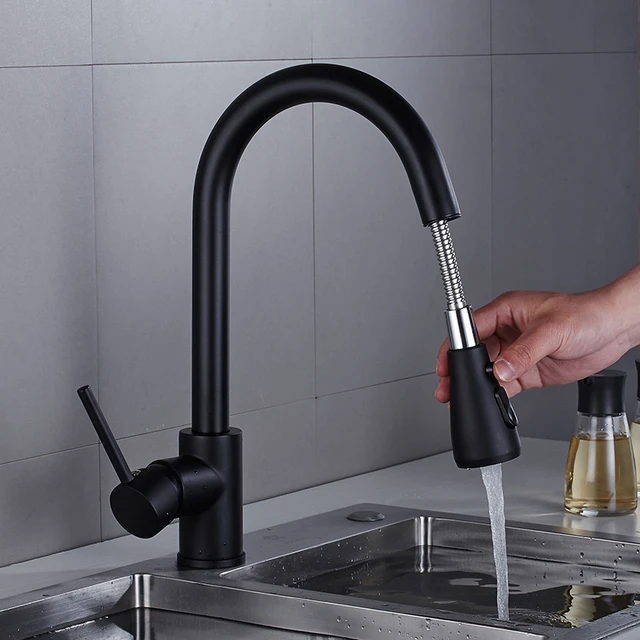
Pull-down Faucet:
Pull-down faucets have a spray head that can be pulled down and used as a sprayer. It allows for easy cleaning of dishes or filling larger pots that don’t fit under the faucet. The spray head usually has adjustable water flow patterns.
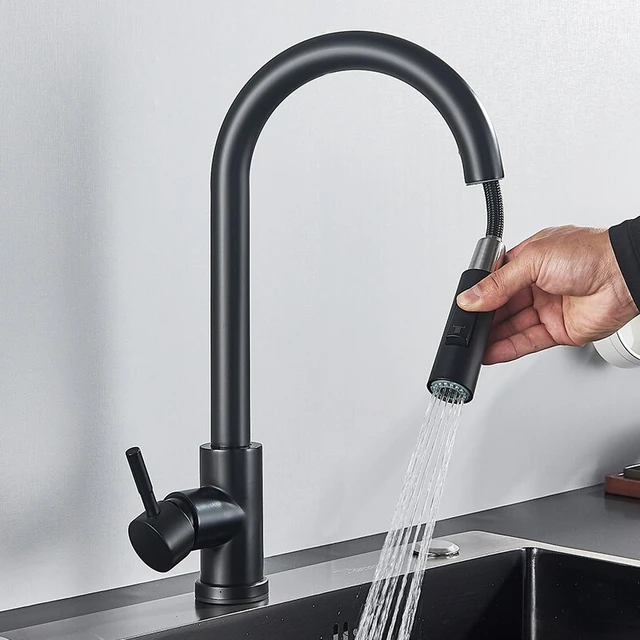
Pull-out Faucet:
Similar to pull-down faucets, pull-out faucets also have a spray head that can be pulled out and used for spraying. However, the spray head pulls straight out instead of down, which can be more convenient in some situations.
Touchless Faucet:
Touchless, or motion-sensor, faucets use motion sensors to detect hand movement and turn the water on and off automatically. This feature is convenient for situations where your hands are dirty or when you want to conserve water.
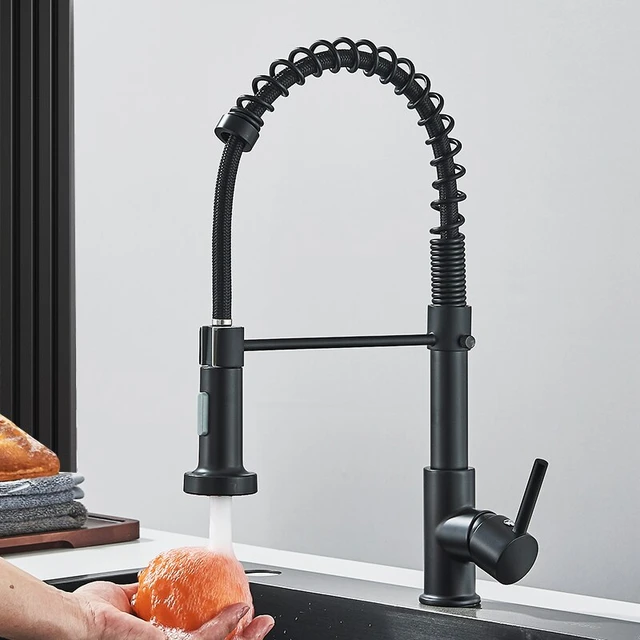
Commercial-style Faucet:
Inspired by professional kitchens, commercial-style faucets are characterized by their high arc and versatile design. They often have a flexible hose or coil spring that allows for easy maneuverability and are popular in modern kitchen designs.
Bridge Faucet:
Bridge faucets feature a classic design where the hot and cold water handles are connected above the faucet spout with a bridge, creating a stylish look reminiscent of old-fashioned designs.
Pot Filler Faucet:
Pot filler faucets are mounted on the wall near the stove or cooktop. They have a long, articulated arm that can be swung out to fill pots directly on the stove, eliminating the need to carry heavy pots filled with water.
It’s essential to consider factors such as the functionality, style, and compatibility with your kitchen setup when selecting a faucet type that best suits your needs and preferences.
 Introduction to Installing a Kitchen Faucet
Installing a kitchen faucet involves removing the old faucet and replacing it with a new one to ensure proper water flow and functionality in your kitchen sink.
A. Benefits of Upgrading: Installing a new kitchen faucet allows you to enjoy improved water pressure and temperature control, as well as enhanced aesthetic appeal in your kitchen.
B. Considerations Before Installation: Before starting the installation process, consider the type of faucet you want, the dimensions of your sink, and the compatibility of the new faucet with your existing plumbing configuration.
C. Safety Precautions: Before working on any plumbing project, shut off the water supply and take proper precautions to prevent any injury or water damage.
Gathering the Necessary Tools and Materials
To install a kitchen faucet, you will need a few basic tools and materials.
A. Tools Required: Prepare a wrench, screwdriver, adjustable pliers, putty knife, and bucket or towel to catch any water drips.
B. Materials Needed: In addition to the new faucet, you will need plumber’s tape, a supply hose or tubing, and a deck plate if necessary for your sink configuration.
C. Reading the Instructions: Always read the manufacturer’s instructions that come with your new faucet as they may have specific requirements or additional tools needed for installation.
Removing the Old Faucet
Before installing the new faucet, you need to remove the old one.
A. Shut Off Water Supply: Locate the water shut-off valves beneath the sink and turn them clockwise to shut off the water supply.
B. Disconnect Supply Lines: Use an adjustable wrench to disconnect the supply lines from the faucet valves. Have a bucket or towel handy to catch any residual water.
C. Loosen and Remove Nuts: Use a wrench or pliers to loosen and remove the nuts securing the faucet to the sink. You may need a putty knife to help separate any caulking or sealant holding the faucet in place.
Preparing for the New Faucet Installation
Before installing the new faucet, prepare the sink area for a secure and clean installation.
A. Clean the Sink Surface: Use a mild cleanser to thoroughly clean the sink area and remove any traces of old caulk, debris, or mineral deposits.
B. Apply Plumber’s Tape: Wrap several layers of plumber’s tape clockwise around the threaded areas of the faucet stems to ensure a watertight seal.
C. Optional: Install Deck Plate or Mounting Bracket: If your new faucet requires a deck plate or mounting bracket, follow the manufacturer’s instructions to attach it securely to the sink.
 Installing the New Faucet
Now it’s time to install the new kitchen faucet.
A. Position the Faucet: Place the new faucet in the desired position on the sink and align the mounting holes with the faucet stems.
B. Secure the Faucet: From underneath the sink, thread the mounting nuts onto the faucet stems and tighten them with a wrench or pliers. Ensure the faucet is level and properly aligned before fully tightening the nuts.
C.Connect Supply Lines: Attach the supply hoses or tubes from the new faucet to the shut-off valves, ensuring a snug connection with a wrench or pliers. Use new supply lines if the old ones are worn or damaged.
Testing and Finishing Touches
The final steps involve testing the new faucet and adding finishing touches.
A. Turn On the Water Supply: Slowly turn the water supply valves counterclockwise to restore the water flow to the faucet. Check for any leaks and tighten connections as needed.
B. Test the Faucet: Operate the new faucet to test the water flow and temperature, making any necessary adjustments.
C. Clean Up and Dispose of Old Faucet: Properly dispose of the old faucet and clean up the workspace, ensuring a tidy finish to your installation project.
 Conclusion
By following these simple steps, you can successfully install a new kitchen faucet and enjoy improved functionality and aesthetics in your sink area. From gathering the necessary tools and materials to removing the old faucet and installing the new one, the process is relatively straightforward. Remember to read the manufacturer’s instructions and take necessary safety precautions throughout the installation. With a little patience and attention to detail, you can confidently complete this DIY project and enjoy the benefits of a newly installed kitchen faucet. Embrace the satisfaction of a job well done and revel in the convenience and beauty of your upgraded sink area.


