 Introduction:
Installing a kitchen sink is a common DIY project that can improve the functionality and aesthetics of your kitchen. While the process may seem daunting, with the right tools and instructions, it can be a straightforward task. In this comprehensive guide, we will provide you with a step-by-step approach to install a kitchen sink. From preparing the area and assembling the necessary tools to connecting the plumbing, we will cover all the essential steps to help you successfully complete the installation process.
 Some common materials used for kitchen sinks:
Kitchen sinks come in a variety of materials, each with its own distinctive characteristics and benefits. Here are some common materials used for kitchen sinks:
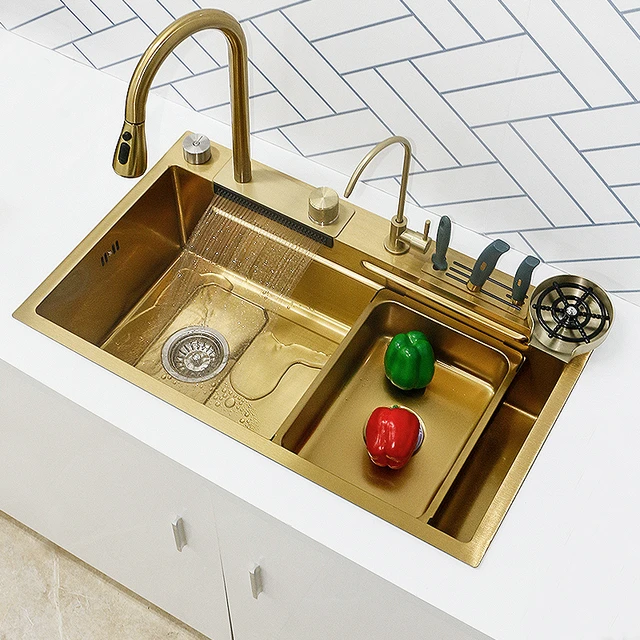
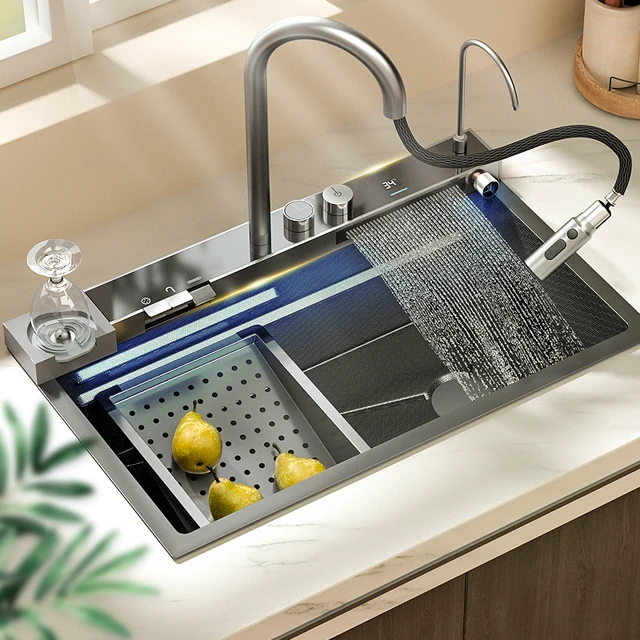
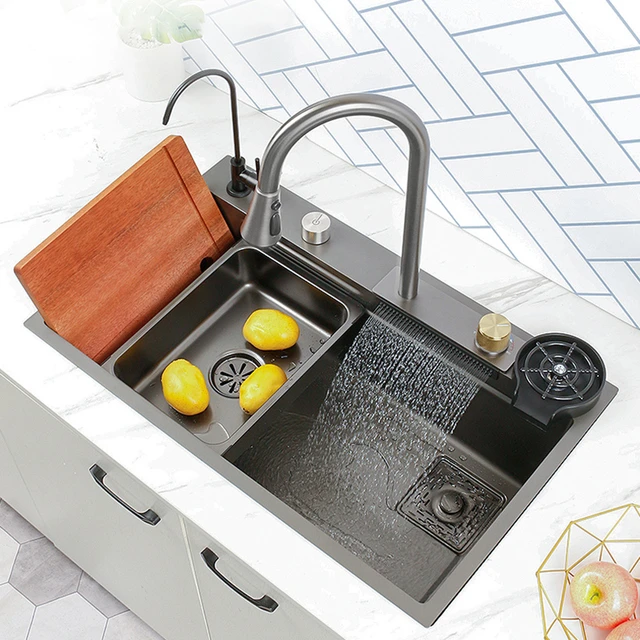
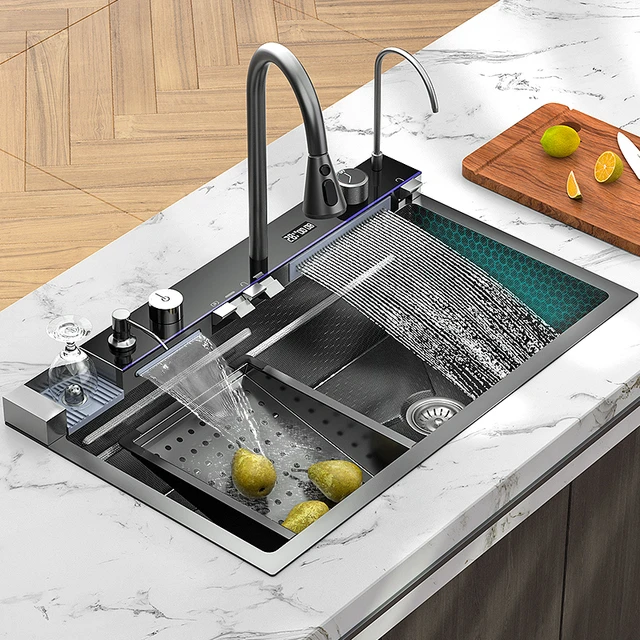
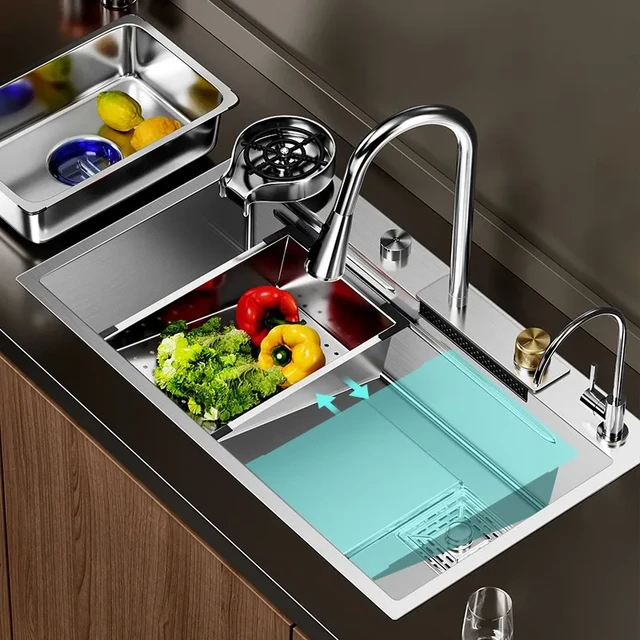
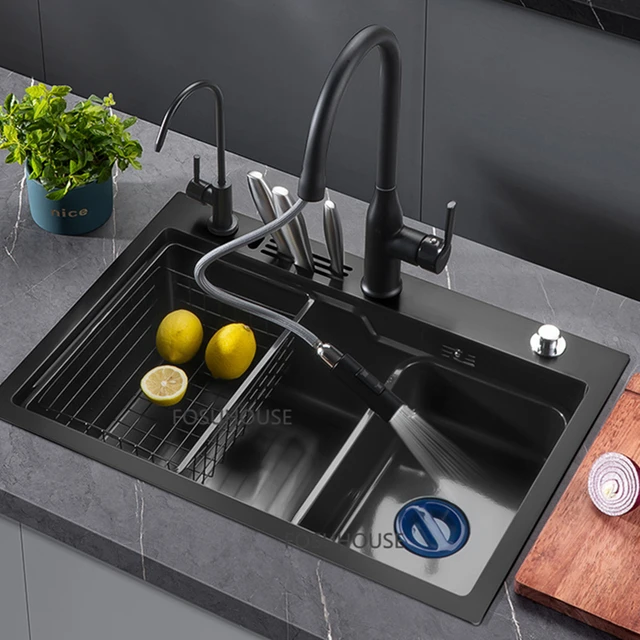
Stainless Steel:
Stainless steel sinks are one of the most popular choices due to their durability, affordability, and versatility. They are resistant to stains, heat, and corrosion, making them easy to clean and maintain. Stainless steel sinks can complement a wide range of kitchen styles and are available in different finishes and gauges to suit various preferences.
Cast Iron:
Cast iron sinks are known for their durability and classic, vintage appeal. These sinks feature a durable enamel coating on a cast iron body. They are heat resistant, easy to clean, and come in a variety of colors. Cast iron sinks, however, can be quite heavy and require proper care to prevent chipping and staining of the enamel.
Composite Granite:
Composite granite sinks are made from a mixture of granite stone particles and resin. They offer a natural stone-like appearance combined with the durability and resistance to stains and scratches. Composite granite sinks come in various colors and finishes and are relatively easy to maintain.
Fireclay:
Fireclay sinks are crafted from clay and fired at high temperatures, resulting in a durable, non-porous finish. They offer a traditional, farmhouse-style look and can withstand heavy use and heat. Fireclay sinks are resistant to stains and scratches but may require periodic sealing to maintain their appearance.
Porcelain:
Porcelain sinks, also known as ceramic sinks, are made from a mixture of clay and various minerals. They are known for their smooth, glossy finish and classic appeal. Porcelain sinks are resistant to stains, scratches, and heat but can be prone to chipping and cracking if not handled carefully.
Copper:
Copper sinks are prized for their unique, rustic appearance and natural antimicrobial properties. They develop a patina over time, adding to their character. Copper sinks require regular maintenance to maintain their luster and may be more susceptible to scratching and water spots.
When selecting a kitchen sink material, consider factors such as durability, maintenance requirements, visual appeal, budget, and compatibility with your kitchen style and needs. Each material has its own advantages, and choosing the right one can enhance the functionality and aesthetics of your kitchen.
 Introduction to Installing a Kitchen Sink
Installing a kitchen sink involves replacing an old sink or installing a new one to enhance the functionality and appearance of your kitchen workspace.
A. Sink Types: Consider the type of sink you want to install – top-mount, under-mount, or farmhouse style – and ensure it fits your specific needs and kitchen design.
B. Preparation: Before starting the installation, gather all necessary tools and materials to ensure a smooth workflow.
Gathering Tools and Materials
Before installing a kitchen sink, make sure you have all the necessary tools and materials on hand.
A. Tools: You will need a wrench, screwdriver, silicone caulk, putty knife, plumber’s tape, measuring tape, and a hacksaw (if necessary).
B. Materials: Gather the sink itself, along with the appropriate mounting brackets, strainer and basket assembly, plumber’s putty or gasket, and any necessary connectors or adapters for the plumbing.
Preparing the Installation Area
Preparing the installation area is essential to ensure a proper and secure fit for the new sink.
A. Clearing the Area: Remove any objects, items, or clutter from the surrounding space, ensuring there is enough room to work comfortably.
B. Measuring and Marking: Measure and mark the sink’s dimensions on the countertop, allowing for accurate placement and alignment.
C. Cutting Countertop (if necessary): If replacing an older sink or installing a different size sink, use a hacksaw or appropriate tools to carefully trim the countertop to fit the new sink.
Assembling the Sink and Faucet
Before placing the sink, assemble the necessary components, including the sink itself and the faucet.
A. Applying Sealant or Putty: Treat the bottom of the sink’s flange with a thin, even bead of silicone caulk or plumber’s putty to create a watertight seal.
B. Attaching Mounting Hardware: Depending on the sink type, fasten the appropriate mounting brackets or clips to the sink’s flange, ensuring a secure fit.
C. Installing Faucet: Follow the manufacturer’s instructions to install the faucet onto the sink, ensuring proper alignment and connection.
 Placing and Securing the Sink
With the sink and faucet assembled, it’s time to position and secure the sink in place.
A. Positioning the Sink: Carefully lower the sink into the prepared countertop opening, ensuring it sits level and aligned with the marked dimensions.
B. Securing the Sink: Use the provided mounting hardware or fasteners to secure the sink to the countertop, following the manufacturer’s instructions for proper installation.
Connecting the Plumbing
Connecting the plumbing is the final step in installing a kitchen sink.
A. Positioning Strainer Basket: Insert the strainer basket into the sink’s drain hole, ensuring it sits flush with the sink surface.
B. Applying Putty or Sealant: Apply plumber’s putty or a gasket to the strainer basket’s underside, ensuring a watertight connection.
C. Attaching Drain Assembly: Connect the drain assembly to the strainer basket by screwing it in place, ensuring a tight and secure fit.
D. Connecting Water Lines: Attach the water supply lines to the faucet connectors, using plumber’s tape to ensure a watertight seal.
Testing for Leaks and Proper Functionality
After completing the installation, it is crucial to test for any potential leaks and ensure the sink functions as intended.
A. Turn On Water Supply: Gradually turn on the shut-off valves to allow water to flow into the sink.
B. Check for Leaks: Inspect all connection points, such as the faucet, drain assembly, and water supply lines, for any signs of leaks. Tighten fittings as necessary.
C. Run Water and Test Drain: Run water from the faucet and observe proper drainage to ensure both water flow and drainage are functioning correctly.
Cleaning and Finishing Touches
Once the installation is complete, clean the area and make any necessary refinements or aesthetic adjustments.
A. Clean the Sink: Thoroughly clean and wipe down the sink with a mild detergent or cleaner, followed by a non-abrasive cloth or sponge.
B. Caulk the Edges: Apply a thin bead of silicone caulk along the perimeter where the sink meets the countertop, creating a watertight seal and a finished appearance.
 Conclusion
Installing a kitchen sink is a manageable DIY project that can enhance the appearance and functionality of your kitchen workspace. By following this comprehensive step-by-step guide, you can successfully install a sink, from preparing the installation area to connecting the plumbing. Ensuring that you have all the necessary tools, taking accurate measurements, and carefully assembling and securing the sink and faucet are key to a successful installation. Remember to test for leaks and functionality before finishing touches and thorough cleaning. By embracing the guidance provided in this comprehensive guide, you can confidently complete your kitchen sink installation and enjoy a functional and attractive kitchen centerpiece.