 Introduction:
How to change kitchen faucet?
Changing a kitchen faucet can be a straightforward and rewarding DIY project that can enhance the functionality and aesthetics of your kitchen. Whether you want to update an outdated faucet or replace a faulty one, this article will guide you through the process step-by-step. With a few basic tools and some patience, you can successfully change your kitchen faucet and enjoy a fresh and functional upgrade in your kitchen.
 Introduction to Changing a Kitchen Faucet
Changing a kitchen faucet involves removing the old faucet and installing a new one to ensure proper water flow and functionality.
A. Benefits of Changing a Kitchen Faucet: Upgrading your kitchen faucet can improve water efficiency, provide better functionality, and enhance the overall look of your kitchen.
B. Basic Tools: To change a kitchen faucet, you will need a few basic tools such as an adjustable wrench, pliers, and a screwdriver.
C. Prior Preparation: Before starting the installation, gather all the necessary tools and read the instructions provided with the new faucet.
 Some common materials used in the construction of faucets:
Faucets, or water taps, come in various materials, each with its own advantages and considerations. Here are some common materials used in the construction of faucets:
Brass:
Brass is a popular material for faucets due to its durability, corrosion resistance, and ability to withstand high water pressures. It is commonly used for both residential and commercial applications. Brass faucets can be polished or coated with various finishes such as chrome, brushed nickel, or oil-rubbed bronze.
Stainless Steel:
Stainless steel faucets offer a sleek and modern aesthetic. They are highly durable, resistant to corrosion and rust, and easy to clean. Stainless steel faucets are commonly used in kitchens and bathrooms where a contemporary and hygienic look is desired.
Zinc Alloy:
Zinc alloy, often plated with various finishes, is an affordable alternative to brass. It is lightweight, corrosion-resistant, and offers good durability. However, zinc alloy faucets may be less robust and prone to wear over time compared to brass or stainless steel models.
Plastic:
Plastic faucets are lightweight and inexpensive options commonly used in budget-friendly or temporary applications. While they may lack the durability of metal faucets, modern plastic faucets can provide adequate functionality and are often resistant to corrosion and staining.
It’s important to consider factors such as durability, aesthetics, budget, and intended usage when selecting a faucet material. Additionally, it’s advisable to choose a reputable brand and ensure that the faucet meets relevant industry standards and regulations for safe and reliable use.
 Some common types:
There are several types of kitchen faucets available to suit different needs and preferences. Here are some common types:
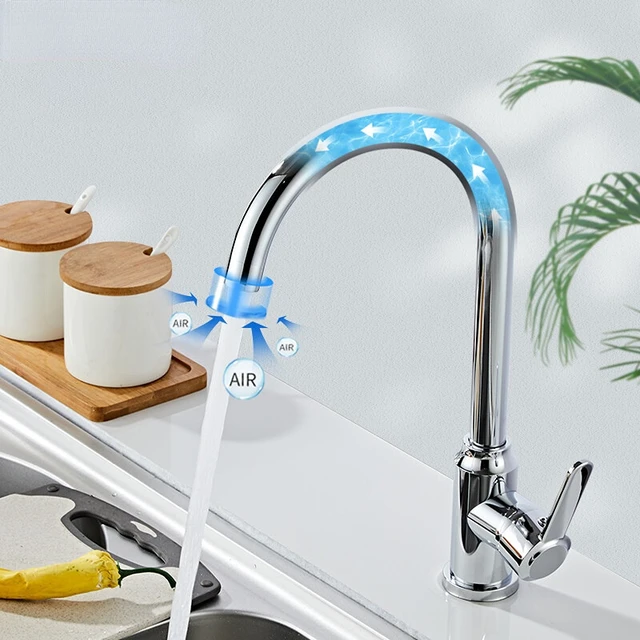
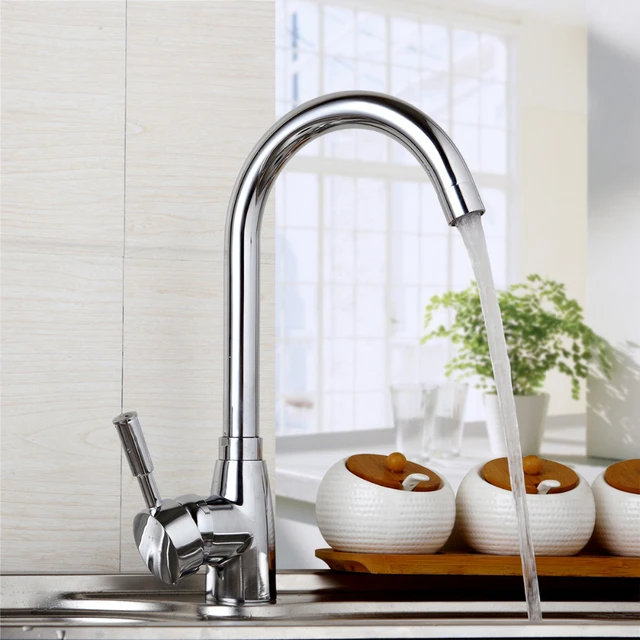
Single Handle Faucet:
This is a popular and widely used type of faucet that has one lever or handle to control both the flow rate and temperature of the water.
Double Handle Faucet:
Double handle faucets have separate handles for hot and cold water, allowing for precise control over the water temperature. They may have two individual handles or a bridge handle design, where the handles are connected by a bridge or a spout.
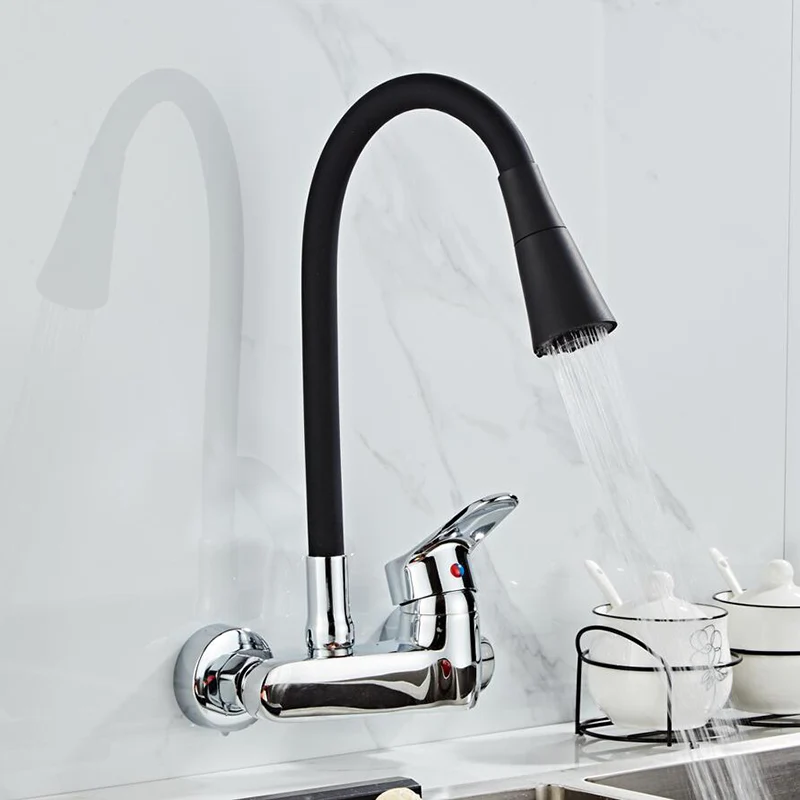
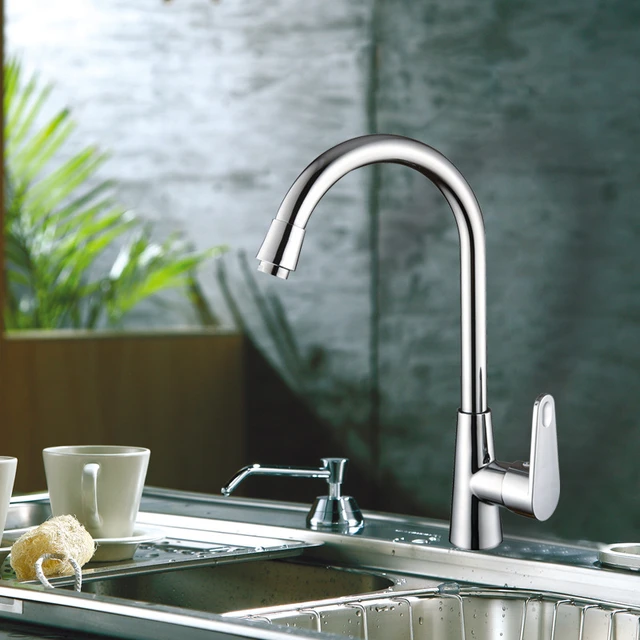
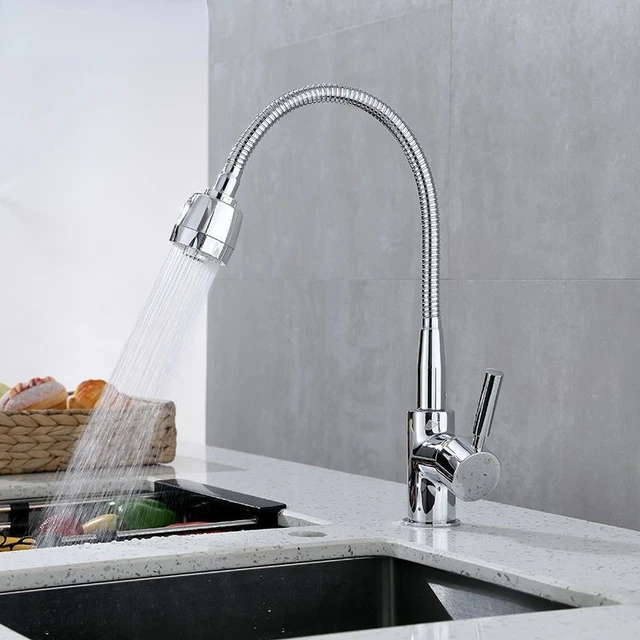
Pull-Down Faucet:
A pull-down faucet features a spray head that can be pulled down and used as a handheld sprayer. This type of faucet is convenient for various tasks such as washing dishes or filling pots that require a flexible and maneuverable water flow.
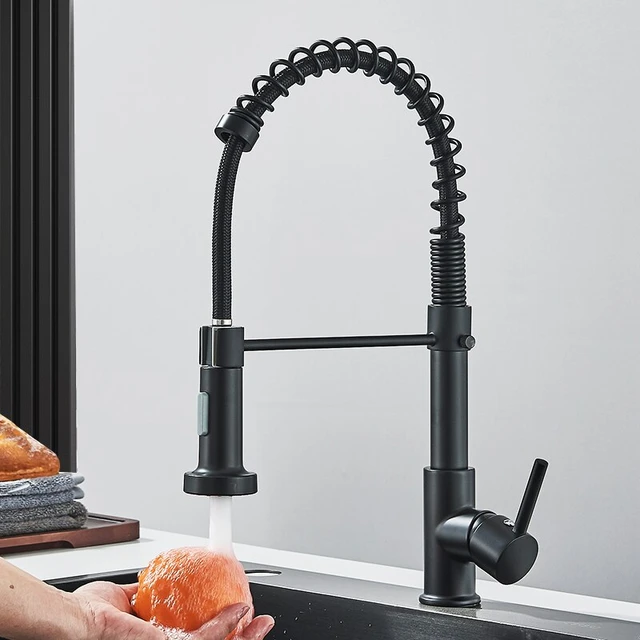
Commercial Style Faucet:
Inspired by commercial kitchens, these faucets have a high-arch spout with a flexible hose or coil, providing a professional and industrial look. They typically have a powerful water flow and are suitable for heavy-duty use in busy kitchens.
Touchless Faucet:
Touchless or hands-free faucets use sensor technology to detect motion or the presence of hands, allowing the water to turn on and off automatically. They promote hygiene by reducing the need to touch the faucet handles with dirty or soapy hands.
Removing the Old Faucet
The first step in changing a kitchen faucet is removing the existing one.
A. Shutting Off the Water Supply: Locate the shut-off valves under the sink and turn them clockwise to shut off the water supply to the faucet.
B. Disconnecting Supply Lines: Use an adjustable wrench to disconnect the supply lines from the faucet, ensuring that no water is leaking from the connections.
C. Loosening the Mounting Nut: Use an adjustable wrench or pliers to loosen the mounting nut that secures the faucet to the sink.
D. Removing the Old Faucet: With the mounting nut loosened, lift the old faucet from the sink, taking care not to damage any surrounding surfaces.
Preparing the Sink for the New Faucet
Before installing the new faucet, ensure that the sink is clean and ready for the installation.
A. Clean the Sink Surface: Remove any debris or residue left behind by the old faucet and clean the sink surface thoroughly.
B. Inspect the Faucet Holes: Check the number of faucet holes in the sink and determine if any additional components, such as a deck plate, are necessary for the new faucet.
C. Apply Plumbers Putty or Silicone Sealant (if required): If the new faucet does not come with a rubber or foam gasket, apply a thin layer of plumbers putty or silicone sealant around the base of the faucet to create a watertight seal.
Installing the New Faucet
Follow the manufacturer’s instructions to install the new faucet properly.
A. Positioning the New Faucet: Insert the faucet into the appropriate holes in the sink, ensuring that any additional components, such as a deck plate or soap dispenser, are properly aligned.
B. Securing the Mounting Nut: From below the sink, thread and tighten the mounting nut onto the faucet, securing it to the sink.
C. Connecting Supply Lines: Reconnect the supply lines to the appropriate connections on the new faucet, ensuring they are properly tightened.
D. Checking for Leaks: Slowly turn on the water supply at the shut-off valves and check for any leaks around the connections. If leaks are detected, tighten the connections as necessary.
Testing and Finishing Up
After installing the new faucet, test its functionality and make any necessary adjustments.
A. Testing: Turn on the faucet and check for proper water flow, as well as any signs of leaks or drips.
B. Adjusting Water Flow and Temperature: If necessary, adjust the water flow and temperature using the faucet handles, ensuring they operate smoothly and efficiently.
C. Cleaning up: Clean up any debris or excess sealant from the installation, and ensure the sink and surrounding areas are tidy.
 Conclusion
How to change kitchen faucet?
Changing a kitchen faucet is a rewarding DIY project that can enhance the functionality and appearance of your kitchen. By following the step-by-step guide outlined in this article, you can successfully remove the old faucet and install a new one with ease. Remember to gather the necessary tools, prepare the sink properly, and carefully follow the manufacturer’s instructions for the new faucet. By taking your time and being thorough, you can complete this project and enjoy a fresh and functional upgrade in your kitchen.