 Introduction:
Installing a kitchen sink is a DIY project that can enhance the functionality and aesthetic of your kitchen. Whether you’re replacing an old sink or installing a brand new one, following a step-by-step guide can help ensure a successful installation. In this article, we will provide you with a simplified, easy-to-follow guide on how to install a kitchen sink. From gathering the necessary tools to connecting the plumbing, we will cover all the essential steps to help you complete the installation process smoothly and efficiently.
 Some common types of kitchen sinks:
There are several types of kitchen sinks available, each with its own unique design, material, and installation method. Here are some common types of kitchen sinks:
Top-Mount Sink:
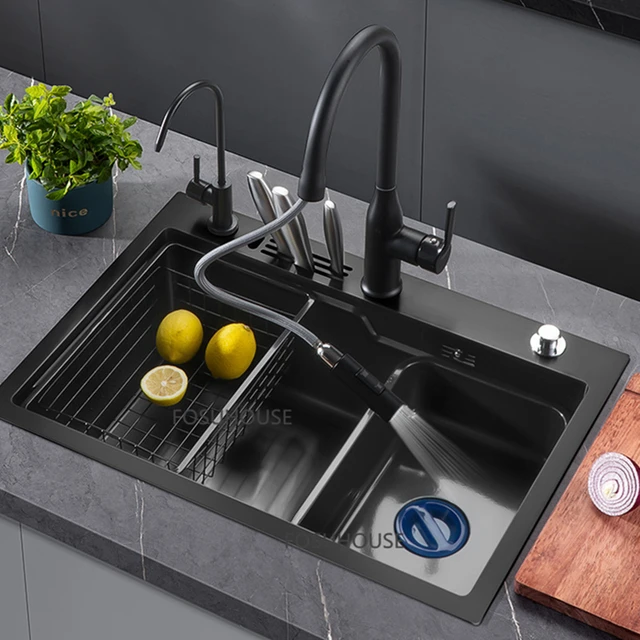
Also known as a drop-in or overmount sink, a top-mount sink is installed from above the countertop. The sink is dropped into a hole cut in the countertop, and the rim rests on top. This type of sink is easy to install and typically more affordable.
Undermount Sink:
An undermount sink is installed from below the countertop. The sink is mounted underneath the countertop, creating a seamless look. Undermount sinks are popular for their sleek appearance and ease of cleaning, as there is no rim or lip where debris can accumulate.
Farmhouse Sink:
Farmhouse sinks, also called apron-front sinks, have a deep basin and a visible front panel that extends beyond the edge of the countertop. They are known for their rustic and traditional aesthetic and are typically made of fireclay or porcelain. Farmhouse sinks add a charming focal point to the kitchen.
Stainless Steel Sink:
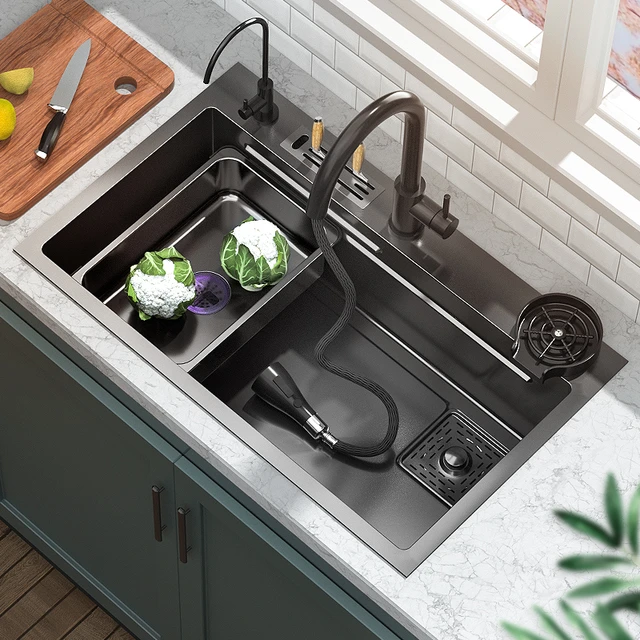
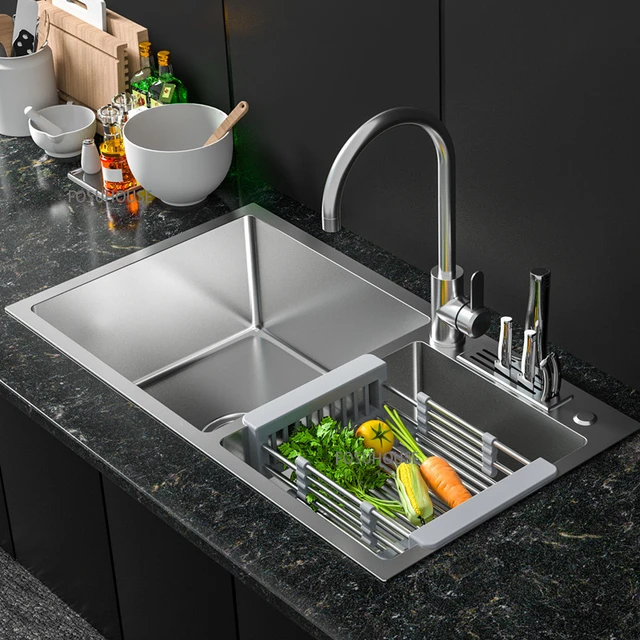
Stainless steel sinks are a popular choice due to their durability, resistance to stains, and ease of cleaning. They are available in various configurations, including single bowl, double bowl, or even triple bowl options. Stainless steel sinks complement a range of kitchen styles and are known for their sleek and contemporary appearance.
Composite Sink:
Composite sinks are made from a combination of materials such as granite or quartz composite. They offer the look and feel of a natural stone sink without the high maintenance. Composite sinks are known for their durability, heat resistance, and stain resistance.
Cast Iron Sink:
Cast iron sinks are heavyweight and durable. They are made by coating a cast iron base in enamel or porcelain. Cast iron sinks are known for their classic and timeless appeal, as well as their resistance to chips and scratches.
Corner Sink:
Corner sinks are specifically designed to fit into corner spaces, making efficient use of the available kitchen layout. They are available in different configurations and can be either top-mount or undermount style.
Bar Sink or Prep Sink:
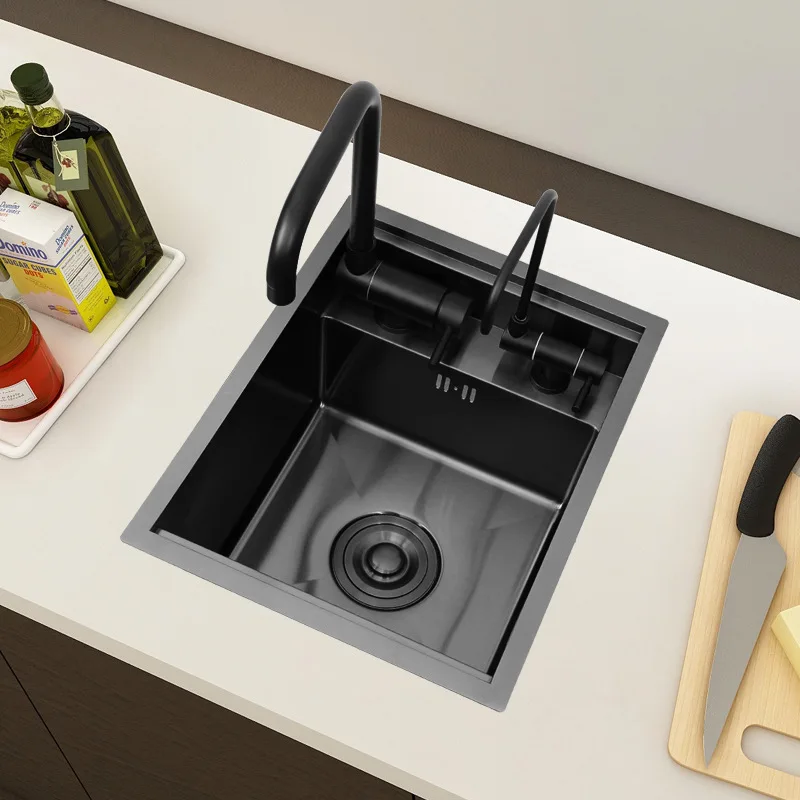
Bar sinks or prep sinks are smaller in size and are installed in the kitchen island or wet bar area. They are used for food preparation, washing small dishes, or as an additional sink for entertaining purposes.
The choice of kitchen sink ultimately depends on factors such as style, functionality, durability, and budget. Consider the kitchen layout, personal preferences, and specific needs to determine the most suitable type of kitchen sink for your space.
 Introduction to Installing a Kitchen Sink
Installing a kitchen sink involves removing the old sink (if applicable), preparing the area, and securely fitting the new sink in place.
A. Replacing or Installing: Determine whether you are replacing an existing sink or installing a new sink in a brand new kitchen.
B. Sink Types: Consider the type of sink you want to install, such as undermount, drop-in, or farmhouse style.
Gathering the Necessary Tools and Materials
Before starting the installation process, gather all the required tools and materials to ensure a smooth workflow.
A. Tools: The basic tools you will need include an adjustable wrench, pliers, screwdriver, utility knife, caulk gun, and a hacksaw (if necessary).
B. Materials: The materials you need may include the sink, faucet, drain assembly, silicone caulk, plumber’s tape, and plumber’s putty (if applicable).
Removing the Existing Sink (If Applicable)
If you are replacing an old sink, the first step is to remove it carefully and disconnect the plumbing connections.
A. Shut Off Water Supply: Locate the shut-off valves under the sink and turn them clockwise to shut off the water supply.
B. Disconnect Plumbing Connections: Use pliers and an adjustable wrench to disconnect the water supply lines and the drain pipe from the existing sink.
C. Remove Sink Clips or Brackets: If the sink is secured with clips or brackets, use a screwdriver to remove them.
D. Detach Sink from Countertop: Carefully cut through any caulk or adhesive between the sink and the countertop using a utility knife. Gently lift and remove the old sink.
 Preparing the Installation Area
Once the old sink is removed, prepare the installation area to ensure a proper fit for the new sink.
A. Clean the Countertop: Thoroughly clean the countertop surface, removing any dirt, debris, or old caulk.
B. Measure and Mark: Measure the opening in the countertop and mark the placement of the new sink according to the manufacturer’s instructions.
C. Cut or Modify Countertop (If Necessary): If the new sink size requires adjustments to the countertop opening, use a hacksaw or appropriate tools to make precise cuts.
Installing the New Sink
With the preparation complete, it’s time to install the new sink securely in the designated opening.
A. Apply Caulk or Adhesive: Apply a thin bead of silicone caulk or adhesive around the edge of the sink opening in the countertop.
B. Position the Sink: Carefully lower the new sink into the opening, aligning it with the marked placement. Press down firmly to ensure a secure bond with the caulk or adhesive.
C. Secure the Sink (If Applicable): If the sink requires clips or brackets for additional support, attach them securely to the underside of the sink and fasten them to the countertop.
Connecting the Plumbing
Once the sink is in place, it’s time to connect the plumbing, including the water supply lines and drain assembly.
A. Attach Faucet: Follow the manufacturer’s instructions to install the faucet onto the sink.
B. Connect Water Supply Lines: Use flexible water supply lines with appropriate fittings to connect the hot and cold water supply lines to the corresponding faucet connections.
C. Install Drain Assembly: Install the drain assembly, ensuring a watertight connection by using plumber’s tape or plumber’s putty, as recommended by the manufacturer.
Testing and Finishing Touches
With the plumbing connections completed, thoroughly test the sink to ensure proper functionality and make some finishing touches.
A. Turn On Water Supply: Gradually turn on the shut-off valves to restore the water supply to the sink.
B. Check for Leaks: Inspect all plumbing connections for leaks. Tighten any fittings if necessary.
C. Apply Caulk: Using a caulk gun, apply a thin bead of silicone caulk along the edge of the sink where it meets the countertop to create a watertight seal.
D. Clean and Polish: Clean the sink thoroughly with a mild detergent and polish the surfaces to a shine.
 Conclusion
Installing a kitchen sink can be a rewarding DIY project that improves functionality and enhances the overall look of your kitchen. By following this simplified step-by-step guide, you can install a kitchen sink confidently and efficiently. Whether you are replacing an old sink or installing a new one, gather the necessary tools and materials, carefully remove the old sink (if applicable), prepare the installation area, securely fit the new sink, connect the plumbing, test for functionality, and add finishing touches. With proper installation and maintenance, your new kitchen sink will serve you well for years to come.