
 Introduction:
A loose kitchen faucet can be both frustrating and wasteful. Fortunately, tightening the faucet nut under the sink is a simple task that can help resolve this issue. In this step-by-step guide, we will walk you through the process of tightening the kitchen faucet nut under the sink. By following these easy steps, you can quickly and effectively secure your faucet and prevent any water leakage.
Introduction to Tightening the Kitchen Faucet Nut
Tightening the kitchen faucet nut under the sink helps maintain a secure connection and prevents water leakage.
A. Importance of a Secure Faucet: A loose faucet can lead to water wastage and potential damage to your sink and surrounding area.
B. Simple Task: Tightening the faucet nut under the sink requires basic tools and can be completed without professional assistance.
 Gathering the Required Tools
Before starting, ensure you have the necessary tools readily available for the task.
A. Adjustable Wrench: An adjustable wrench is essential for loosening and tightening the faucet nut.
B. Pliers or Channel Locks: Depending on the design of your faucet nut, pliers or channel locks may be needed for added leverage.
Some common types of kitchen faucets:
There are several types of kitchen faucets available, each with its own design and functionality. Here are some common types of kitchen faucets:
Single-Handle Faucet:
Single-handle faucets have a single lever that controls both the water flow and temperature. They are easy to use and allow for precise water adjustment. Single-handle faucets are popular for their sleek and minimalist design.
Double-Handle Faucet:
Double-handle faucets have separate handles for hot and cold water. They typically have a traditional or classic design and offer separate control over water temperature. Double-handle faucets are suitable for those who prefer a more traditional look or have a preference for separate hot and cold water control.
Pull-Down Faucet:
Pull-down faucets feature a spray head that can be pulled down towards the sink. This design allows for easy rinsing and cleaning of dishes. Pull-down faucets often have multiple spray functions, such as stream and spray, for versatile use.
Pull-Out Faucet:
Pull-out faucets have a spray head that can be pulled out and extended from the faucet. They offer similar functionality to pull-down faucets, providing flexibility in rinsing and cleaning. Pull-out faucets are suitable for kitchens with smaller sinks or limited space.
Touchless Faucet:
Touchless faucets, also known as sensor faucets, have motion sensors that detect the presence of hands or objects to activate the water flow. This hands-free operation is convenient and hygienic, as it reduces the need to touch the faucet with dirty hands. Touchless faucets are gaining popularity in modern kitchens.
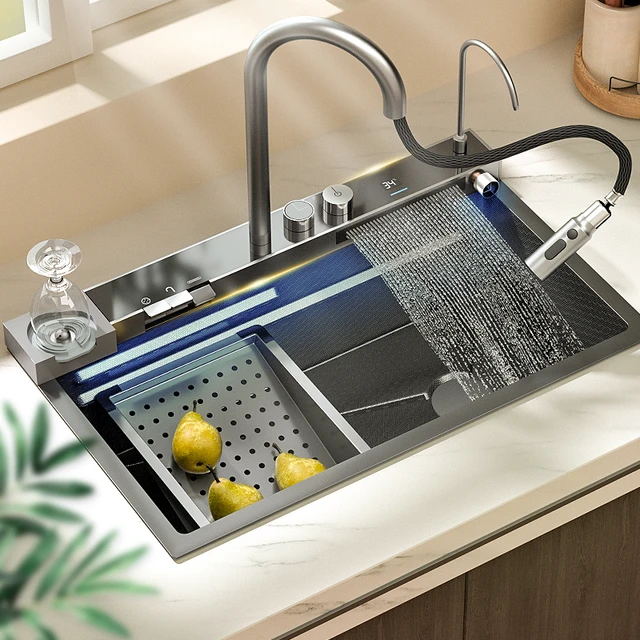
Commercial-Style Faucet:
Commercial-style faucets are inspired by professional kitchens and often have a tall and robust design. They feature a high-arc spout and a flexible spray head, similar to what you would find in a restaurant kitchen. These faucets are suitable for those who desire a professional-grade look and enhanced functionality.
Bridge Faucet:
Bridge faucets have a classic design with a bridge connecting the hot and cold water handles to the spout. They add a touch of elegance and vintage charm to the kitchen. Bridge faucets are often chosen for traditional or farmhouse-style kitchens.
These are just a few examples of the different types of kitchen faucets available. When choosing a kitchen faucet, consider factors such as functionality, style, durability, and compatibility with your sink and plumbing configuration.
 Shutting off the Water Supply
It is important to turn off the water supply before working on the kitchen faucet.
A. Locate the Water Supply Valves: Find the water supply valves under the sink and turn them clockwise to shut off the water flow.
B. Release the Water Pressure: Turn on the faucet handles to release any remaining water pressure in the system.
Accessing the Faucet Nut
To access the faucet nut, you may need to remove the sink’s protective cover or use a flashlight for better visibility.
A. Protective Cover Removal: If your sink has a protective cover, carefully remove it to access the area around the faucet nut.
B. Illuminate the Area: Use a flashlight to provide better visibility if the working space is poorly lit.
 Loosening the Faucet Nut
Before tightening the faucet nut, it may be necessary to loosen it first.
A. Grip the Faucet Nut: Use an adjustable wrench or pliers to grip the faucet nut securely.
B. Rotate Counterclockwise: Turn the wrench or pliers counterclockwise to loosen the faucet nut.
Tightening the Faucet Nut
Once the faucet nut is loose, it is time to tighten it to secure the faucet.
A. Use Adequate Force: Grip the faucet nut firmly with an adjustable wrench or pliers, and turn it clockwise to tighten.
B. Avoid Over-Tightening: Be cautious not to overtighten, as it may lead to damage or difficulties in future maintenance.
Checking for Leaks
After tightening the faucet nut, it is important to check for any potential water leakage.
A. Turn on the Water Supply: Turn on the water supply valves under the sink, ensuring water flows smoothly through the faucet.
B. Inspect for Leaks: Check around the base of the faucet and under the sink for any signs of water leakage.
 Reassembling Protective Cover
If you removed a protective cover, it is time to reassemble it.
A. Align the Cover: Place the cover back over the faucet nut, ensuring it covers the area completely.
B. Secure the Cover: Attach any screws or clips as necessary to secure the protective cover in place.
Conclusion
Tightening a loose kitchen faucet nut under the sink is a simple task that can prevent water leakage and potential damage to your sink area. By gathering the necessary tools, shutting off the water supply, and following the step-by-step process, you can successfully tighten the faucet nut and restore a reliable connection. Remember to check for any signs of leaks and, if removing a protective cover, reassemble it properly. With these easy steps, you can quickly address a loose kitchen faucet and enjoy a secure and hassle-free sink experience.


