
 Introduction:
Replacing a kitchen sink is a rewarding DIY project that can transform the look and functionality of your kitchen. Whether you want to upgrade to a new design or need to fix a damaged sink, this guide will provide you with a step-by-step approach to replacing a kitchen sink. From gathering the necessary tools to connecting the plumbing, let’s delve into the world of sink replacement and learn how to successfully upgrade your kitchen sink.
 Several types of kitchen sinks:
There are several types of kitchen sinks available in the market. Here are some common ones:
Top Mount Sink:
Also known as a drop-in or self-rimming sink, a top mount sink is installed from above the countertop. The sink edge rests on the countertop, and the sink’s weight is supported by the countertop.
Undermount Sink:
An undermount sink is attached underneath the countertop, creating a seamless, clean look. The edge of the sink is not visible as it is mounted below the countertop.
Farmhouse Sink:
Farmhouse sinks, also called apron front sinks, have a large, deep basin and a visible front panel that extends beyond the edge of the countertop. They offer a traditional, rustic look and are often associated with farmhouse-style kitchens.
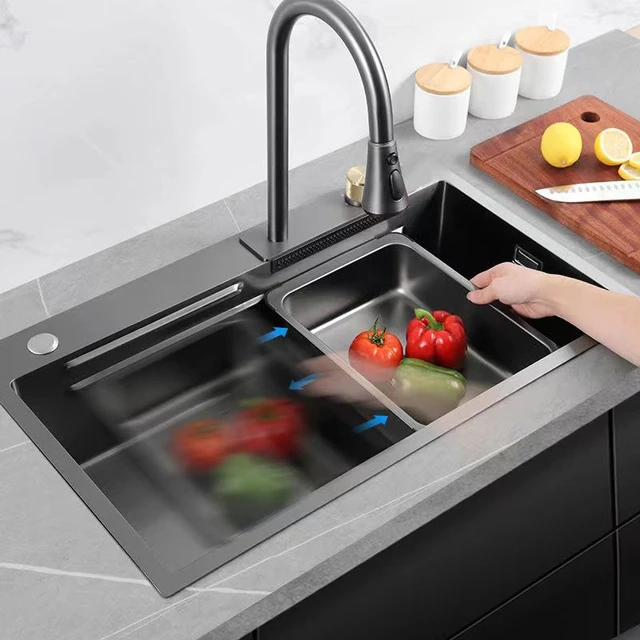
Stainless Steel Sink:
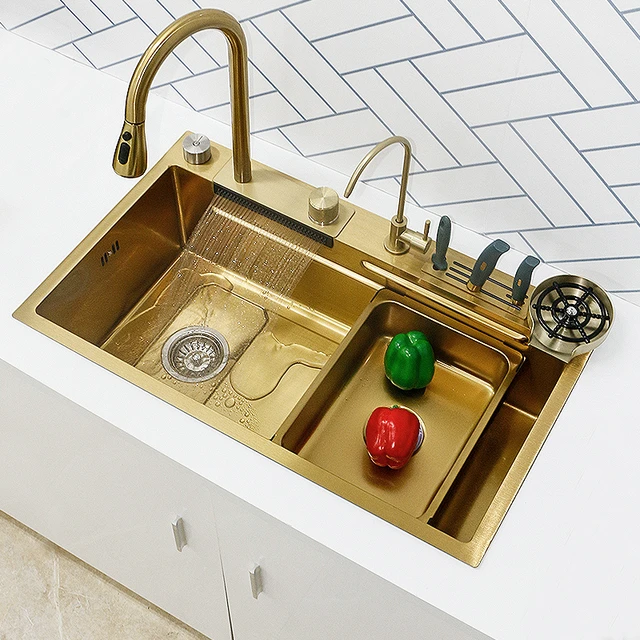
Stainless steel sinks are popular due to their durability, ease of maintenance, and versatility. They can complement various kitchen styles and are resistant to stains, rust, and heat.
Composite Sink:
Composite sinks are made from a blend of materials, such as quartz, granite, acrylic, or polyester resins. They offer durability, are resistant to scratches and stains, and can be color-matched to the kitchen decor.
Cast Iron Sink:
Cast iron sinks have a porcelain enamel coating over a solid cast iron core. They are known for their classic, glossy look and durability. However, they can be more prone to chipping or scratching.
Fireclay Sink:
Fireclay sinks are made from molded ceramic clay and fired at high temperatures, resulting in a durable, smooth surface. They offer a classic, farmhouse-style aesthetic and are resistant to scratches and stains.
Double Bowl Sink:
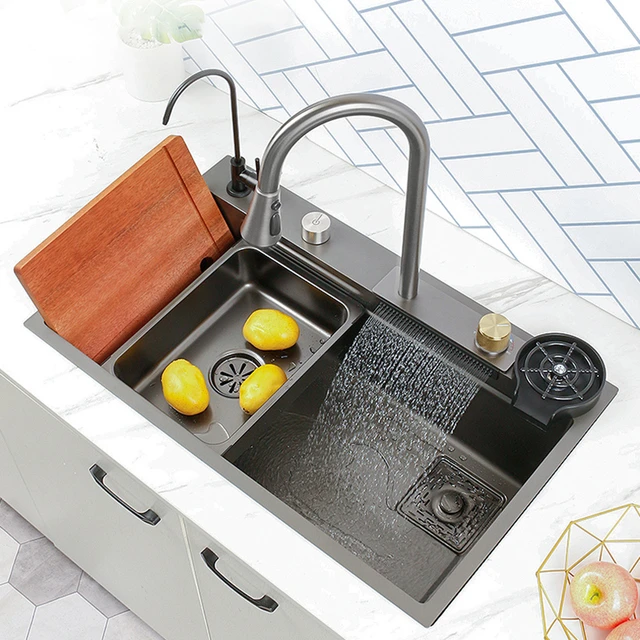
Double bowl sinks have two separate basins, allowing for multitasking and segregation of tasks such as washing and rinsing dishes simultaneously. They are available in various configurations, including equal-sized bowls or one larger and one smaller bowl.
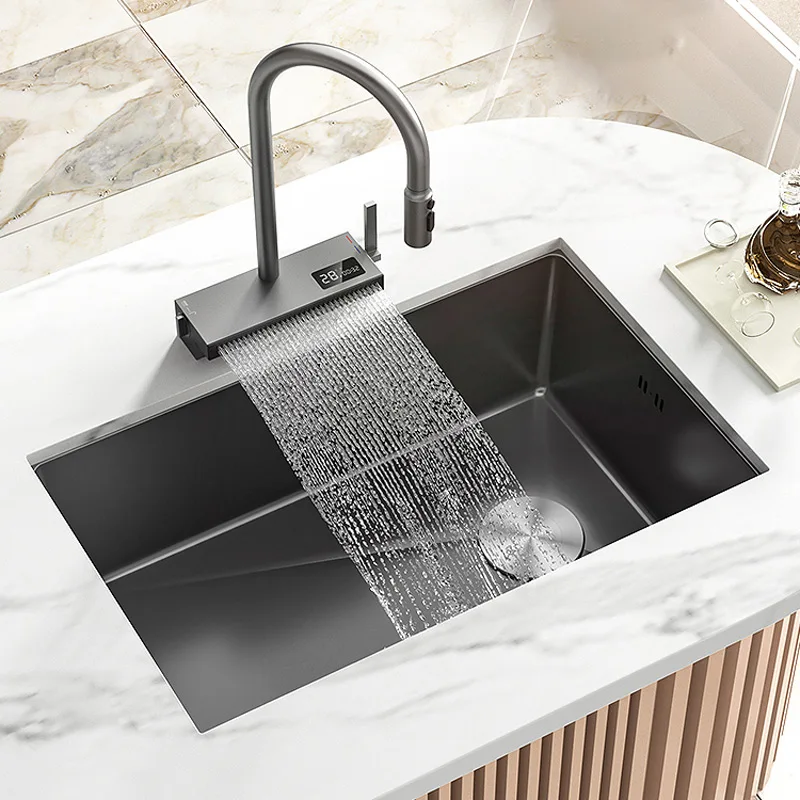
Single Bowl Sink:
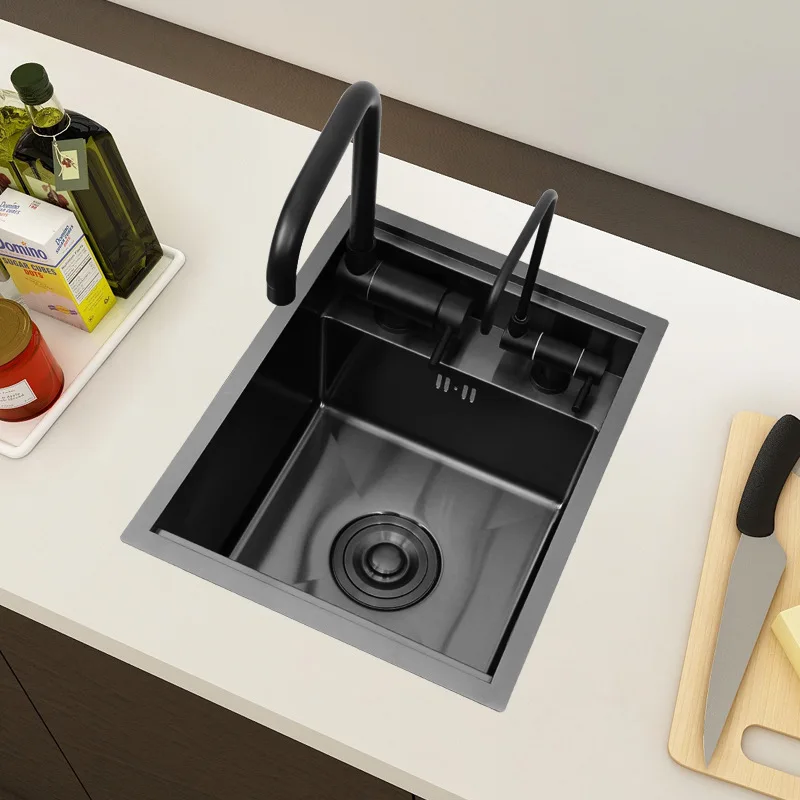
Single bowl sinks have a single, spacious basin. They offer ample room for large pots and pans and allow for easy cleanup and washing of oversized items.
When selecting a kitchen sink, consider factors such as durability, functionality, style, size, installation method, and compatibility with your kitchen layout and countertop material.
 Introduction to Replacing a Kitchen Sink
Replacing a kitchen sink involves removing the old sink and installing a new one to create a fresh and functional space for cooking and cleaning.
A. Benefits of Replacement: Replacing a kitchen sink allows you to improve functionality, update the style, and address any issues or damage in your existing sink.
B. Types of Sinks: There are various sink options available, including top-mount sinks, undermount sinks, and farmhouse sinks. Choose a sink that suits your needs, style preferences, and budget.
C. Safety Precautions: Before starting any plumbing project, shut off the water supply, and take proper precautions to prevent injury and potential water damage.
Gathering the Necessary Tools and Materials
To replace a kitchen sink, you will need a few basic tools and materials.
A. Tools Required: Prepare a wrench, pliers, screwdriver, bucket, putty knife, utility knife, adjustable wrench, and a silicone caulk gun to complete the replacement process.
B. Materials Needed: In addition to the new sink, obtain plumber’s putty or silicone caulk, plumber’s tape, sink clips or brackets, and a new basket strainer. Be sure to read the manufacturer’s instructions for any specific requirements.
C. Reading the Instructions: Always read the manufacturer’s instructions that come with your new sink to ensure you have all the necessary tools and materials for installation.
Removing the Old Sink
Before installing the new sink, you need to remove the old one.
A. Shut Off the Water Supply: Locate the water shut-off valves beneath the sink and turn them clockwise to shut off the water supply.
B. Disconnect the Water Supply Lines: Use an adjustable wrench or pliers to disconnect both the hot and cold water supply lines from the shut-off valves. Empty any residual water into a bucket.
C. Remove the Drainage Pipes: Unscrew the nuts connecting the drainage pipes to the bottom of the sink and remove the pipes carefully. Place a bucket underneath to catch any remaining water.
 Preparing for the New Sink Installation
Before installing the new sink, you need to prepare the installation area.
A. Clean the Sink Cabinet: Thoroughly clean the sink cabinet, removing any debris, old caulk, or adhesive to ensure a clean surface for the new sink installation.
B. Measure the Sink Area: Measure the opening in the countertop to ensure the new sink will fit properly. Make any necessary adjustments to the countertop or cabinet to accommodate the new sink if needed.
C. Install Sink Clips or Brackets: Follow the manufacturer’s instructions to install sink clips or brackets onto the underside of the countertop to support and secure the new sink.
Installing the New Sink
Now it’s time to install the new kitchen sink.
A. Apply Plumber’s Putty or Silicone Caulk: Place a thin line of plumber’s putty or silicone caulk around the perimeter of the sink opening in the countertop.
B. Place the New Sink: Carefully position the new sink into the opening, ensuring it is aligned properly and seated securely. Press the sink firmly against the putty or caulk.
C. Secure the Sink: Insert sink clips or brackets underneath the sink and tighten them with an adjustable wrench to secure the sink to the countertop.
Connecting the Plumbing
The final steps involve connecting the plumbing to the new sink.
A. Install a New Basket Strainer: Apply plumber’s putty around the underside edge of the new basket strainer and insert it into the sink’s drain opening. Tighten the retaining nut from underneath the sink until it is snug.
B. Reattach the Drainage Pipes: Reattach the drainage pipes to the bottom of the sink, ensuring a watertight seal. Use plumber’s tape and an adjustable wrench to secure the connections.
C. Reconnect the Water Supply Lines: Reattach the hot and cold water supply lines to the shut-off valves, ensuring a snug fit with a wrench or pliers. Turn on the water supply valves to restore water flow.
Testing and Finishing Touches
The final steps involve testing the new sink and adding finishing touches.
A. Check for Leaks: Run water through the faucet and check for any leaks around the sink, drain, or plumbing connections.
B. Clean Up and Finishing Touches: Clean the sink and surrounding areas, removing any residue or debris. Apply additional silicone caulk if necessary to ensure a finished and polished look.
 Conclusion
By following these simple steps, you can successfully replace your kitchen sink and enjoy an upgraded and functional space. Remember to read the manufacturer’s instructions and take necessary safety precautions throughout the installation. With a little effort and care, you can confidently complete this DIY project and enjoy the benefits of a new and improved kitchen sink. Embrace the satisfaction of a job well done and revel in the functionality and beauty of your upgraded kitchen space.


