Introduction:
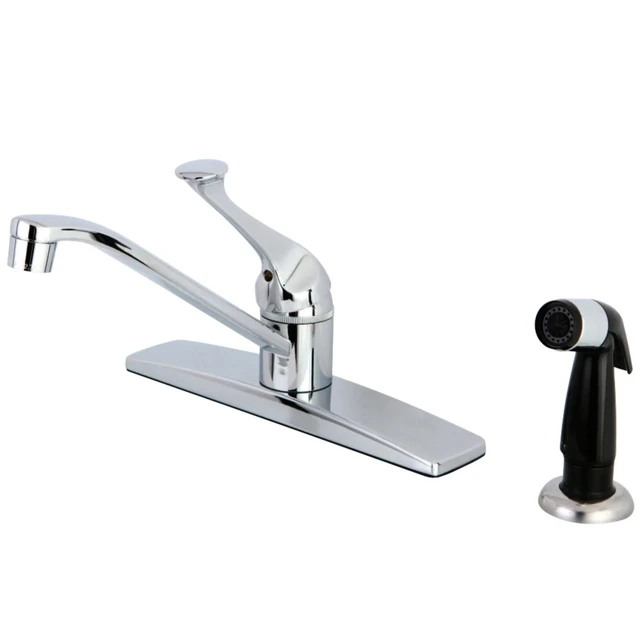
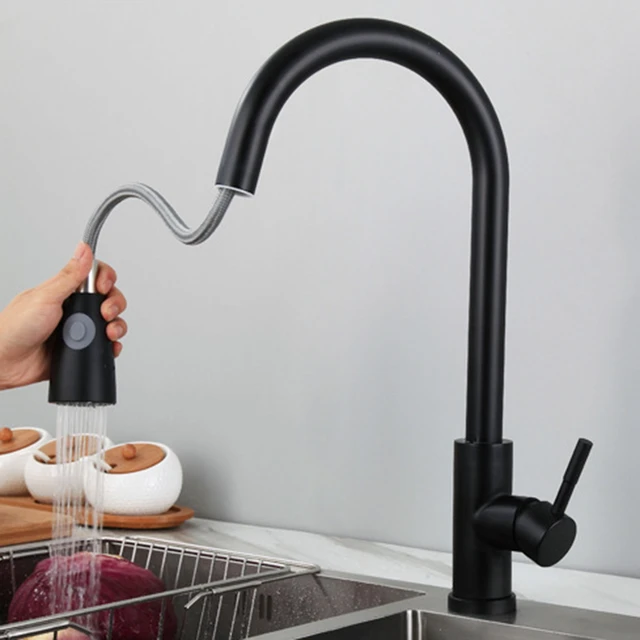
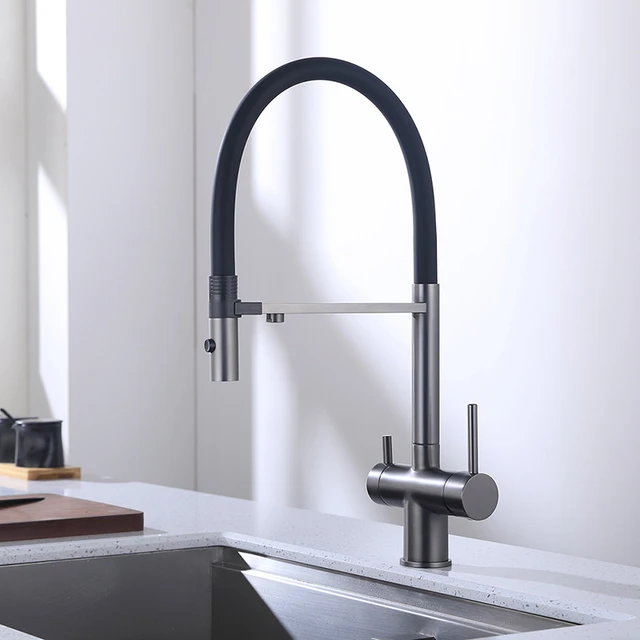
How to install a single handle kitchen faucet with sprayer
Installing a single handle kitchen faucet with a sprayer can enhance the functionality and aesthetics of your kitchen. While the process may seem daunting, it can be accomplished with basic tools and some patience. In this comprehensive guide, we will provide a step-by-step approach to help you successfully install a single handle kitchen faucet with a sprayer. By following these simple instructions, you can confidently upgrade your kitchen and enjoy the convenience of a new faucet.
 Some of its benefits:
A Single Handle Kitchen Faucet with Sprayer offers several advantages. Here are some of its benefits:
Convenience:
The single handle design allows for easy one-handed operation, making it convenient to adjust the water temperature and flow with just a simple movement. This is particularly useful when your hands are occupied or dirty while cooking or cleaning.
Versatility:
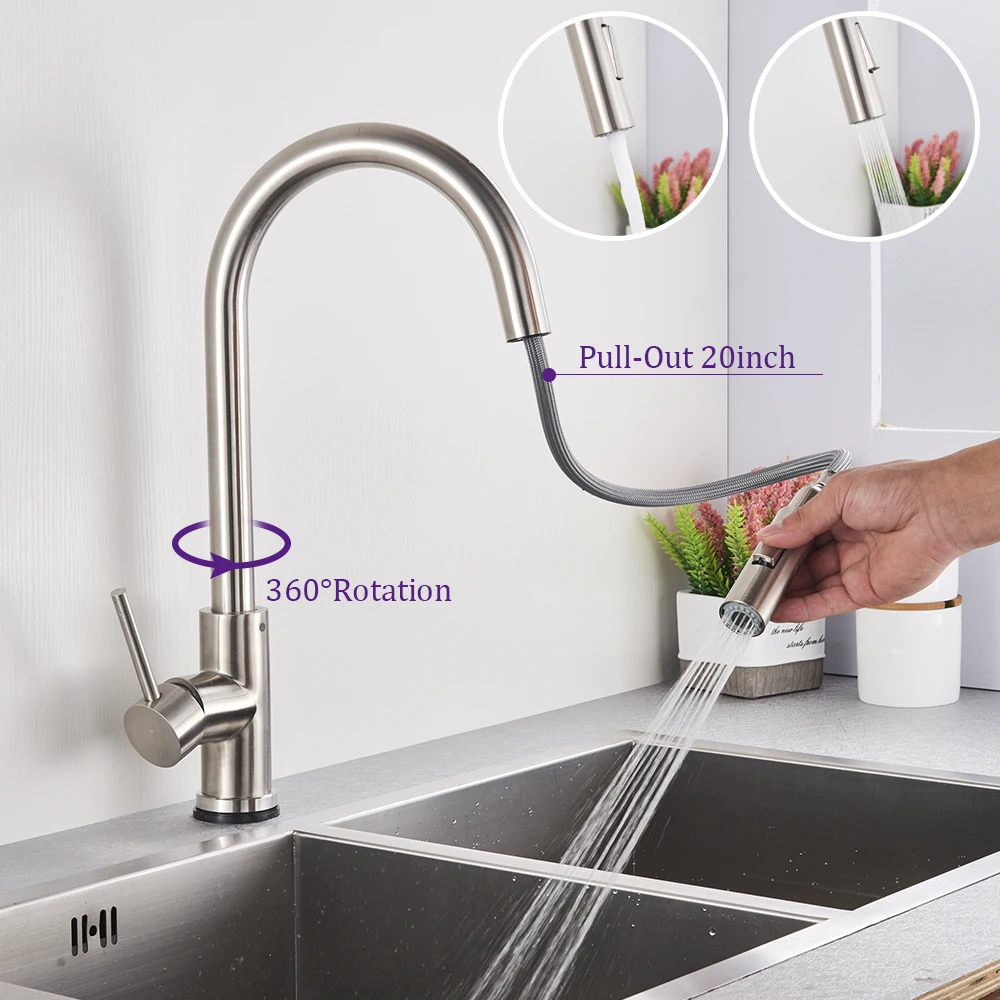
The inclusion of a sprayer provides added versatility and functionality. The sprayer can be used to clean dishes, rinse off fruits and vegetables, or even fill pots and pans that may not fit easily under the faucet. It offers precise water control and targeted spray, making various kitchen tasks more efficient.
Space-saving design:
Single handle faucets with sprayers tend to have a sleek and compact design, which can save valuable counter space in the kitchen compared to having a separate sprayer and faucet. This makes it ideal for smaller kitchens or for creating a minimalist aesthetic.
Enhanced hygiene:
The sprayer can help with cleaning tasks, allowing you to efficiently remove food particles and debris from dishes, utensils, and sink surfaces. This can contribute to better hygiene and reduce the risks of cross-contamination.
Water conservation:
Many single handle kitchen faucets with sprayers are designed to be more water-efficient. They often come with features like aerators or adjustable flow rates, allowing you to control and reduce the amount of water used. This can help conserve water and reduce water bills.
Easy installation and maintenance:
Single handle faucets with sprayers are generally easy to install and maintain. With fewer components and connections, they can simplify the installation process. Additionally, the single handle design typically requires less maintenance and has fewer parts that may need repair or replacement over time.
These are some of the advantages of having a Single Handle Kitchen Faucet with Sprayer. When choosing a faucet, consider your specific needs, preferences, and the quality and reputation of the brand.
Gathering the Necessary Tools and Materials
How to install a single handle kitchen faucet with sprayer
Before beginning the installation process, gather the tools and materials required.
A. Tools: You will typically need an adjustable wrench, pliers, a basin wrench, a screwdriver, and plumber’s tape.
B. Materials: Ensure you have the necessary components, including the new faucet with sprayer, supply lines, and mounting hardware.
Preparing for Installation
Proper preparation before installation is essential for a successful outcome.
A. Shut Off the Water Supply: Locate the shut-off valves under the sink and turn them clockwise to shut off the water supply.
B. Clear the Workspace: Remove any items from under the sink to create a clear and accessible workspace for the installation.
 Removing the Old Faucet
Before installing the new faucet, you must remove the old one.
A. Disconnect the Water Supply Lines: Use pliers or an adjustable wrench to loosen and disconnect the water supply lines connected to the old faucet.
B. Remove the Old Faucet: Unscrew any nuts or screws securing the old faucet to the sink, and carefully lift it away.
Preparing the Sink for Installation
Properly preparing the sink ensures a secure and leak-free installation.
A. Clean the Sink Surface: Thoroughly clean the sink surface using mild soap and water, ensuring it is free from any debris or grime.
B. Apply Plumber’s Tape: Wrap a few layers of plumber’s tape around the threaded areas of the water supply connections to create a secure seal.
Installing the New Faucet
Now, it’s time to install the new single handle kitchen faucet.
A. Attach the Mounting Hardware: Follow the manufacturer’s instructions to attach the mounting hardware to the underside of the sink.
B. Connect the Water Supply Lines: Attach the water supply lines to the corresponding hot and cold valves, tightening them securely with pliers or an adjustable wrench.
Installing the Sprayer
If your new faucet includes a sprayer, it’s essential to install it correctly.
A. Attach the Sprayer Hose: Connect the sprayer hose to the faucet body according to the manufacturer’s instructions, ensuring a secure fit.
B. Connect the Sprayer Hose to the Water Supply: Attach the other end of the sprayer hose to the water supply connection identified for the sprayer, ensuring a tight connection.
 Testing and Finishing Up
After the installation, perform some tests to ensure everything is functioning correctly.
A. Turn On the Water Supply: Gradually turn on the water supply valves under the sink, checking for any leaks around the faucet connections.
B. Test the Faucet and Sprayer: Turn on the faucet and sprayer, checking for proper water flow and any potential issues with the mechanism.
Some important tips and precautions to keep in mind:
To ensure proper maintenance and usage of a Single Handle Kitchen Faucet with Sprayer, here are some important tips and precautions to keep in mind:
Proper handling:
Handle the faucet and sprayer with care to prevent any damage or leakage. Do not apply excessive force while operating the handle or sprayer, as it may cause internal damage.
Regular cleaning:
Clean the faucet and sprayer regularly to prevent the accumulation of dirt, grime, or mineral buildup. Use mild soap or a non-abrasive cleaner to wipe down the surfaces, and avoid using harsh chemicals or abrasive materials that can scratch or damage the finish.
Check for leaks:
Regularly inspect the faucet and sprayer for any signs of leaks, such as dripping water or wetness around the base. If you notice leaks, address them promptly to avoid water wastage and potential damage to the surrounding areas.
Avoid using excessive force:
Do not overtighten the faucet handle or sprayer. Use gentle pressure to ensure a secure connection and prevent any strain or damage to the components.
Proper use of the sprayer:
Use the sprayer as intended for tasks such as rinsing dishes or cleaning the sink. Avoid using high water pressure, as it may cause splashing or overspray. Additionally, ensure that the sprayer is securely docked and doesn’t hang loosely to prevent accidental damage or malfunction.
Regular maintenance checks:
Periodically inspect the faucet and sprayer for any loose or worn out parts. Check the connection points, handle, and sprayer head for any signs of damage or deterioration. If you notice any issues, it is advisable to contact a professional plumber or the manufacturer for repairs or replacements.
Follow manufacturer guidelines:
Always refer to the manufacturer’s instructions for installation, maintenance, and troubleshooting specific to your faucet model. Follow their recommendations for cleaning, handling, and any maintenance requirements to ensure the longevity and proper functioning of your faucet.
By following these maintenance and usage tips, you can help ensure the efficient operation and durability of your Single Handle Kitchen Faucet with Sprayer.
Conclusion
How to install a single handle kitchen faucet with sprayer
Installing a single handle kitchen faucet with a sprayer can significantly improve your kitchen’s functionality and appearance. By following the step-by-step guide provided in this article, you can successfully complete the installation process. Remember to gather the necessary tools and materials, prepare the sink, remove the old faucet, install the new faucet and sprayer, and test the system for proper operation. With a little effort and attention to detail, you can enjoy the convenience and modernization that a new faucet brings to your kitchen.