 Introduction:
Removing a kitchen sink may be necessary for various reasons, such as replacing a damaged sink, installing a new one, or undertaking a kitchen renovation. Although it may seem like a daunting task, properly removing a kitchen sink can be accomplished with a few simple tools and techniques. In this comprehensive guide, we will provide a step-by-step approach to removing a kitchen sink. From preparing the area to disconnecting plumbing connections, this guide will help you successfully complete the removal process without any hassle.
 Some common types of kitchen sinks:
There are several types of kitchen sinks available, each with its own features and benefits. Here are some common types of kitchen sinks:
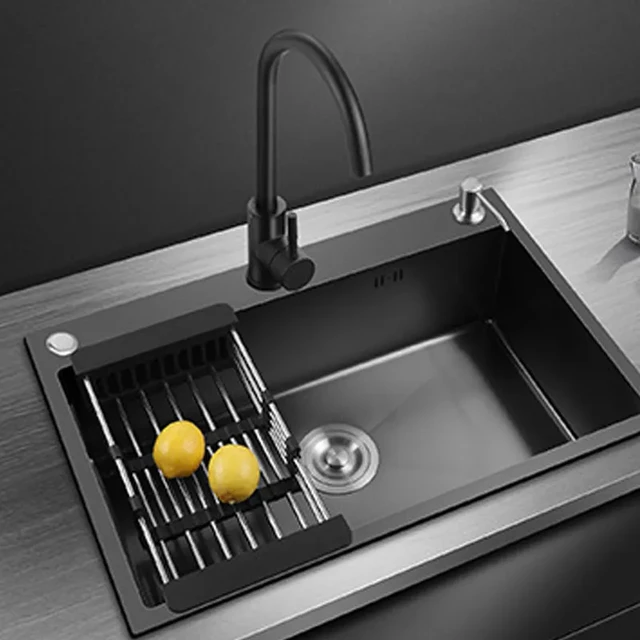
Top Mount Sink:
Also known as a drop-in sink, this type of sink is installed from above, with its rim resting on the countertop. It is a popular and economical option, easy to install, and available in various materials and styles.
Undermount Sink:
An undermount sink is installed underneath the countertop, creating a seamless look. This type of sink allows for easy countertop cleanup as there is no rim to catch debris. It is commonly made of materials like stainless steel or composite materials.
Farmhouse Sink:
Farmhouse sinks, also called apron sinks, have a large, exposed front panel that extends beyond the edge of the countertop. They provide a rustic and charming look to the kitchen and are often deeper than other sink types. Farmhouse sinks are available in different materials such as porcelain, fireclay, or stainless steel.
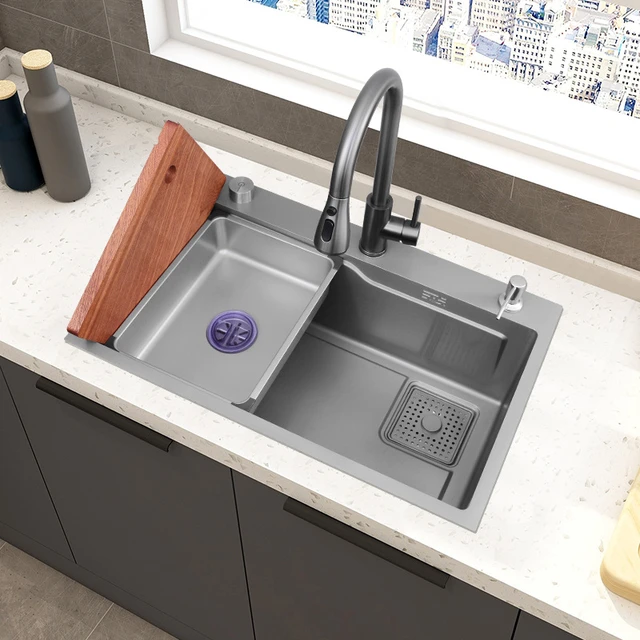
Stainless Steel Sink:
Stainless steel sinks are popular due to their durability, versatility, and ease of maintenance. They are resistant to stains, scratches, and heat. Stainless steel sinks are available in various styles, finishes, and configurations.
Composite Sink:
Composite sinks are made from a blend of materials like granite or quartz combined with resin. They offer a durable, scratch-resistant, and heat-resistant surface. Composite sinks come in various colors and styles and are easy to clean and maintain.
Cast Iron Sink:
Cast iron sinks have a durable enamel coating over a cast iron base. They are known for their longevity, heat resistance, and ability to withstand heavy use. Cast iron sinks come in different colors and are available in both traditional and contemporary styles.
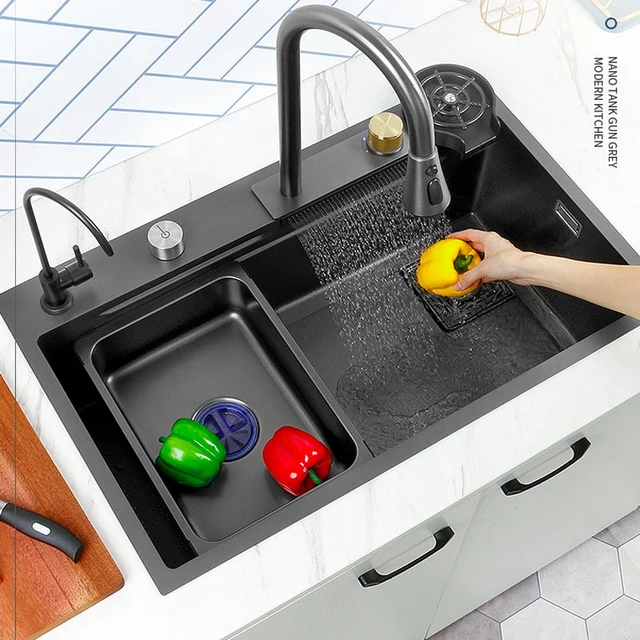
Double Bowl Sink:
Double bowl sinks feature two separate bowls, providing flexibility for multitasking in the kitchen. They are ideal for washing dishes in one bowl while using the other for food preparation or disposal.
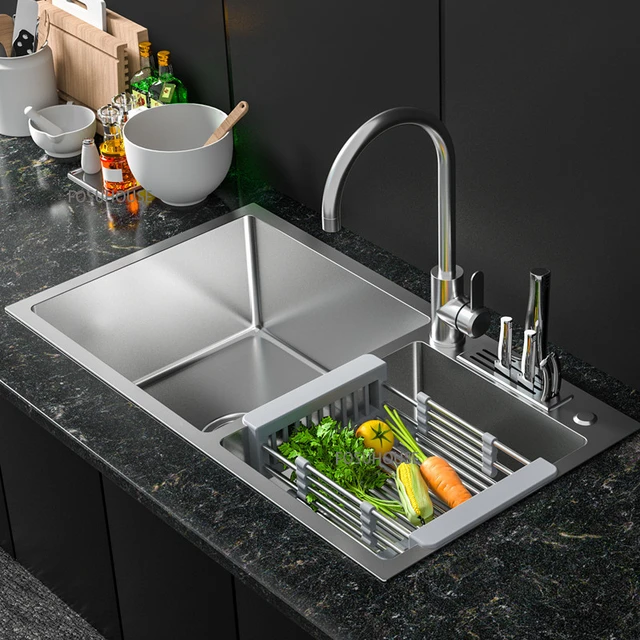
Single Bowl Sink:
Single bowl sinks have one large, deep basin. They offer ample space for washing larger items and are suitable for kitchens with limited counter space.
These are just a few examples of the types of kitchen sinks available. When choosing a sink, consider factors such as material, size, style, and functionality to find the best fit for your kitchen needs and preferences.
 Introduction to Removing a Kitchen Sink
Removing a kitchen sink is a necessary step when replacing, upgrading, or renovating your kitchen.
A. Reasons for Removal: Kitchen sink removal may be required due to damage, leaks, outdated design, or the need for a different sink type or size.
B. Safety Considerations: Prioritize safety when removing a kitchen sink by following proper procedures and using appropriate protective gear.
Preparing for Removal
Proper preparation is necessary to ensure a smooth and efficient removal process.
A. Gather Tools and Materials: Collect the necessary tools, including pliers, adjustable wrench, screwdriver, bucket, and towels or rags.
B. Turn Off Water Supply: Locate the water shut-off valves beneath the sink and turn them clockwise to shut off the water supply.
Disconnecting Plumbing Connections
Disconnecting the plumbing connections is a crucial step before removing the kitchen sink.
A. Drain Pipe Removal: Loosen the slip nut connecting the P-trap to the drainpipe using pliers or an adjustable wrench. Place a bucket under the P-trap to catch any water or debris.
B. Disconnect Supply Lines: Use pliers or an adjustable wrench to disconnect the hot and cold water supply lines from the shut-off valves. Allow any remaining water in the lines to drain into the bucket.
C. Remove Mounting Clips: Unscrew the mounting clips located beneath the sink at the rim, if applicable, using a screwdriver or pliers. This step may vary depending on the sink model.
D. Disconnect Sink from Countertop: Carefully cut through any caulk or adhesive holding the sink to the countertop using a utility knife. This will help separate the sink from the countertop.
 Removing the Kitchen Sink
Once all connections are disconnected, the kitchen sink can be lifted and removed.
A. Clear Surrounding Area: Clear any objects or debris from around the sink to ensure a safe and unobstructed removal process.
B. Lift and Remove: With the help of a helper, if needed, lift the kitchen sink straight up and away from the countertop. Be mindful of its weight and avoid causing any damage or injury during removal.
C. Clean and Prepare Countertop: After removing the sink, clean and prepare the countertop for installing a new sink if necessary.
Inspection and Repair
Take the opportunity to inspect the plumbing connections and address any necessary repairs or maintenance.
A. Check for Leaks or Damage: Inspect the drainpipe, P-trap, and supply lines for any leaks, corrosion, or damage. Address any issues before installing the new sink.
B. Clean and Unblock Drains: Use a plumbing snake or auger to clear any blockages or debris from the drain lines.
Pairing a kitchen sink with a faucet:
When it comes to pairing a kitchen sink with a faucet, there are a few factors to consider to ensure compatibility and functionality. Here are some important considerations:
Mounting Type:
Determine the mounting type of your sink, whether it is a top mount (drop-in), undermount, or farmhouse sink. The faucet needs to be compatible with the sink’s mounting style, as some faucets are designed specifically for certain types of sinks.
Number of Faucet Holes:
Check the number of pre-drilled faucet holes in your sink. Most sinks have either one, two, three, or four pre-drilled holes for the faucet and other accessories. Make sure the faucet you choose matches the number of available holes in your sink. Alternatively, you can use a base plate or cover plate to bridge any extra holes if needed.
Configuration:
Consider the configuration of your sink and how you plan to use it. If you have a double bowl sink, you may opt for a faucet with a separate sprayer or second spout for added convenience. A single bowl sink may require a faucet with a pull-out or pull-down sprayer.
Height and Reach:
Determine the height and reach of the faucet. Ensure that it provides ample clearance and reach to comfortably fit and cover your sink. Consider the depth and size of your sink bowls to avoid splashing and to ensure efficient use of the space.
Style and Finish:
Consider the overall style and aesthetic of your kitchen when selecting a faucet. Choose a finish that complements the sink, backsplash, and other kitchen elements. Popular finishes include chrome, stainless steel, brushed nickel, and oil-rubbed bronze.
Functionality and Features:
Consider the specific features and functionalities you desire in a faucet. This can include options like single-handle or double-handle controls, touchless operation, water-saving capabilities, and adjustable spray modes.
Quality and Durability:
Invest in a high-quality faucet from a reputable brand that offers long-lasting performance and durability. Look for faucets with solid brass or stainless steel construction for added longevity.
By considering these factors, you can select a compatible and aesthetically pleasing faucet that suits your kitchen sink, enhances functionality, and complements the overall design of your kitchen.
 Conclusion
Removing a kitchen sink is a manageable task that can be accomplished with a few simple tools and proper techniques. By following the step-by-step guide outlined in this article, you can successfully complete the removal process. Remember to prepare the area, disconnect the plumbing connections, and safely remove the sink from the countertop. Take the opportunity to inspect and address any necessary repairs before installing a new sink or proceeding with your kitchen renovation. With careful preparation and execution, you can remove a kitchen sink smoothly and confidently.