 Introduction:
Plumbing a kitchen sink is a necessary task when installing a new sink or replacing an existing one. Proper plumbing ensures efficient drainage, prevents leaks, and allows for smooth water supply. By following a step-by-step procedure and taking necessary precautions, you can successfully plumb a kitchen sink. In this comprehensive guide, we will explore the process of plumbing a kitchen sink, including connecting water supply lines, installing drain pipes, and ensuring proper sealing. By the end, you will have the knowledge and confidence to tackle this essential plumbing task.
 Introduction to Plumbing a Kitchen Sink
Plumbing a kitchen sink involves connecting water supply lines and drain pipes to ensure effective water flow and drainage.
A. Importance of Proper Plumbing: Proper plumbing prevents leaks, ensures proper drainage, and enables efficient water supply to the kitchen sink.
B. Necessary Tools and Materials: Gather the necessary tools, such as wrenches, pipe cutters, and plumber’s tape, along with materials like supply lines, drain pipes, and fittings.
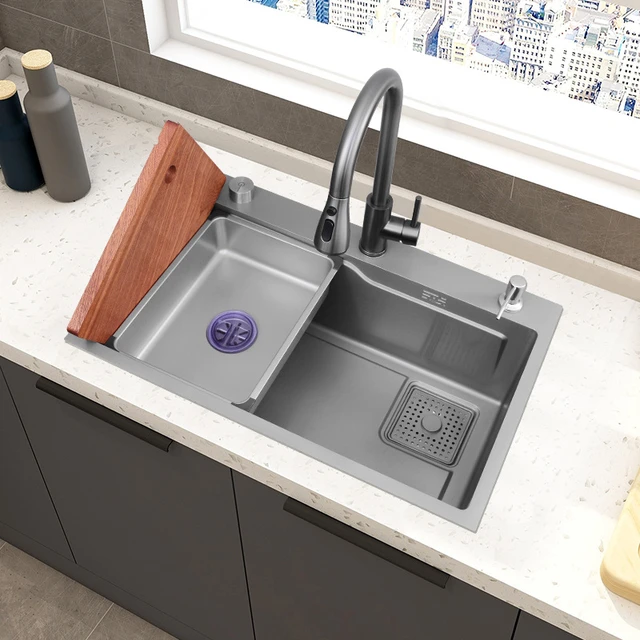
Some common types of kitchen sinks:
There are several types of kitchen sinks available to suit different preferences and needs. Here are some common types of kitchen sinks:
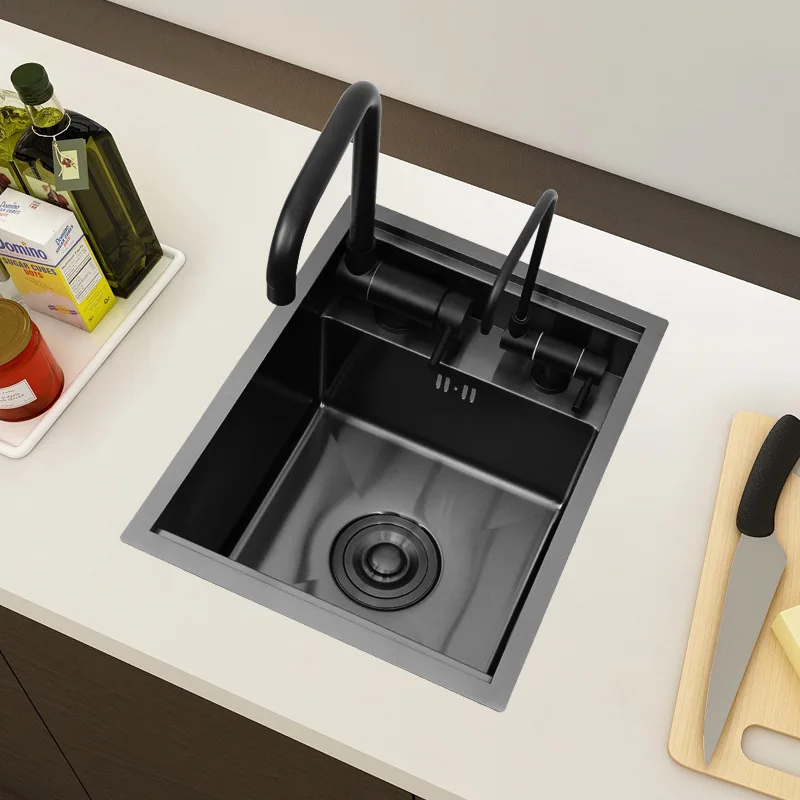
Top-mount Sink:
Also known as a drop-in sink, this type of sink is installed by dropping it into a pre-cut hole in the countertop. The rim of the sink sits on top of the countertop, making it easy to install and replace. It provides a traditional look and is compatible with various countertop materials.
Undermount Sink:
An undermount sink is installed underneath the countertop, creating a seamless and clean look. The edge of the countertop is exposed, and this style is often popular with stone or solid surface countertops. It offers easy countertop cleanup and a more modern aesthetic.
Farmhouse Sink:
Farmhouse sinks, also called apron front sinks, have a large, deep basin and a front panel that extends past the edge of the countertop. This style provides a rustic and traditional look, often associated with farmhouse or country-style kitchens.
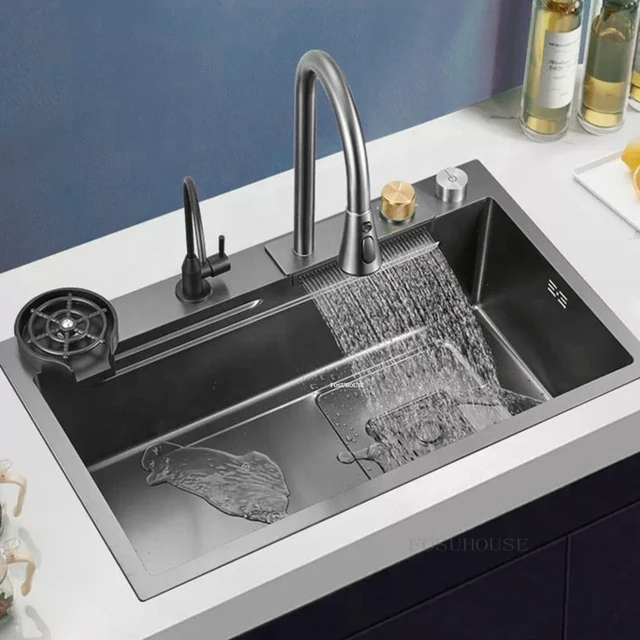
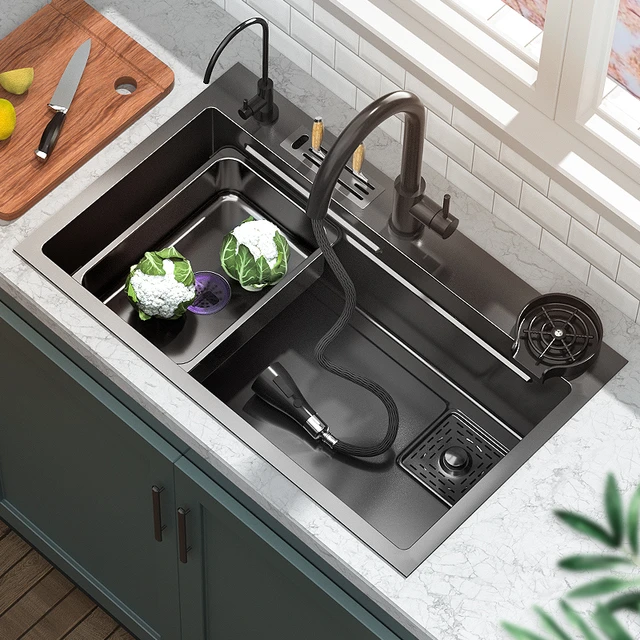
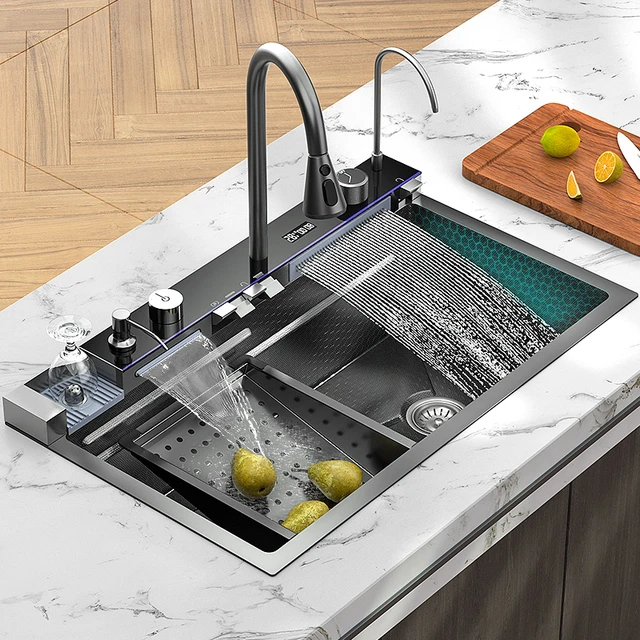
Stainless Steel Sink:
Stainless steel sinks are durable, easy to clean, and resistant to stains and heat. They are a popular choice due to their versatility and ability to complement various kitchen styles. Stainless steel sinks are available in different configurations, such as single bowl, double bowl, or even triple bowl options.
Composite Sink:
Composite sinks are made from a mixture of materials like granite or quartz particles combined with resin. These sinks offer a durable, heat-resistant, and scratch-resistant surface that is easy to maintain. They come in various colors and styles to suit different kitchen designs.
Cast Iron Sink:
Cast iron sinks are coated with a layer of enamel, providing a smooth and glossy finish. They are known for their sturdiness, resistance to chipping or scratching, and excellent heat retention. Cast iron sinks are available in various colors and designs, adding a classic and elegant touch to the kitchen.
Fireclay Sink:
Fireclay sinks are crafted from molded clay fired at high temperatures, resulting in a smooth and glazed finish. They are known for their durability, resistance to stains and scratches, and high aesthetic appeal. Fireclay sinks are commonly found in traditional or farmhouse-style kitchens.
These are just a few examples of kitchen sink types available. Other options, such as granite sinks, porcelain sinks, or double-bowl sinks, may also be worth considering. The choice of kitchen sink depends on personal style preferences, functional requirements, and budget considerations.
 Shutting Off Water Supply and Preparing for Installation
Before starting the plumbing process, shut off the water supply and prepare the area for installation.
A. Shutting Off Water Supply: Locate the main water shut-off valve and turn it off to prevent water flow during the plumbing process.
B. Clearing and Preparing: Clear the area under the sink, ensuring there is sufficient space to work comfortably. Remove any existing plumbing connections if applicable.
Connecting Water Supply Lines
Follow these steps to connect the water supply lines to the kitchen sink:
A. Water Line Selection: Select the appropriate water supply lines considering the connection type, length, and material (such as copper or flexible stainless steel).
B. Attaching Supply Lines to the Faucet: Connect the supply lines to the faucet using appropriate fittings and ensure they are properly tightened using a wrench.
C. Attaching Supply Lines to the Shut-Off Valves: Connect the other ends of the supply lines to the shut-off valves, ensuring proper tightening.
Installing Drain Pipes and Traps
Proper installation of drain pipes and traps ensures effective drainage and prevents sewer gases from entering the kitchen.
A. Installing the P-Trap: Position and connect the P-trap to the kitchen sink drain and the branch drain using slip nuts and washers. Ensure the connections are secure but not overtightened.
B. Assembly of Tailpiece and Drain Pipe: Install the tailpiece and drain pipe, connecting them to the P-trap and other necessary fittings.
C. Securing and Testing: Secure all connections using slip nuts and washers, ensuring there are no leaks. Test the drainage by running water through the sink and checking for any signs of leaks or blockages.
 Sealing and Insulating
To ensure proper sealing and insulation, follow these steps:
A. Seal All Connections: Apply plumber’s tape or pipe thread sealant to all threaded connections to prevent leaks.
B. Insulate Pipes: Use foam pipe insulation to protect pipes from condensation and to minimize noise during water flow.
C. Check for Leakages: After completing the plumbing process, check all connections, joints, and fittings for any signs of leaks. Adjust and tighten if necessary.
Restoring Water Supply and Testing
Once the plumbing is complete, follow these steps to restore the water supply and test the newly installed sink:
A. Open the Main Water Shut-Off Valve: Turn on the main water shut-off valve, allowing water flow to the kitchen sink.
B. Test Water Flow: Test water flow from both hot and cold water faucets, ensuring there are no leaks or abnormal water pressure.
C. Check Drainage: Verify that the sink drains properly and there are no signs of clogs or slow drainage.
 Conclusion
Plumbing a kitchen sink may seem intimidating, but by following a step-by-step approach, you can confidently complete the task. By shutting off the water supply, connecting supply lines, installing drain pipes, and ensuring proper sealing, you can achieve efficient water supply and drainage for your kitchen sink. Take your time during the process, double-check connections for leaks, and test the functionality of the sink. With these guidelines, you can successfully navigate the plumbing process and enjoy a properly functioning and leak-free kitchen sink.