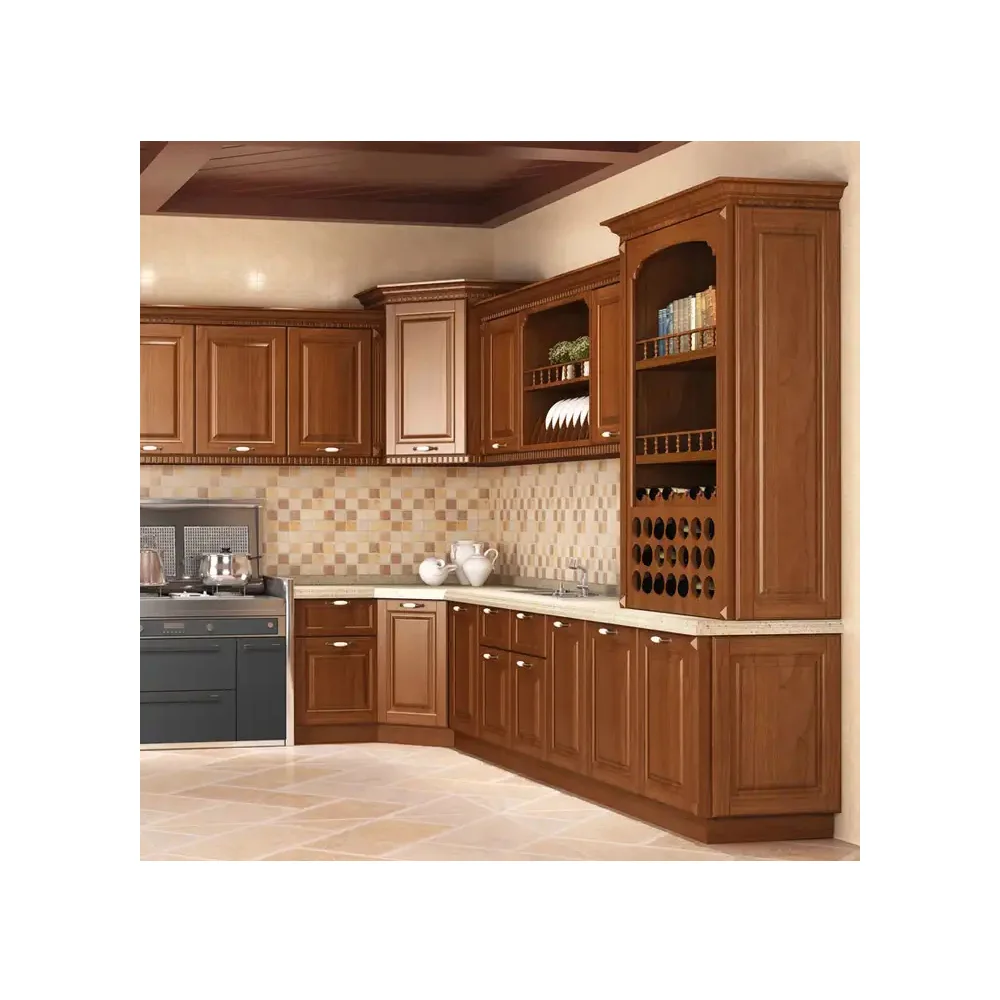
How to install kitchen base cabinets
Installing kitchen base cabinets is a significant undertaking in any kitchen renovation. It’s a fundamental step that sets the stage for the entire kitchen layout and functionality. Whether you’re a seasoned DIYer or a first-timer, this comprehensive guide will equip you with the knowledge and techniques to install kitchen base cabinets successfully.
 Planning and Preparation: Setting the Stage for Success
Before you even touch a cabinet, meticulous planning is crucial. It lays the groundwork for a smooth installation and ensures your cabinets fit seamlessly within your kitchen space.
1. Measuring and Layout: The Foundation of Your Kitchen
Accurate measurements are the cornerstone of a successful installation.
- Measure the room: Use a tape measure to determine the length and width of the space you have dedicated to your cabinets. Be precise and double-check your measurements.
- Account for walls: Consider the shape and layout of your walls. Are they straight, or do they have any curves or angles?
- Factor in appliances: Measure the dimensions of your appliances, like the refrigerator, stove, dishwasher, and sink. Ensure you leave sufficient space around them for proper functionality and clearance.
- Plan the layout: Sketch out your desired cabinet layout on paper. This helps visualize the placement and flow of your kitchen.
- Consider the doors: Decide on the type of cabinet doors you want. Swinging doors require more clearance than sliding doors.
- Determine the cabinet height: Standard base cabinets are 34.5 inches high, but you may opt for taller or shorter cabinets based on your preference and kitchen design.
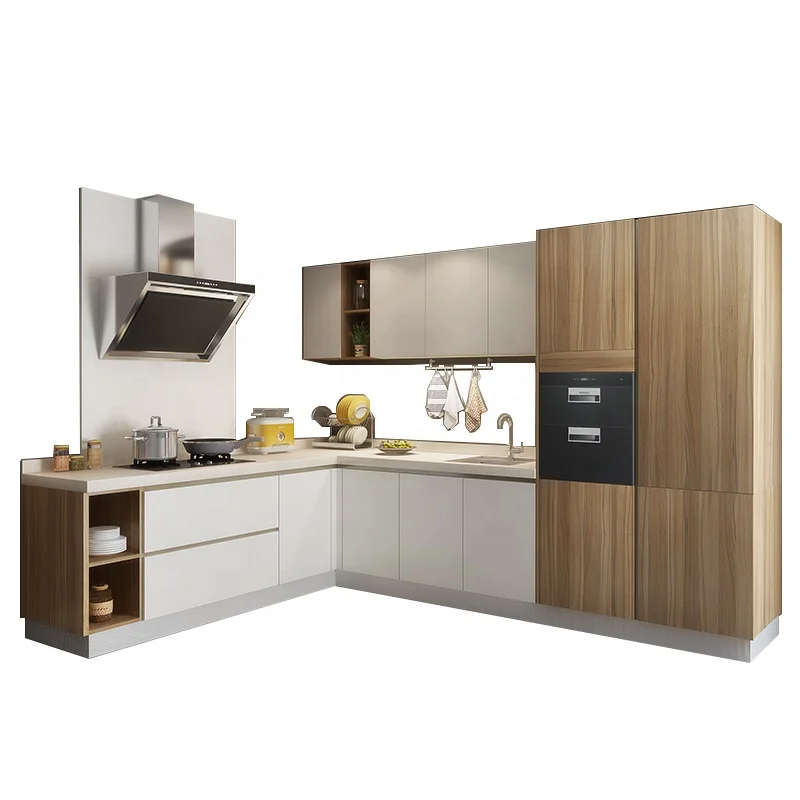
2. Choosing the Right Cabinets: Material Matters
Selecting the right cabinets is a critical step in the process. Consider these factors:
- Material: Cabinets come in a variety of materials, including wood, laminate, and metal. Wood offers a classic look and durability, while laminate is more budget-friendly and easy to clean. Metal cabinets are a modern and sleek option.
- Style: Do you prefer traditional, contemporary, or transitional style cabinets? Choose a style that complements your overall kitchen design.
- Cabinet doors: Consider the style, material, and finish of the cabinet doors. Options range from solid wood to glass panels to shaker-style doors.
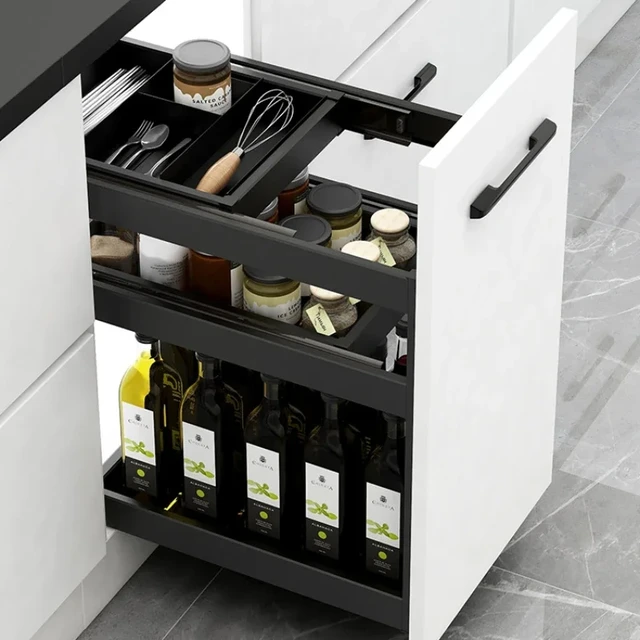
- Cabinet depth: Standard base cabinets are 24 inches deep. However, you might opt for shallower or deeper cabinets depending on your kitchen’s layout and needs.
- Hardware: Choose handles and knobs that match the style and finish of your cabinets.
 3. Gathering the Necessary Tools and Materials
Assembling the right tools and materials is essential for a successful installation. Here’s a comprehensive list:
- Tools:
- Level: Ensure your cabinets are perfectly level for a professional look and stability.
- Tape measure: Precise measurements are essential for accurate placement.
- Stud finder: Locate the wall studs for secure cabinet mounting.
- Drill: Use a drill to create pilot holes for screws and fasten cabinets to the wall.
- Screwdriver: Securely fasten screws for cabinet assembly and installation.
- Circular saw or jigsaw: Cut cabinets to fit the space accurately.
- Safety gear: Wear safety glasses and gloves to protect yourself during the installation process.
- Materials:
- Cabinet mounting screws: Use screws that are long enough to penetrate the wall studs for secure mounting.
- Shims: Correct uneven surfaces and ensure cabinets sit level.
- Construction adhesive: Create a strong bond between the cabinets and the wall.
- Caulk: Seal gaps between cabinets and the wall for a finished look.
- Optional: Cabinet door hinges, drawer slides, cabinet door handles and knobs, and other accessories.
Installing Kitchen Base Cabinets: A Step-by-Step Guide
Now that you have the necessary tools and materials, let’s dive into the installation process.
 1. Laying the Foundation: Cabinet Placement and Marking
- Locate the starting point: Determine where you want your first cabinet to be installed. Mark the location on the wall using a pencil or marker.
- Measure and mark for subsequent cabinets: Use your tape measure and level to determine the location of each subsequent cabinet. Mark the wall carefully for accurate placement.
- Consider appliances: Account for the placement of your refrigerator, stove, dishwasher, and sink. Ensure there is sufficient clearance around these appliances for functionality.
2. Securing Cabinets to the Wall: A Solid Foundation
- Find studs: Use a stud finder to locate the wall studs for secure cabinet mounting. You’ll want to attach your cabinets directly to the studs for maximum stability.
- Pilot holes: Drill pilot holes in the cabinet backing and the wall studs before inserting screws. This prevents splitting the wood and ensures a smooth installation.
- Secure with screws: Use cabinet mounting screws that are long enough to penetrate the studs for maximum stability. Tighten the screws securely, but avoid overtightening.
- Shims and level: Use shims to level the cabinets if necessary. Make sure the cabinets are level both horizontally and vertically for a professional look and proper functionality.
3. Connecting Cabinets Together: Creating a Seamless Unit
- Align cabinets: Once the first cabinet is securely fastened to the wall, align the next cabinet next to it.
- Connecting screws: Use cabinet-to-cabinet connecting screws to fasten the cabinets together. These screws are typically shorter than wall mounting screws and are designed to connect cabinets without penetrating the wall.
- Shims and level: Use shims to level the cabinets and ensure they are flush with each other.
 4. Filling Gaps and Finishing Touches: Enhancing Your Cabinets
- Caulking: After all cabinets are installed, apply caulk to seal the gaps between the cabinets and the wall. This creates a clean and finished look and prevents dust and debris from entering the cabinet openings.
- Installation of cabinet doors and drawers: Once the cabinets are securely installed and the caulk has dried, install the cabinet doors and drawer slides. Ensure that the doors and drawers open and close smoothly.
- Adding hardware: Install the cabinet door handles and knobs. Choose hardware that complements the style of your cabinets and your overall kitchen design.
5. Final Touches: Clean Up and Enjoy
- Clean up: Remove any dust and debris from the installation area.
- Enjoy your new kitchen cabinets: Step back and admire your hard work! Your newly installed kitchen cabinets will transform your kitchen and provide a functional and stylish space.
Tips and Tricks for Successful Installation:
- Measure twice, cut once: Accuracy is crucial for a successful installation. Double-check all measurements before making any cuts or drilling holes.
- Use a level: A level is essential for ensuring that your cabinets are perfectly level and straight. This will give your kitchen a professional look and prevent cabinets from becoming uneven over time.
- Use shims: Shims can be used to correct any uneven surfaces and ensure that the cabinets are level.
- Pre-drill pilot holes: Pre-drilling pilot holes in the cabinet backing and the wall studs prevents splitting the wood and makes the installation process smoother.
- Use construction adhesive: Construction adhesive can help create a strong bond between the cabinets and the wall.
- Don’t overtighten screws: Overtightening screws can damage the wood and weaken the cabinet structure.
- Take your time: Installing kitchen base cabinets is a time-consuming process. Take your time and ensure each step is completed accurately.
- Wear safety gear: Always wear safety glasses and gloves to protect yourself during the installation process.
Troubleshooting Common Installation Challenges
How to install kitchen base cabinets
Even with meticulous planning and preparation, installation challenges can arise. Here’s how to address common issues:
- Uneven walls: If your walls are uneven, use shims to level the cabinets.
- Cabinet gaps: If you have gaps between cabinets, use caulk to fill them in.
- Cabinet door alignment: If the doors are not aligned properly, adjust the hinges.
- Drawer slide problems: If the drawers are not sliding smoothly, adjust the drawer slides.
 Conclusion: A Rewarding DIY Project
How to install kitchen base cabinets
Installing kitchen base cabinets may seem daunting, but with proper planning, preparation, and a step-by-step approach, it can be a rewarding DIY project. Remember to take your time, measure accurately, and use the right tools and materials. With these guidelines, you can confidently transform your kitchen with beautifully installed base cabinets.