 Introduction
Removing a kitchen sink drain may seem like a challenging task, but with the right tools and guidance, it can be a straightforward process. Whether you need to clean the drain or replace it, this article will provide a step-by-step guide on how to remove a kitchen sink drain easily. By following these simple instructions, you can successfully remove the drain and tackle any maintenance or repair tasks necessary.
 Some common materials used for kitchen sink drains include:
Kitchen sink drains can be made from various materials, depending on the specific installation and design. Some common materials used for kitchen sink drains include:
Stainless Steel:
Stainless steel is a popular choice for kitchen sink drains due to its durability, corrosion resistance, and easy maintenance. It is a hygienic option that can withstand regular exposure to water and various cleaning products.
PVC (Polyvinyl Chloride):
Pipes and fittings are commonly used for kitchen sink drains. PVC is lightweight, inexpensive, and resistant to chemical corrosion. It is also easy to install and has a long lifespan.
Brass:
Brass is a sturdy and durable material commonly used for drain fittings. It provides a classic and elegant look, is resistant to corrosion, and can handle high water pressures. Brass drains are often coated with chrome or another finish for aesthetic purposes.
ABS (Acrylonitrile Butadiene Styrene):
ABS is a lightweight and cost-effective material used for drainpipes and fittings. It is durable, resistant to chemicals, and easy to install. ABS is commonly used in residential plumbing systems, including kitchen sink drains.
Cast Iron:
Iron drains were commonly used in older homes but have become less prevalent in modern installations. Cast iron is heavy, durable, and offers excellent sound insulation properties. However, it is susceptible to rust and may require periodic maintenance to prevent corrosion.
Copper:
Drains are less common but provide a distinctive and luxurious aesthetic. Copper is resistant to corrosion, durable, and can add a unique touch to the overall design. However, it is generally more expensive than other materials.
Each material has its advantages and considerations, so the choice of the drain material might depend on factors such as budget, style preference, and local building codes or regulations. It’s always recommended to consult a plumber or a professional in the field to determine the most suitable material for your specific kitchen sink drain needs.
 Preparation and Tools
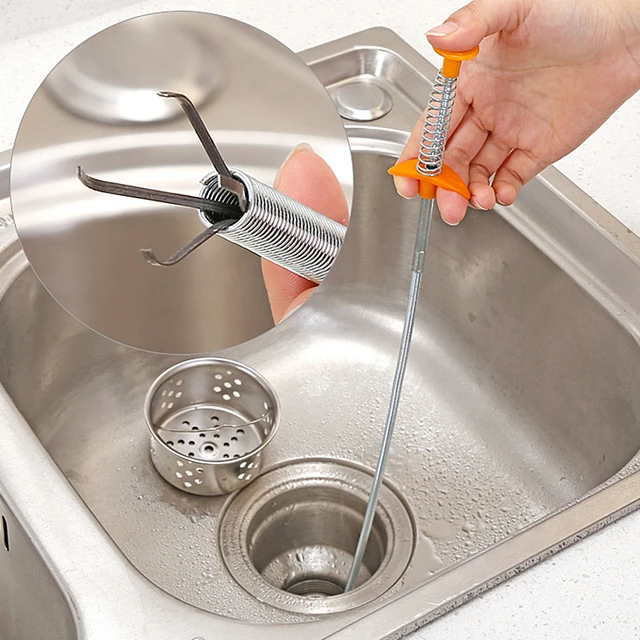
How to remove kitchen sink drain
Gather Necessary Tools: Before starting, ensure you have the required tools, including a pipe wrench or adjustable pliers, a bucket or container to catch any water or debris, plumber’s putty or silicone sealant, and a screwdriver.
Clear the Area: Remove any items from underneath the sink to provide enough space to work comfortably.
 Removing the Drain
Disconnect the P-Trap: Start by loosening the slip nuts on the P-trap, which is the curved pipe underneath the sink. Place a bucket or container underneath to catch any water or debris that may come out as you disconnect the pipe. Loosen the slip nuts using a pipe wrench or adjustable pliers, and carefully remove the P-trap.
Loosen the Locknut: Locate the locknut on the drain pipe underneath the sink, which holds the drain in place. Use a pipe wrench or adjustable pliers to loosen the locknut, turning it counterclockwise. Apply steady pressure until the locknut is loose enough to remove by hand.
Remove the Drain Flange: Once the locknut is loose, the drain flange (the top part of the drain visible from the sink) can be removed. To do this, go above the sink and unscrew the screws securing the drain flange using a screwdriver. If the flange is nonremovable, gently unscrew it counterclockwise by hand.
Clean the Area: After removing the drain flange, clean the area around the drain hole, removing any residue or old plumber’s putty. Ensure the surface is clean and smooth for reinstallation.
 Reinstallation or Replacement
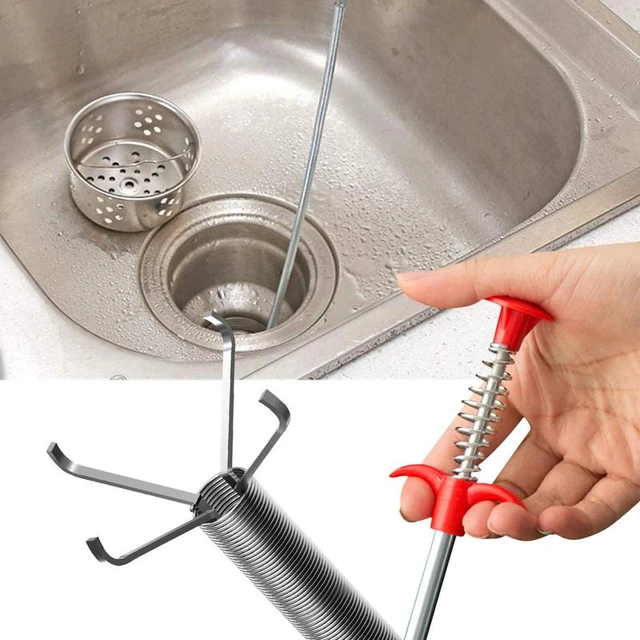
How to remove kitchen sink drain
Installing a New Drain: If you need to replace the drain or install a new one, apply a thin layer of plumber’s putty or silicone sealant around the bottom edge of the new drain flange. Insert the flange into the drain hole and press it down to create a watertight seal.
Securing the Locknut: From underneath the sink, screw the locknut onto the drain pipe, ensuring it is tightened securely. Use a pipe wrench or adjustable pliers to tighten the locknut, turning it clockwise.
Reconnecting the P-Trap: Reattach the P-trap by aligning it with the drain pipe and slip nuts. Tighten the slip nuts on both ends of the P-trap securely using a pipe wrench or adjustable pliers.
Maintain and care for your kitchen sink drain:
To maintain and care for your kitchen sink drain, here are some important tips to consider:
Regular Cleaning:
Clean the kitchen sink drain regularly to prevent any buildup of food waste, grease, or other debris. Use a drain cleaner specifically designed for kitchen drains or a mixture of vinegar and baking soda. Pour the cleaner down the drain, let it sit for a few minutes, and then flush it with hot water to clear any residue.
Avoid Harsh Chemicals:
While chemical drain cleaners can effectively remove clogs, they can also damage your pipes and drains over time. Avoid using harsh chemicals frequently and opt for natural or enzyme-based drain cleaners for regular maintenance. These alternatives are gentler on the pipes and safer for the environment.
Keep Grease Away:
Avoid pouring or rinsing grease, oil, or fat down the kitchen sink drain, as these substances can solidify and clog the pipes. Instead, let them cool and dispose of them in a designated container or in solid waste.
Use a Strainer:
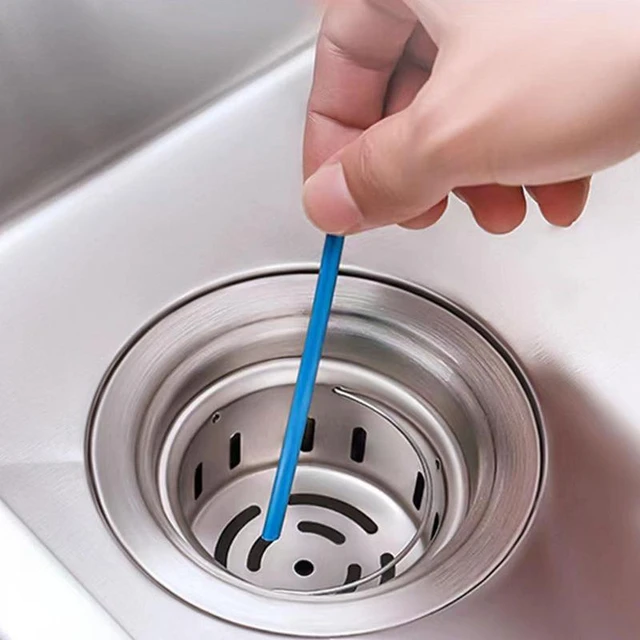
Install a sink strainer or a drain cover to catch large food particles and debris, preventing them from entering and clogging the drain. Empty the strainer or clean the drain cover regularly to maintain proper drainage.
Flush with Hot Water:
Run hot water down the kitchen sink drain after each use to help prevent grease and other substances from solidifying and causing clogs. Hot water can help flush away any residual particles and keep the drain flowing smoothly.
Address Clogs Promptly:
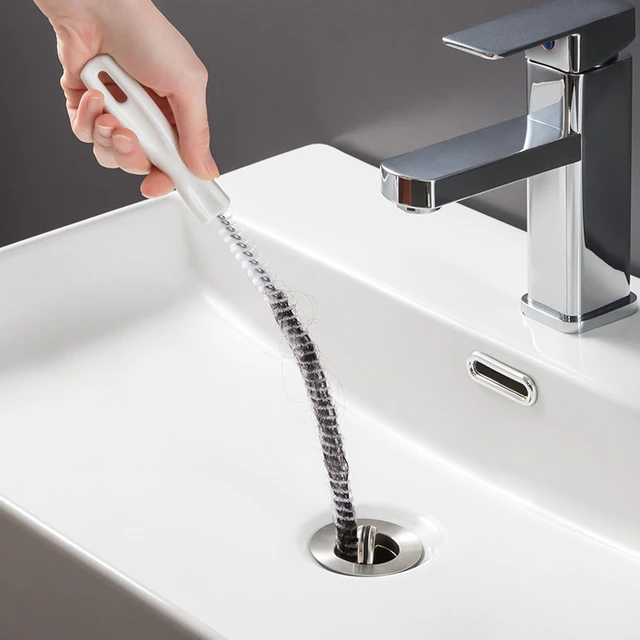
If you notice slow drainage or a clog in your kitchen sink drain, address it promptly. Use a plunger or a drain snake to try and clear the clog. Avoid using excessive force that could damage the pipes. If the clog persists, consider contacting a professional plumber for assistance.
Professional Maintenance:
Regularly schedule professional drain cleaning or maintenance to ensure your kitchen sink drain is functioning optimally. Professional plumbers have specialized tools and expertise to detect and address any potential issues before they escalate.
By following these maintenance tips, you can help keep your kitchen sink drain free from clogs and maintain its proper functioning. Remember to be mindful of what goes down the drain and address any issues promptly to prevent costly repairs or replacements.
Conclusion
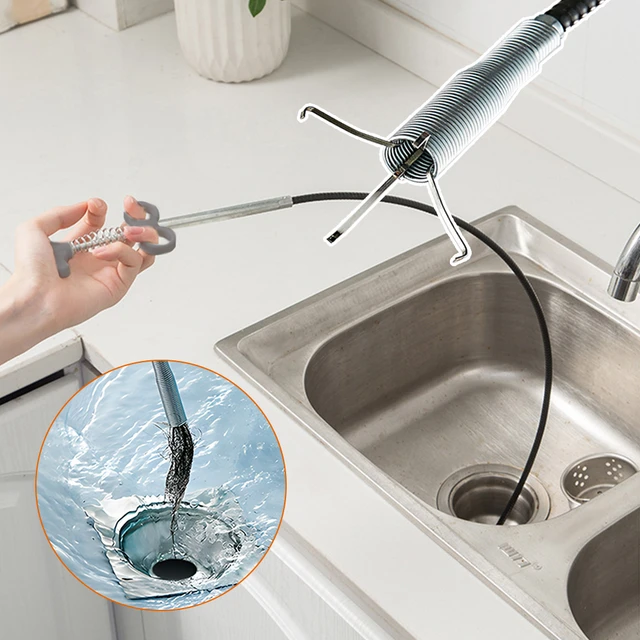
How to remove kitchen sink drain
Removing a kitchen sink drain is a simple process that can be accomplished with the right tools and instructions. By following the step-by-step guide outlined above, you can easily remove the drain, perform necessary maintenance or repairs, and reinstall or replace it as needed. Remember to gather appropriate tools, safely disconnect the P-trap, loosen the locknut, and remove the drain flange. With a clean work area and proper reinstallation or replacement, you can successfully complete the task and restore kitchen sink to working order.