Introduction
Removing a kitchen faucet might seem like a complicated task, but with the right approach and tools, it can be done efficiently. Whether you’re replacing an old faucet or performing a repair, understanding how to remove a kitchen faucet is essential. This guide will walk you through each step with clear instructions and practical tips to ensure you can handle the job confidently.
Understanding the Need to Remove a Kitchen Faucet
Reasons for Faucet Removal
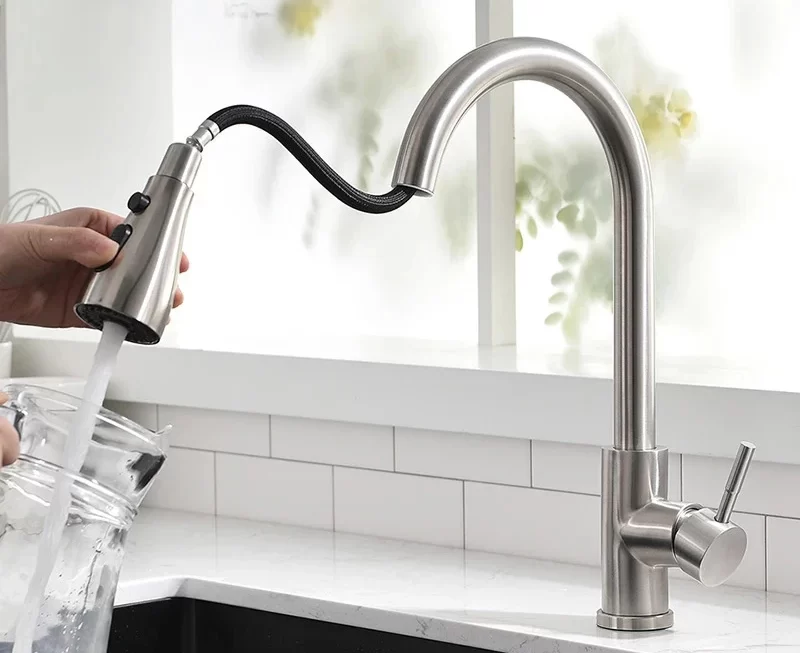
How to remove a kitchen faucet?Before starting the removal process, it is crucial to understand why you might need to remove your kitchen faucet. Faucets are subject to wear and tear over time, leading to leaks, rust, or decreased functionality. You might be dealing with a dripping faucet that wastes water and drives up your utility bills. Another reason could be the desire to upgrade to a more modern or stylish faucet that better fits your kitchen decor. Sometimes, faucet removal is necessary to address issues like clogs or sediment buildup that affect water flow. Regardless of the reason, removing the faucet is the first step towards resolving these problems and improving your kitchen’s functionality.
Tools and Materials Required
Gathering the right tools and materials is essential for a successful faucet removal. You will need an adjustable wrench, basin wrench, pipe wrench, bucket, and towels. The adjustable wrench is versatile for loosening and tightening various nuts and bolts. A basin wrench is specially designed to reach tight spaces under the sink, making it ideal for working around the faucet’s mounting hardware. A pipe wrench is useful for larger fittings and stubborn parts that might not budge easily. Have a bucket ready to catch any water that might spill during the process, and keep towels on hand to clean up any mess. Ensuring you have all the necessary tools before starting will make the process smoother and more efficient.
Preparing for Faucet Removal
Shutting Off the Water Supply
The first and most critical step in removing a kitchen faucet is turning off the water supply. Locate the shut-off valves under the sink, typically positioned near the wall. Turn these valves clockwise to shut off the water flow to the faucet. If you cannot find these valves or if they do not work, you will need to turn off the main water supply to your home. This step is crucial to prevent water from leaking out during the removal process, which could cause a mess and complicate the task.
Draining the Water Lines
Once the water supply is turned off, it is important to drain the water lines. Open the faucet to allow any remaining water in the pipes to flow out. Place a bucket or bowl under the faucet to catch any residual water that might drip out. Let the water drain completely before you proceed with the removal process. This step helps to minimize spills and ensures that you can work without the added complication of excess water.
Preparing the Work Area
Before starting the removal, clear out the space under the sink to give yourself plenty of room to work. Remove any items or cleaning supplies from the area to avoid clutter. How to remove a kitchen faucet?Place a towel or cloth around the base of the faucet to protect the sink from scratches and to catch any small parts that might fall during the removal. Keeping your workspace organized and clean will help you work more efficiently and reduce the risk of losing any components.
Removing the Faucet Handle and Control
Loosening the Faucet Handle
With your workspace prepared, the next step is to remove the faucet handle. Most kitchen faucets have a decorative cap covering the handle screw. Use a flathead screwdriver to pry off this cap. Once the screw is exposed, use a screwdriver or Allen wrench to loosen and remove it. Carefully pull the handle off the faucet and set it aside in a safe place. This step is essential for accessing the internal components of the faucet and continuing with the removal process.
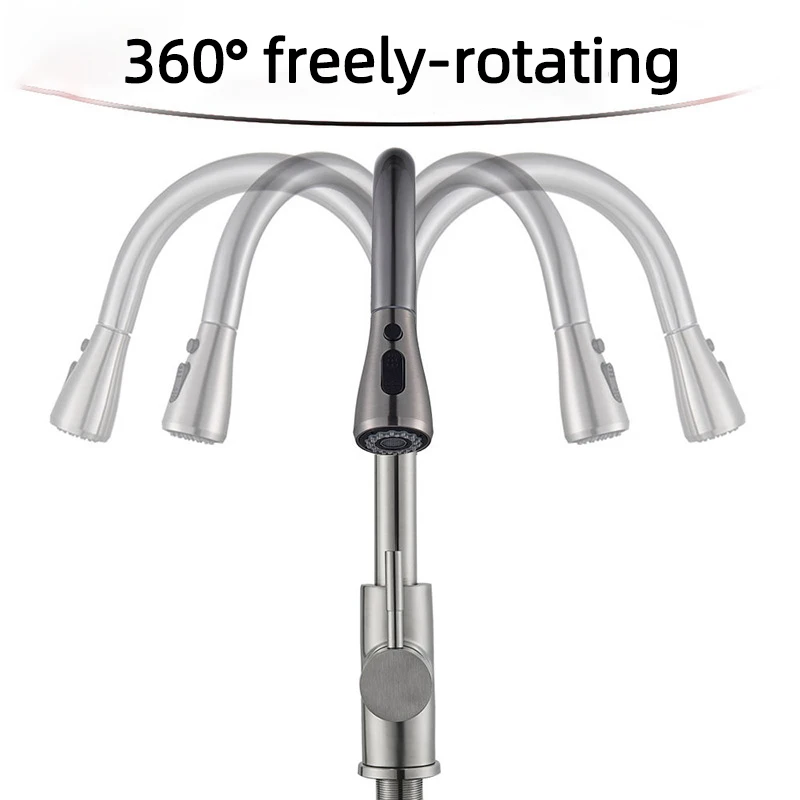
Removing Control Knobs or Levers
Depending on the faucet model, you might need to remove additional control knobs or levers. These components are usually secured with screws or set screws. Use the appropriate tool to loosen and remove them. Keep these parts in a secure location to avoid losing them. If you encounter resistance, gently wiggle the knobs or levers while loosening the screws to avoid damaging them. Properly removing these components is crucial for accessing the mounting hardware of the faucet.
Detaching the Faucet from the Sink
Locating and Removing Mounting Nuts
With the handle and control knobs removed, the next step is to access and remove the mounting nuts that secure the faucet to the sink. These nuts are typically located underneath the sink and can be challenging to reach. Use a basin wrench to loosen and remove the nuts. Turn the wrench counterclockwise to detach the nuts. Apply steady pressure to avoid damaging the sink or surrounding plumbing. If the nuts are particularly stubborn, you might need to use penetrating oil to help loosen them.
Disconnecting the Water Supply Lines
Next, disconnect the water supply lines from the faucet. Use an adjustable wrench to loosen the fittings that connect the supply lines to the faucet. Once loosened, carefully unscrew and remove the supply lines. Be prepared for a small amount of water to drip out during this process. Have a bucket or towels ready to catch any escaping water. Properly disconnecting the water lines is crucial for removing the faucet and ensuring that you can install a new one without issues.
Removing the Faucet
With the mounting nuts and water supply lines disconnected, you can now remove the faucet from the sink. Gently lift the faucet away from the sink. If it seems stuck, check for any remaining connections or obstructions that might be holding it in place. You may need to wiggle the faucet gently to free it. Take care not to damage the sink or surrounding plumbing during this step. Properly removing the faucet is essential for preparing the area for a new installation.
Cleaning Up and Preparing for New Faucet Installation
Inspecting the Area
After removing the old faucet, inspect the area for any debris or residue. Clean the area around the sink to remove any leftover sealant or gunk. You might need to use a scraper or cleaning solution to remove stubborn residue. Ensure that the sink surface is smooth and clean before installing the new faucet. A clean workspace is essential for a proper and secure installation of the new faucet.
Checking for Leaks or Damage
Before proceeding with the installation of a new faucet, check the water supply lines and connections for any leaks or damage. If you notice any issues, address them before installing the new faucet. You may need to replace old fittings or make repairs to ensure a proper seal with the new faucet. Ensuring that everything is in good condition will help prevent leaks and other issues once the new faucet is installed.
Preparing for New Faucet Installation
Finally, prepare for the installation of your new faucet. Gather all the parts and tools you’ll need for the installation process. Review the instructions provided with the new faucet and ensure you understand each step. Having everything ready will make the installation process smoother and more efficient. Proper preparation is key to a successful faucet installation and will help you achieve the best results.
Conclusion
How to remove a kitchen faucet? Removing a kitchen faucet might seem like a complex task, but with the right preparation and tools, it becomes manageable. By following the steps outlined in this guide, you can successfully remove your old faucet and prepare for a new installation. Whether you’re replacing an old faucet or performing repairs, understanding the process will help you tackle the job with confidence. With careful attention to each step and proper preparation, you can ensure a smooth and efficient faucet removal process.
This detailed guide provides a clear and thorough approach to removing a kitchen faucet. Each section breaks down the process into manageable steps, offering practical tips and insights to help you handle the task effectively. By following these instructions, you can successfully remove your old faucet and prepare for a new installation with ease.