Replacing a kitchen faucet can seem like a daunting task. However, with the right tools and a little patience, you can complete this project yourself. This article will guide you through the steps to replace a kitchen faucet with two handles.
 The trend for kitchen faucets:
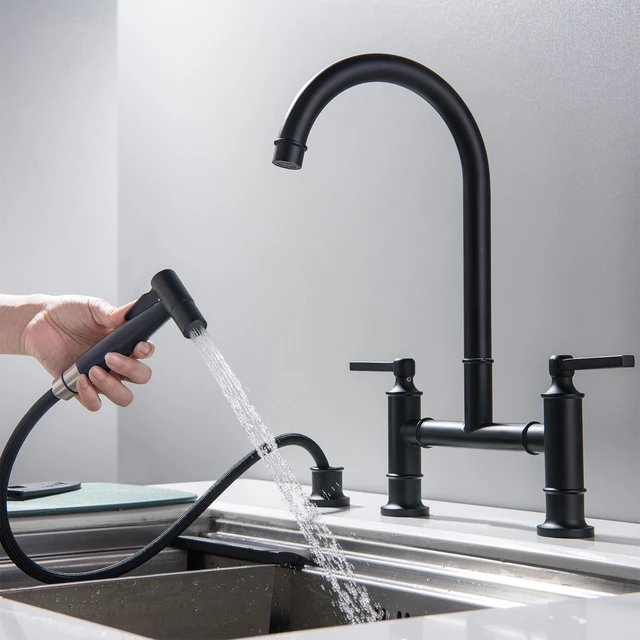
The trend for kitchen faucets with two handles has seen a resurgence in recent years, reflecting both style and functionality. Here are some key aspects of this trend:
- Classic Aesthetic: Two-handle faucets often embody a traditional or vintage charm, making them a popular choice for homeowners looking to achieve a classic look in their kitchens.
- Enhanced Control: Many users appreciate the ability to control hot and cold water separately, allowing for more precise temperature adjustments compared to single-handle models.
- Variety of Designs: Modern two-handle faucets come in a wide range of styles, finishes, and materials, making it easier for consumers to find options that complement their kitchen décor.
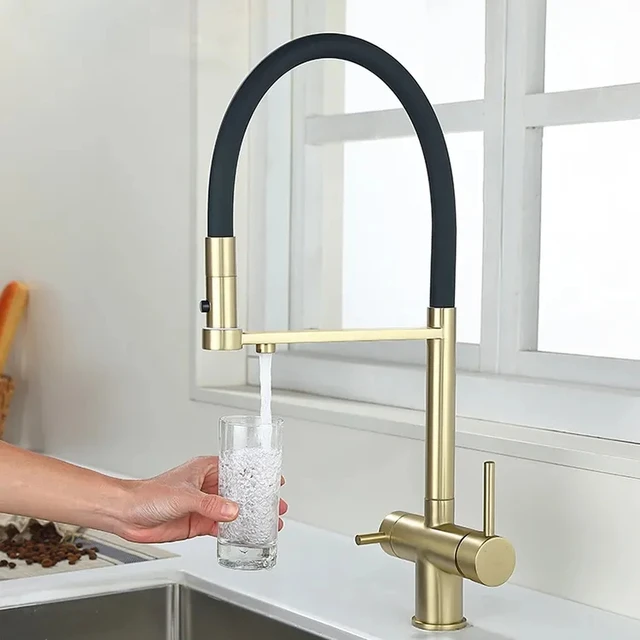
- Durability: Typically, two-handle faucets are perceived as more durable due to their mechanical design. This durability can be appealing to those looking for a long-lasting investment.
- Increased Popularity of DIY Installations: With the rise of DIY home improvement projects, many homeowners are opting for two-handle models, as their installation can be more straightforward in certain configurations.
-
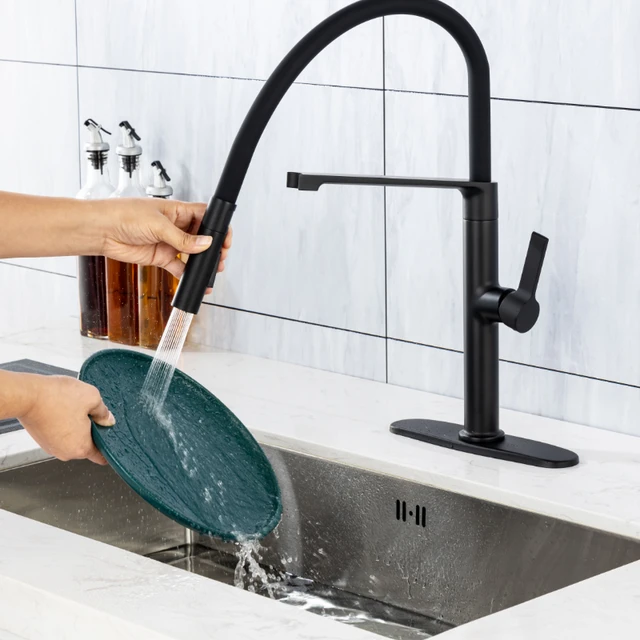
Sustainability Focus: As with many kitchen fixtures, there’s a growing emphasis on water efficiency. Many new two-handle faucets are designed to be more water-efficient, appealing to eco-conscious consumers.
- Customization Options: Some manufacturers offer customizable components, allowing homeowners to select different handle styles and spout designs, enhancing personalization.
Overall, the two-handle kitchen faucet trend reflects a blend of traditional design, modern functionality, and a focus on sustainability.
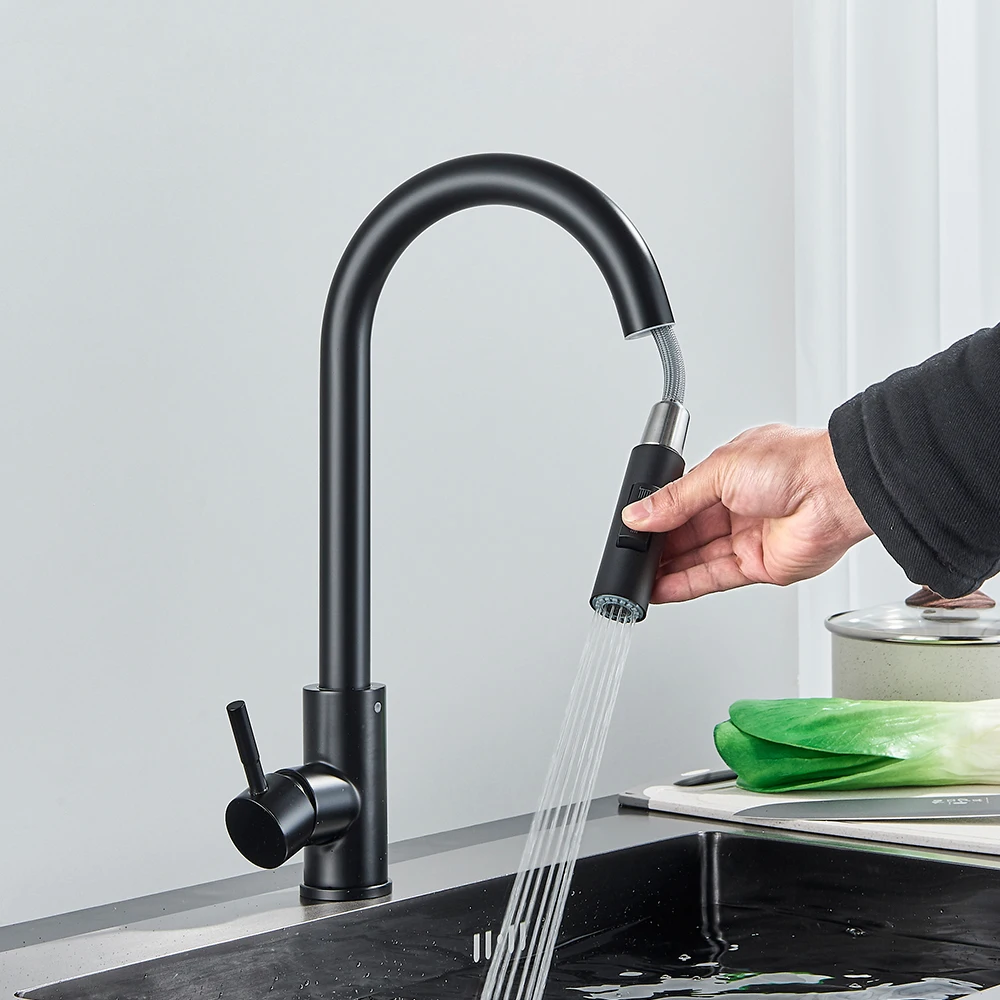 Table of Contents
- Introduction
- Tools and Materials Needed
- 2.1 Tools
- 2.2 Materials
- Preparation
- 3.1 Turn Off the Water Supply
- 3.2 Gather Your Materials
- Removing the Old Faucet
- 4.1 Disconnect the Water Supply Lines
- 4.2 Remove the Old Faucet
- Installing the New Faucet
- 5.1 Position the New Faucet
- 5.2 Attach the Water Supply Lines
- 5.3 Secure the Faucet
- Testing the New Faucet
- Conclusion
 1. Introduction
A kitchen faucet is one of the most used fixtures in your home. Over time, it might not function as well as it used to. If you notice leaks or issues with water flow, it might be time to replace your kitchen faucet. Even if your faucet is functioning well, upgrading to a more modern design can improve your kitchen’s look. In this article, we will focus on how to replace a kitchen faucet that has two handles.
2. Tools and Materials Needed
Before starting your project, make sure you have all the necessary tools and materials.
2.1 Tools
- Adjustable wrench
- Basin wrench
- Screwdriver (flathead and Phillips)
- Plumber’s tape
- Bucket or towel
- Safety goggles
- Gloves
2.2 Materials
- New two-handle kitchen faucet
- Water supply lines (if needed)
- Faucet mounting hardware
- Plumber’s putty or silicone sealant
 3. Preparation
3.1 Turn Off the Water Supply
Before you start any work, you need to turn off the water supply. Locate the shut-off valves under your sink. Turn them clockwise until they are tight. In some cases, you may need to turn off the main water supply to your home if there are no shut-off valves.
3.2 Gather Your Materials
Make sure you have everything ready for the installation. Check that your new faucet fits with your current sink setup. Read the manufacturer’s instructions for the new faucet to know if any additional materials are needed.
4. Removing the Old Faucet
Now that you have prepared everything, it’s time to remove your old faucet.
4.1 Disconnect the Water Supply Lines
Start by disconnecting the water supply lines that connect to your old faucet. Use your adjustable wrench to loosen the nuts at the connections. Have a bucket or towel ready to catch any water that may drip out during this process.
4.2 Remove the Old Faucet
After the water supply lines are disconnected, you will need to remove the old faucet. Look for mounting nuts under the sink holding the faucet in place. You may need a basin wrench to reach and remove these nuts. Once they are removed, lift the old faucet out from the sink.
 5. Installing the New Faucet
Now, let’s install your new two-handle kitchen faucet.
5.1 Position the New Faucet
Start by placing the new faucet into position on the sink. Make sure the handles are oriented correctly for easy access. If there is a rubber or foam gasket, place it where the faucet meets the sink. This will create a watertight seal.
5.2 Attach the Water Supply Lines
After positioning the new faucet, it’s time to connect the water supply lines. Attach the hot and cold water lines to the appropriate handles of the faucet. Use plumber’s tape on the threads to prevent leaks. Tighten them securely with the wrench but be careful not to overtighten.
5.3 Secure the Faucet
Now, you will need to secure the faucet in place using the mounting nuts provided with the new faucet. Reach under the sink and hand-tighten these nuts. Then, use your basin wrench to tighten them further. Make sure the faucet is secure but do not overtighten.
Some cleaning and maintenance tips for a kitchen faucet with two handles:
Here are some cleaning and maintenance tips for a kitchen faucet with two handles:
-
Regular Cleaning:
- Wipe down the faucet regularly with a damp cloth to remove water spots and fingerprints. Use a mild dish soap and warm water solution.
-
Avoid Abrasive Cleaners:
- Do not use abrasive cleaners or scrubbers, as they can scratch the surface of the faucet.
-
Descaling:
- If you notice mineral buildup, especially in areas with hard water, use a vinegar solution to gently dissolve deposits. Soak a cloth in vinegar and wrap it around the affected areas, letting it sit for about 15-30 minutes.
-
Check Washers and O-Rings:
- Periodically inspect and replace washers and O-rings if you notice leaks or drips. This helps maintain functionality.
-
Tighten Handle Screws:
- Ensure the handles are securely fastened. Use a screwdriver to tighten screws, if necessary.
- Inspect for Leaks:
- Regularly check for any signs of leaks under the sink and around the faucet. Addressing leaks early can prevent water damage.
- Annual Deep Clean:
- Once a year, perform a more thorough cleaning. Disassemble the faucet (if comfortable) to clean internal components and check for wear.
-
Use Rubber Gloves:
-
When cleaning, wearing rubber gloves can protect your hands from harsh chemicals or hot water.
- Follow Manufacturer’s Instructions
- Always refer to the manufacturer’s guidelines for specific cleaning and maintenance instructions.
- Avoid Prolonged Exposure to Chemicals:
- Keep harsh chemicals away from the faucet, as prolonged exposure can damage the finish.
By following these tips, you can keep your kitchen faucet clean and functioning well for years to come.
With everything installed, it’s time to test your new faucet.
- First, turn the water supply back on by turning the shut-off valves counterclockwise.
- Check for leaks around the connections. If you notice any leaks, tighten the connections slightly.
- Once you are sure there are no leaks, test the faucet handles. Turn on the hot and cold water to ensure everything is working well.
7. Conclusion
Replacing a kitchen faucet with two handles can seem overwhelming, but it is a manageable DIY project. With the right tools and preparation, you can successfully install a new faucet that not only works better but also enhances the look of your kitchen. Remember to take your time during each step, and do not hesitate to consult the manufacturer’s instructions for your specific faucet. Enjoy your newly installed kitchen faucet!