how to install kitchen cabinet handles
Getting new kitchen cabinet handles can refresh your kitchen’s look and improve functionality. Installing them yourself can save you money and give you a sense of accomplishment. This guide will take you through the whole process, including the tools you’ll need and step-by-step instructions. Let’s get started!
 Introduction
How to install kitchen cabinet handles
Installing kitchen cabinet handles is a straightforward task. With some patience and the right tools, anyone can do it. This guide will walk you through the process. We’ll cover everything from choosing the right handles to the final installation. By following these steps, you’ll ensure a professional look.
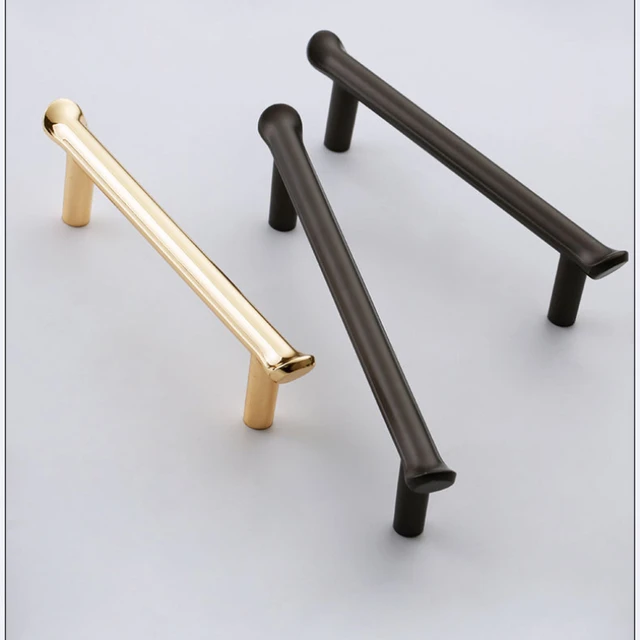
Variety of materials:
Kitchen cabinet handles can be made from a variety of materials, including:
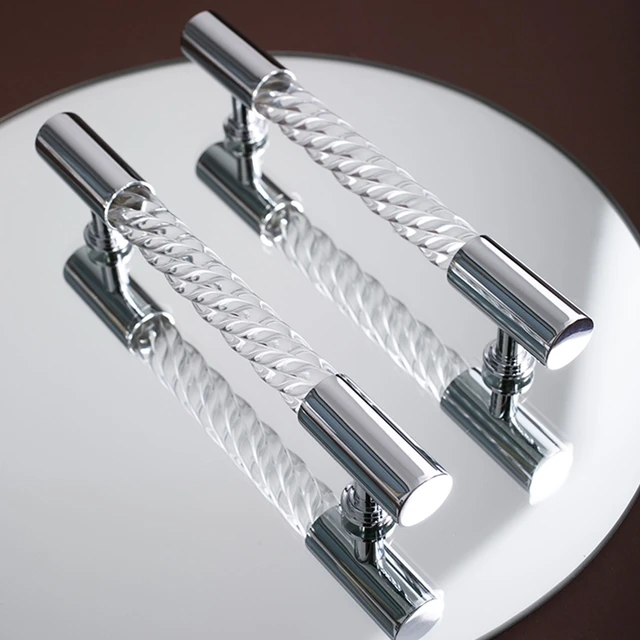
- Stainless Steel: Known for its durability and sleek, modern appearance.
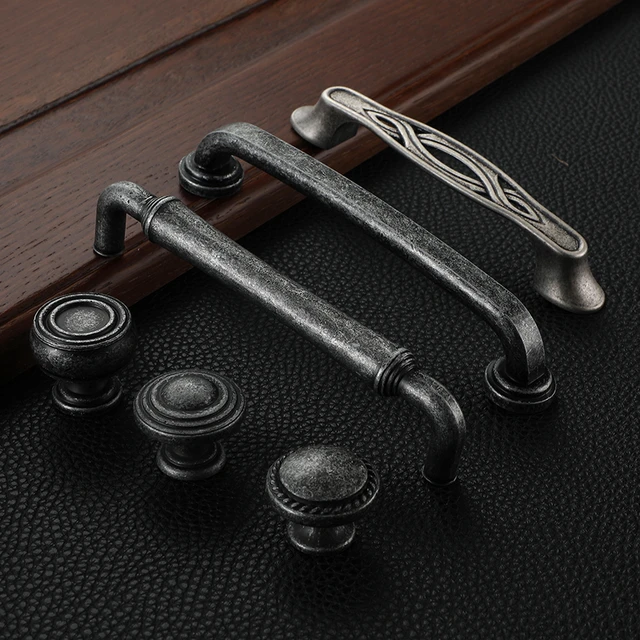
- Brass: Offers a classic and elegant look, often used in traditional or vintage-style kitchens.
- Aluminum: Lightweight and corrosion-resistant, commonly found in contemporary designs.
- Zinc Alloy: A versatile and cost-effective material that can be finished to resemble more expensive metals.
- Wood: Adds a warm, natural touch and can be stained or painted to match the cabinetry.
- Ceramic: Often used for decorative handles, available in a variety of colors and patterns.
- Glass: Provides a unique and stylish look, though it can be more fragile.
- Plastic: An affordable option available in a multitude of colors and styles, though generally less durable.
Each material offers different aesthetic and functional benefits, so the choice often depends on the overall kitchen design and personal preferences.
Tools and Materials Needed
Before you begin, make sure you have the following tools and materials. Gather everything in one place to make the process smoother.
- Cabinet Handles: Choose handles that suit your style.
- Measuring Tape: For precise measurements.
- Pencil: To mark placement spots.
- Drill: Essential for making holes.
- Drill Bits: Match the size of the screws.
- Screwdriver: To attach handles.
- Template or Jig: Optional but useful for consistent placement.
- Masking Tape: To prevent splintering.
 Step-by-Step Instructions
how to install kitchen cabinet handles
Step 1: Choose Your Handles
Selecting the right cabinet handles is crucial. They should complement your kitchen’s design. Handles come in various styles, finishes, and sizes. Make sure the handles you choose are comfortable to grip and match your kitchen aesthetics.
Step 2: Measure and Mark the Placement
Accurate placement is key to a professional look. Here’s how to measure and mark correctly:
- Decide on Handle Location: Typically, handles are placed horizontally on drawers and vertically on doors.
- Use a Template or Jig: This ensures consistency. You can buy a premade template or make your own.
- Measure Distance from Edge: For drawers, handles are centered. For doors, measure from the bottom or top edge.
- Mark with Pencil: Use a pencil to mark the screw holes. Double-check measurements before drilling.
 Step 3: Prepare for Drilling
Prepare your cabinet doors and drawers for drilling. Taking these steps will prevent mistakes and make the process smoother:
- Apply Masking Tape: Place tape over the marked spots. This prevents wood splintering.
- Select the Right Drill Bit: Use a bit slightly smaller than the screw size.
- Test on Scrap Wood: If possible, practice drilling on a piece of scrap wood.
Step 4: Drill the Holes
Now it’s time to drill the holes. Follow these guidelines for accurate drilling:
- Align Drill Bit: Position the drill bit over the marked spots.
- Drill Straight: Hold the drill perpendicular to the surface.
- Go Slow: Use slow and steady pressure. Let the drill do the work.
- Check Your Work: Ensure holes are clean and in the right place.
Step 5: Attach the Handles
With the holes drilled, you can now attach the handles. Here’s how to do it:
- Insert Screws: Insert screws through the back of the door or drawer.
- Align Handle: Position the handle over the screw ends.
- Tighten Screws: Use a screwdriver to tighten the screws. Ensure the handle is secure but don’t overtighten.
- Double-Check Placement: Make sure the handle is level and aligned.
 Step 6: Final Adjustments
Make final adjustments to ensure everything is perfect:
- Check Handle Tightness: Handles should be snug but not overtightened.
- Adjust Screw Length: If screws are too long, replace them with shorter ones or use a screw cutter.
- Clean Up: Remove any pencil marks and tape residue. Wipe the area clean.
Tips for Success
Use a Template or Jig
A template or jig ensures consistent handle placement. It saves time and reduces errors. Many hardware stores sell these, or you can create one using cardboard.
Double-Check Measurements
Measure twice, drill once. Double-checking measurements can prevent costly mistakes. It’s better to be meticulous than to repair errors.
Practice Drilling
how to install kitchen cabinet handles
Practice drilling on scrap wood if you’re new to using a drill. This gives you a feel for the tool and can prevent mishaps on your cabinets.
Take Your Time
Rushing can lead to mistakes. Take your time to ensure each step is completed correctly. A careful approach results in a professional-looking installation.
Choose the Right Handles
Choosing the right handles involves more than just style. Consider the comfort and size of the handles. Test a few samples if possible.
Common Mistakes to Avoid
Misaligned Handles
Misaligned handles can ruin the look of your kitchen. Use a template or jig to ensure alignment. Measure carefully before drilling.
Drilling the Wrong Holes
Drilling in the wrong spots is a common mistake. Mark the spots clearly and double-check measurements. Practicing on scrap wood can help.
Using the Wrong Screws
Using screws that are too long or too short can cause problems. Make sure the screws match the thickness of your doors and drawers.
Neglecting Cabinet Quality
Consider the material of your cabinets. Hardwoods require different handling than particleboard. Adjust your technique based on cabinet material.
Overlooking Maintenance
Handles need occasional tightening. Don’t overlook this simple maintenance step. Regular checks ensure handles stay secure and functional.
 Conclusion
Installing kitchen cabinet handles is a rewarding project. With the right tools and careful steps, you can achieve a professional look. Remember to measure accurately, choose the right handles, and take your time. By following this guide, you’ll enhance your kitchen’s aesthetics and functionality. Happy installing!
Keywords Distribution
- Kitchen Cabinet Handles: Used throughout the article to emphasize the main topic.
- Measure and Mark: Highlights the importance of accurate placement.
- Drill the Holes: Focuses on the essential step of creating screw holes.
- Attach the Handles: Details the final attachment process.
- Template or Jig: Suggests tools for consistency.
Trends in kitchen cabinet handles:
When it comes to trends in kitchen cabinet handles, several styles and finishes are currently popular:
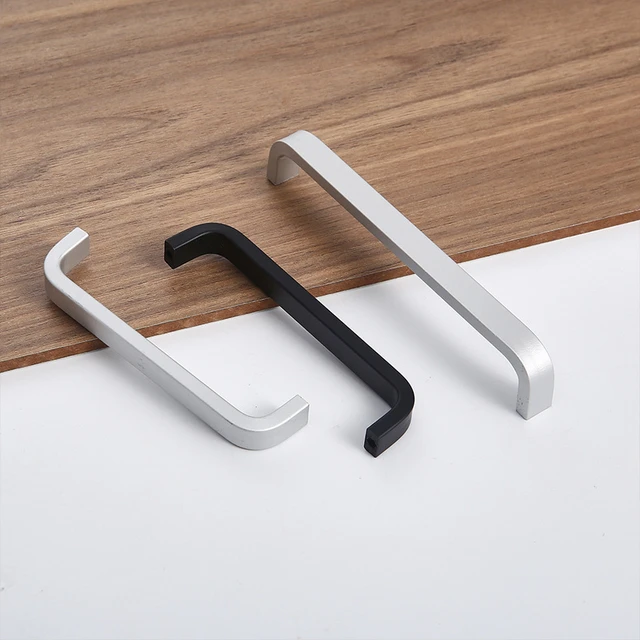
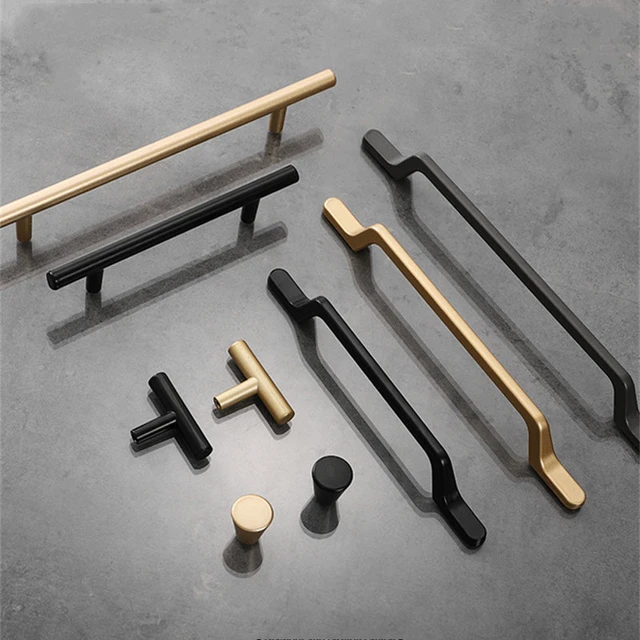
- Minimalist and Sleek Designs:
- Modern kitchens often feature minimalist handles, with clean lines and simple shapes. Sleek, bar-style pulls or slim, handle-less designs with built-in grips are highly fashionable.
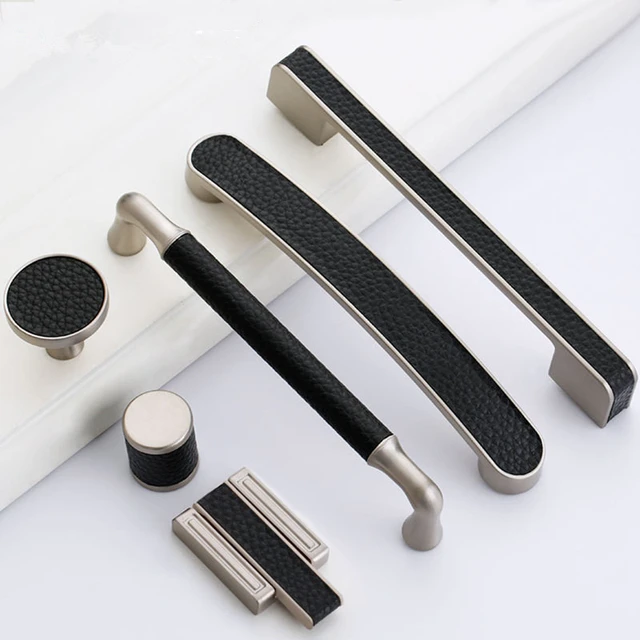
- Matte Black Finishes:
- how to install kitchen cabinet handles
- Matte black has become a favorite for kitchen hardware. It offers a striking contrast against light-colored cabinetry and adds a touch of sophistication.
- Brushed Brass and Gold:
- Warm metallics like brushed brass and gold are making a strong comeback. These finishes add a luxurious feel and pair well with both contemporary and traditional designs.
- Mixed Metals:
- Combining different metal finishes in the kitchen is a trendy choice. For example, mixing stainless steel appliances with brass handles can create a balanced and stylish look.
-
Industrial Style:
-
Industrial-inspired handles, often featuring raw or aged metals with a slightly rugged texture, are popular in modern farmhouse or loft-style kitchens.
- Textured and Unique Shapes:
- Handles with textures or unique shapes, such as geometric patterns or organic forms, add an element of interest and can serve as a focal point for the cabinetry.
These trends reflect a blend of functionality, aesthetics, and innovation, catering to a variety of styles and preferences in kitchen design. Whether you prefer a modern, classic, or eclectic look, there are options to suit every taste.
Final Thoughts
how to install kitchen cabinet handles
Taking on a DIY project like installing kitchen cabinet handles can be a fulfilling endeavor. Not only do you get to add a personal touch to your kitchen, but you also save on labor costs. Follow this detailed guide and enjoy the process of enhancing your kitchen space.