
Introduction
Venting a kitchen sink is essential for proper plumbing and efficient drainage. This task can become complex when the sink is installed under a window. Windows often limit the available space for standard venting. However, with the right approach and knowledge, you can correctly vent a kitchen sink under a window. This article will provide a detailed guide on the steps and considerations for venting a kitchen sink under a window.
Some of the main types:
Kitchen sinks come in various styles and types to accommodate different needs and preferences. Here are some of the main types:
Top-Mount (Drop-In) Sink:
This type of sink is installed from above; the rim of the sink sits on top of the countertop. It’s one of the most common and easiest to install.
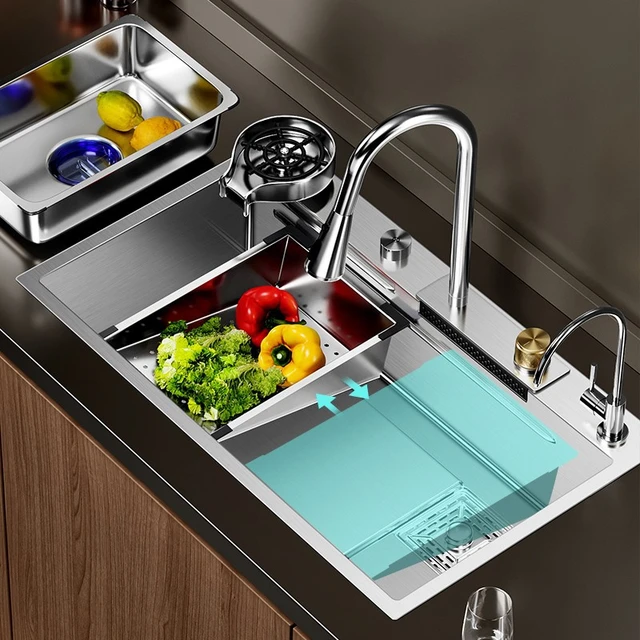
Undermount Sink
: Attached from underneath the countertop, this type of sink provides a seamless look and makes it easier to clean the counter since there’s no rim to catch debris.
Farmhouse (Apron-Front) Sink:
Known for its deep basin and front panel that extends out from the cabinetry, this sink is both functional and stylish, often used in country-style kitchens.
Single Bowl Sink:
Offers one large, open basin without any dividers. Ideal for washing large pots and pans, but may be less versatile than multi-bowl designs.
Double Bowl Sink:
Features two separate basins, which can be used for different tasks (e.g., washing dishes in one, rinsing in the other). The basins can be of equal or varying sizes.
Triple Bowl Sink:
Includes three separate basins, providing even more versatility for multitasking in the kitchen. Less common due to the need for more counter space.
Corner Sink:
Specifically designed to fit into a corner of the kitchen countertop, maximizing space in small or uniquely shaped kitchens.
Integrated Sink:
Made from the same material as the countertop for a seamless look. Common materials include stainless steel, composite, and solid surface.
Bar Sink:
A smaller sink typically used in a bar or prep area outside the main kitchen sink. Useful for entertaining or additional prep work.
Prep Sink:
Usually smaller than the primary kitchen sink, it’s often placed in an island or separate prep area to provide an additional workspace.
Workstation Sink:
Features built-in accessories like cutting boards, drying racks, and colanders that slide along integrated ledges, turning the sink into a versatile prep station.
Different materials such as stainless steel, cast iron, fireclay, composite granite, and more can also influence the type and functionality of a kitchen sink.
Mix and match these types with materials and mounting styles to find the perfect sink to suit your kitchen’s style and function.
 Why Proper Venting is Important
Preventing Sewer Gases
Proper venting is crucial to prevent sewer gases from entering your home. These gases can be hazardous. They can cause health issues and unpleasant odors. Venting allows these gases to escape outside.
Ensuring Efficient Drainage
Efficient drainage is essential. Without proper venting, water may not drain smoothly. It can cause slow drainage or water backing up into the sink. This can lead to clogs and potential damage.
Compliance with Building Codes
Building codes require proper venting. Failing to vent a sink correctly can result in code violations. This can cause problems if you plan to sell your home. Proper venting ensures your plumbing meets code standards.
 Tools and Materials Needed
Before beginning, gather the necessary tools and materials. This ensures the job proceeds smoothly.
Tools
- Pipe cutter or hacksaw
- Pipe wrench
- Measuring tape
- Level
- Screwdriver
- PVC glue
- Hole saw
Materials
- PVC pipes and fittings
- PVC primer and cement
- Vent pipe
- P-trap
- T-fitting
- Studor vent (optional)
- Pipe straps
Assessing Your Kitchen Layout
The layout of your kitchen determines the venting approach. The position of the sink, window, and walls are vital determinants.
Measure the Space
Measure the distance between the sink drain and the window. This helps in determining the available space. Measure the height from the floor to the bottom of the window. This is crucial for planning the vent routing.
Identify Obstacles
Look for any obstacles. These can include electrical wiring or structural elements. Ensure there is space for routing the vent pipe without obstruction.
 Understanding Venting Options
There are various venting methods. Choosing the right one depends on your kitchen’s layout and plumbing code requirements.
Standard Vent
A standard vent rises vertically from the sink drain. It then routes horizontally to connect to the main vent stack. This method requires sufficient space above the sink.
Studor Vent
A Studor vent, or Air Admittance Valve (AAV), is an alternative. It allows air into the drainage system without needing an external vent stack. This can be useful in space-limited situations. Ensure it’s allowed by your local building codes.
Loop Vent
A loop vent or island vent is another option. It’s commonly used for island sinks but can also work under windows. It involves creating a looped vent under the counter.
Steps to Vent a Kitchen Sink Under a Window
Step 1: Turn Off the Water Supply
Before starting any plumbing work, turn off the water supply. This prevents any accidental water spillage.
Step 2: Plan the Vent Route
Plan the route of the vent pipe. Consider using an elbow fitting to direct the vent pipe away from the window. Ensure the vent pipe is positioned vertically as much as possible.
Step 3: Cut the Drain Pipe
Cut the existing drain pipe below the sink using a pipe cutter or hacksaw. This is where you’ll install the vent.
Step 4: Install the T-Fitting
Install a T-fitting onto the cut drain pipe. This fitting will accommodate the vent pipe. Ensure it’s properly aligned.
Step 5: Install the Vent Pipe
Attach the vent pipe to the T-fitting. Use PVC primer and cement to secure the connection. Extend the vent pipe upwards.
 Step 6: Route the Vent Pipe
Route the vent pipe around the window. Create an elbow joint if necessary. Continue routing the pipe until it connects to the main vent stack. Ensure the vent pipe maintains a slight upward angle.
Step 7: Secure the Vent Pipe
Secure the vent pipe to the wall using pipe straps. This prevents movement and maintains stability.
Step 8: Test the System
Turn on the water supply. Test the drainage system for any leaks or issues. Ensure the vent allows air to enter the drainage system efficiently.
Considering Professional Help
Venting a kitchen sink under a window can be complex. If you’re unsure about any step, consider hiring a professional plumber. They have the experience and knowledge to ensure the job is done correctly.
Maintaining Your Vent System
Regular Inspections
Inspect your vent system regularly. Look for any cracks or leaks in the pipes. This helps in early identification of potential issues.
Keep the Area Clean
Keep the area around the vent pipe clean. Avoid storing items that may press against the pipes.
Professional Maintenance
Consider periodic maintenance by a professional plumber. They can perform a thorough check and make necessary adjustments.
 Conclusion
Venting a kitchen sink under a window requires careful planning and execution. Proper venting is essential for preventing sewer gases, ensuring efficient drainage, and complying with building codes. By following the steps outlined in this guide, you can successfully vent a kitchen sink under a window. Remember to gather the necessary tools and materials, assess your kitchen layout, understand your venting options, and consider professional help if needed. Regular maintenance ensures your vent system remains efficient and problem-free. Venting a kitchen sink under a window may seem challenging, but with the right approach, it’s a manageable task.


