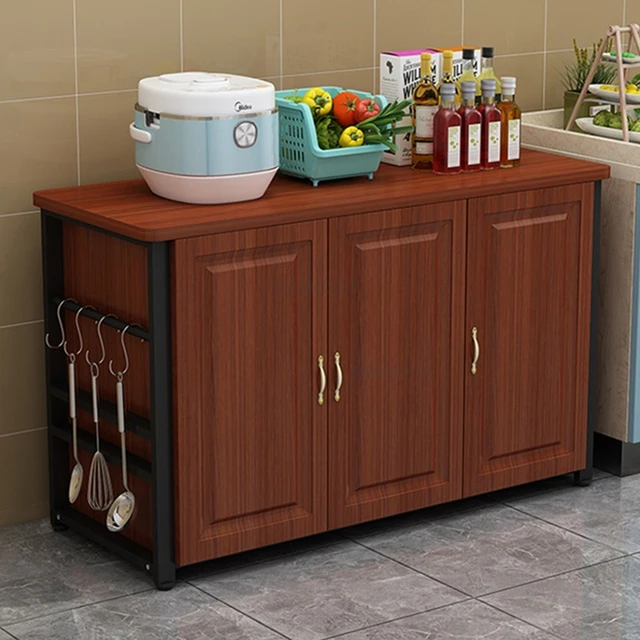
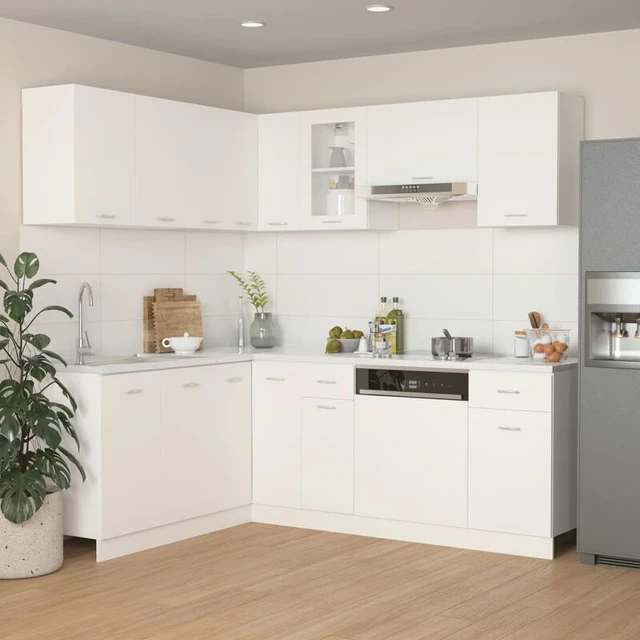
How to build a kitchen cabinet
Building a kitchen cabinet can be a fulfilling project. It can save you money and allow for personalization. Follow these simple steps to accomplish this task successfully.
 Tools and Materials Needed
How to build a kitchen cabinet
First, gather all the necessary tools and materials. Here’s a list:
- Tape measure
- Circular saw or table saw
- Drill and bits
- Wood glue
- Clamps
- Screws
- Plywood
- Finish nails
- Sandpaper
- Wood filler
- Paint or stain
- Cabinet hinges and handles
Having the right tools and materials is crucial for building a sturdy kitchen cabinet.
Measuring and Planning
Before cutting any wood, proper measurement and planning are essential. Measure the space in your kitchen where the cabinet will be placed.
- Measure the Width: Measure the width of the opening.
- Measure the Height: Measure the height from the floor to the top.
- Measure the Depth: Measure the depth from the wall to the front edge.
Transfer these measurements to your plan. Draw a detailed sketch of the cabinet, including shelves, doors, and drawers.
 Cutting the Wood
how to build a kitchen cabinet
Next is cutting the wood. Using high-quality plywood is recommended for durability. Carefully mark your measurements on the plywood before cutting.
- Cut the Sides: Cut two pieces for the sides of the cabinet.
- Cut Top and Bottom: Cut a piece for the top and another for the bottom.
- Cut Back Panel: Cut a piece for the back panel.
- Cut Shelves: Cut pieces for any shelves you plan to include.
- Cut Doors and Drawer Fronts: If your cabinet includes doors or drawers, cut pieces for these as well.
Ensure all pieces are cut accurately to avoid alignment issues later.
Assembling the Frame
Now, start assembling the cabinet frame. Use wood glue and screws for a strong bond.
- Attach the Sides to the Bottom: Apply wood glue to the edges and screw the sides onto the bottom piece. Use clamps to hold pieces together.
- Attach the Top: Apply wood glue to the edges and screw the top piece in place.
- Attach the Back Panel: Apply wood glue around the edges and secure the back panel with screws.
Check the frame for squareness by measuring diagonally from corner to corner. Adjust as needed.
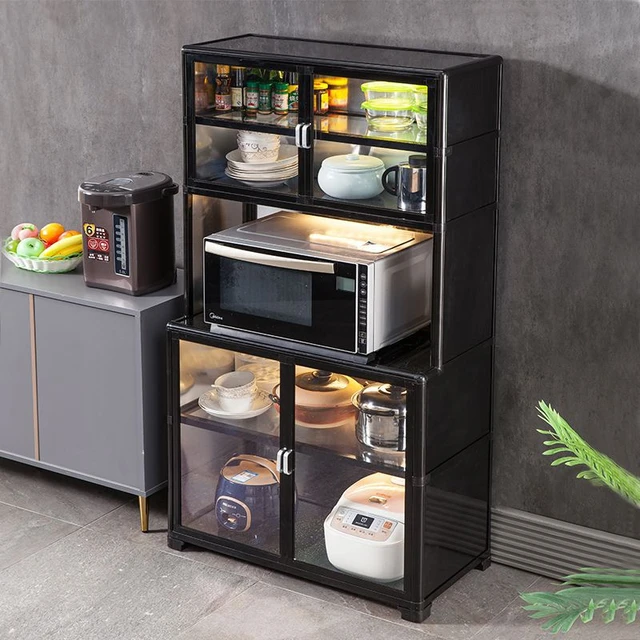
Adding the Shelves
Install the shelves inside the frame. They provide structure and storage space.
- Mark Shelf Positions: Measure and mark the positions for the shelves on the side panels.
- Attach Shelf Supports: Install small wooden cleats or use shelf pins to support the shelves.
- Install Shelves: Place each shelf on the supports and secure with screws if needed.
Ensure the shelves are level and secure.
 Installing the Doors and Drawers
How to build a kitchen cabinet
If your cabinet design includes doors and drawers, install them carefully.
- Attach Hinges to Doors: Mark and pre-drill holes for the hinges on the doors. Screw the hinges in place.
- Mount Doors: Hold the doors in position and mark the hinges’ locations on the cabinet frame. Pre-drill holes and screw the doors onto the frame.
- Install Drawer Slides: Attach drawer slides to the inside of the cabinet and to the sides of the drawers. Follow the manufacturer’s instructions for proper installation.
- Insert Drawers: Slide the drawers into place, ensuring they move smoothly.
Adjust doors and drawers as necessary to ensure they align properly.
 Sanding and Finishing
How to build a kitchen cabine
Sanding and finishing the cabinet gives it a professional look.
- Sand the Surfaces: Use sandpaper to smooth all surfaces and edges. Start with coarse grit and progress to finer grit.
- Apply Wood Filler: Fill any gaps or holes with wood filler. Let it dry and sand smooth.
- Apply Paint or Stain: Choose a paint or stain that matches your kitchen decor. Apply evenly, let dry, and apply additional coats if needed.
- Attach Handles and Knobs: Mark and pre-drill holes for handles and knobs. Screw them in place.
A well-finished cabinet enhances the overall appearance of your kitchen.
Installing the Cabinet in Your Kitchen
Finally, install the cabinet in its designated space in your kitchen.
- Position the Cabinet: Place the cabinet in the measured space. Check for level and shim as needed.
- Secure to the Wall: Drill holes through the back panel into the studs in the wall. Attach the cabinet to the wall using screws.
- Check Alignment: Ensure the cabinet is level, square, and secure. Make any necessary adjustments.
Congratulations! You have successfully built and installed your kitchen cabinet.
The current trends shaping the design and use of kitchen cabinets:
Kitchen cabinets play a crucial role in both the functionality and aesthetics of a kitchen. Here are some of the current trends shaping the design and use of kitchen cabinets:
1. Shaker Style Cabinets
Description: Characterized by their simple, clean lines and recessed panel doors.
- Pros: Timeless and versatile design, can be used in both traditional and modern kitchens, easy to clean.
- Trend: Shaker-style cabinets continue to be popular due to their classic, minimalist look that pairs well with various kitchen styles.
2. Open Shelving
Description: Replacing upper cabinets with open shelves for a more airy and open feel.
- Pros: Provides easy access to frequently used items, opens up the kitchen space, great for showcasing dishware and décor.
- Cons: Requires more frequent cleaning to keep items dust-free, can look cluttered if not well-organized.
- Trend: Open shelving is increasingly popular in modern and industrial kitchen designs, offering both functionality and a unique aesthetic.
3. Matte Finishes
Description: Cabinets with a matte finish as opposed to glossy or shiny surfaces.
- Pros: Offers a sophisticated, understated look, less prone to showing fingerprints and smudges, softer appearance.
- Trend: Matte finishes are trending as they provide a sleek and modern alternative to high-gloss cabinets.
4. Two-Tone Cabinets
Description: Combining two different colors or finishes in the same kitchen.
- Pros: Adds visual interest and depth, allows for creative and personalized design, can help delineate different areas within the kitchen.
- Trend: Common combinations include dark lower cabinets with lighter upper cabinets or a contrasting island in a bold color.
5. Minimalist and Handleless Designs
Description: Cabinets with clean lines and no visible handles or knobs, often with push-to-open mechanisms.
- Pros: Creates a streamlined and modern appearance, easy to clean, reduces visual clutter.
- Trend: Handleless cabinets are gaining popularity in contemporary and minimalist kitchen designs for their sleek look.
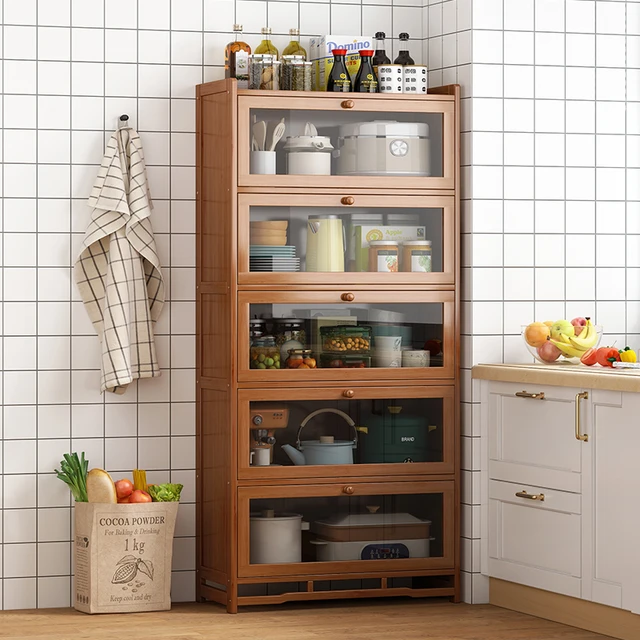
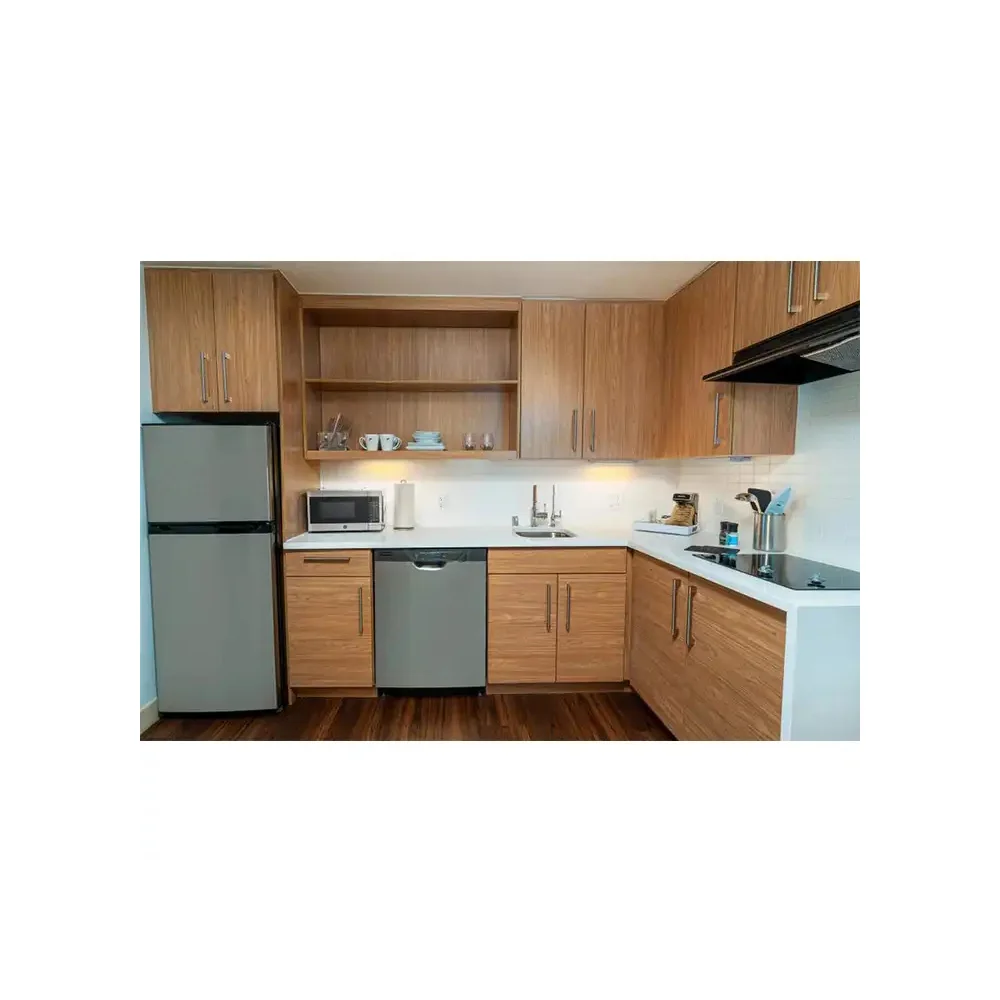
6. Natural Wood and Wood-Look Finishes
Description: Cabinets made from or designed to look like natural wood.
- Pros: Adds warmth and texture to the kitchen, versatile and timeless, pairs well with various design styles.
- Trend: Natural wood and wood-look finishes are in demand for their ability to bring a touch of nature into the kitchen, enhancing a cozy and inviting atmosphere.
7. Integrated Appliances
Description: Cabinets designed to conceal appliances like refrigerators, dishwashers, and microwaves.
- Pros: Creates a seamless and cohesive look, maximizes space, keeps appliances hidden for a cleaner aesthetic.
- Trend: Integrated appliances are especially popular in modern and minimalist kitchens where a streamlined look is desired.
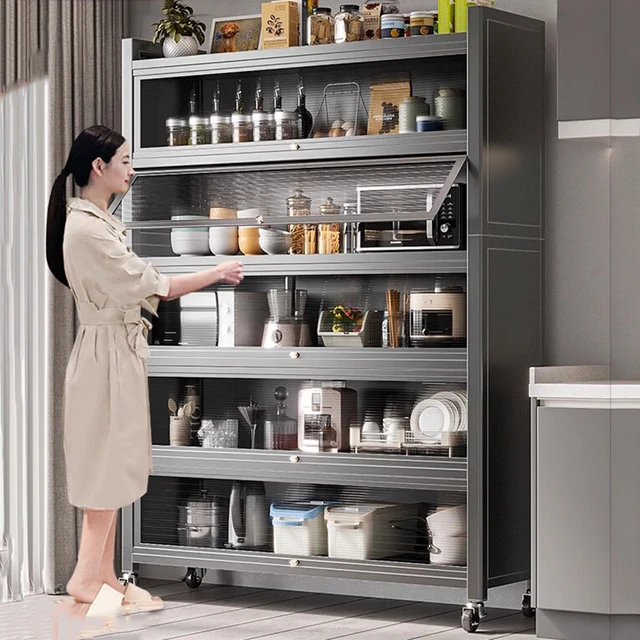
8. Smart Storage Solutions
Description: Cabinets with built-in organizational features like pull-out shelves, lazy Susans, and drawer dividers.
- Pros: Maximizes storage space, improves accessibility, keeps kitchen items organized and easy to find.
- Trend: Smart storage solutions are increasingly featured in kitchen cabinets as people seek to optimize space and efficiency in their kitchens.
9. Dark and Bold Colors
Description: Using dark or bold colors such as navy, emerald green, or matte black for cabinets.
- Pros: Creates a dramatic and elegant look, pairs well with metallic accents and contrasting elements, hides stains and smudges better than lighter colors.
- Trend: Dark and bold cabinets are gaining traction as a way to make a statement in the kitchen while maintaining a sophisticated feel.
10. Glass-Front Cabinets
Description: Cabinets with glass doors to display contents.
- Pros: Adds an element of openness and transparency, great for displaying attractive dishware and glassware, gives a more spacious look.
- Cons: Requires regular organization to keep items visually appealing, can show fingerprints.
- Trend: Glass-front cabinets are popular in transitional and contemporary kitchens, offering a balance between open shelving and closed storage.
11. Mixed Materials and Textures
Description: Combining different materials like wood, metal, and glass in cabinet design.
- Pros: Creates a unique and dynamic look, allows for customization, enhances visual interest.
- Trend: The use of mixed materials and textures is on the rise, as homeowners look for ways to add personality and depth to their kitchen spaces.
Conclusion
Current trends in kitchen cabinets focus on combining functionality with aesthetics to create spaces that are both beautiful and efficient. From the timeless appeal of Shaker-style cabinets and the sleek look of matte finishes to innovative storage solutions and bold color choices, there are numerous ways to personalize your kitchen. As homeowners seek to create kitchens that reflect their tastes and lifestyles, these trends offer a variety of options to suit every need.
 Conclusion
How to build a kitchen cabinet
Building a kitchen cabinet may seem daunting, but with proper planning and execution, it is entirely achievable. Remember to measure accurately, cut precisely, and assemble carefully. Taking the time to sand and finish will result in a beautiful, functional addition to your kitchen. Enjoy the satisfaction of your custom-built cabinet!