How to replace a kitchen sink faucet
Replacing a kitchen sink faucet can give your kitchen a fresh new look and improve functionality. Whether your old faucet is leaking, outdated, or you simply want an upgrade, this task is straightforward with the right tools and guidance. This comprehensive guide will take you step-by-step through the process of replacing a kitchen sink faucet, ensuring you achieve professional results without hiring a plumber.
 Understanding the Basics
Types of Faucets
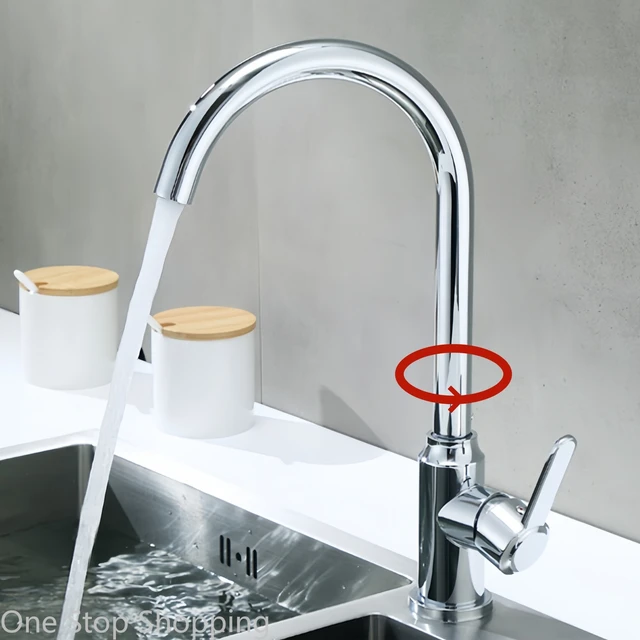
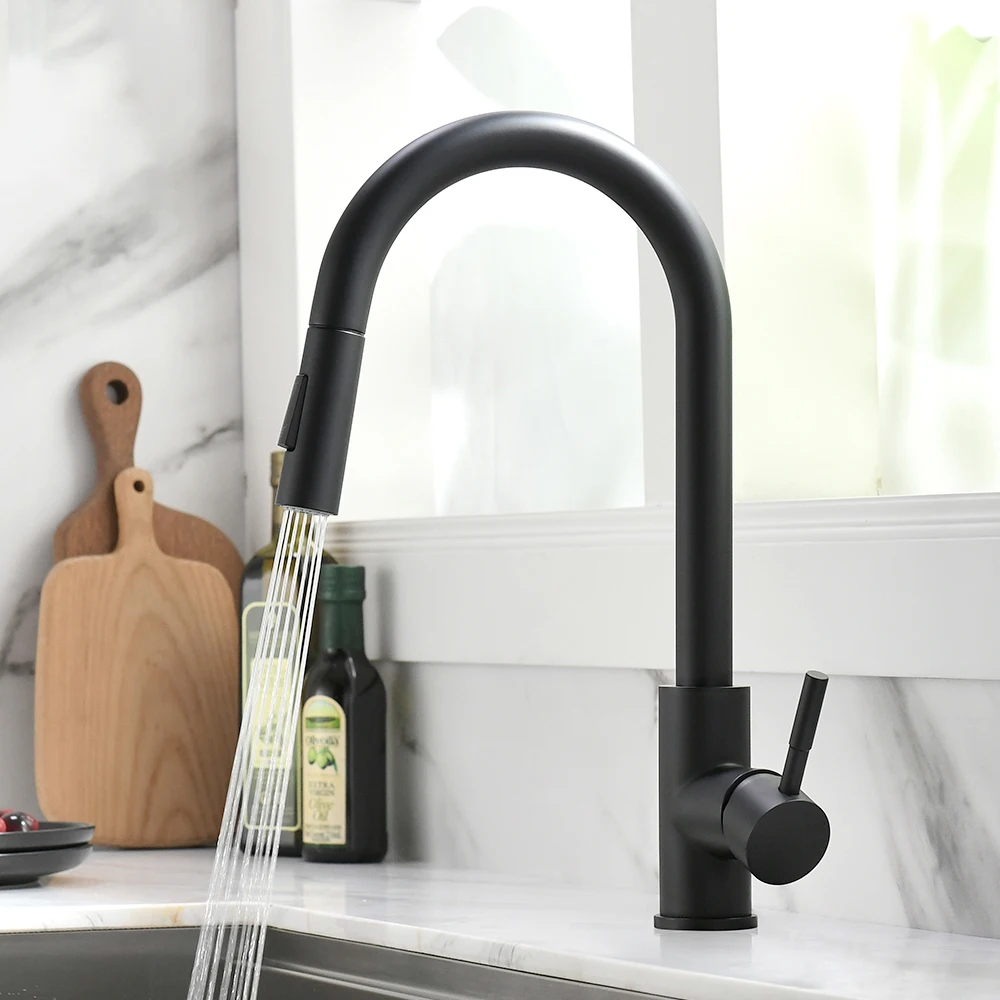
Single-Handle Faucets: These faucets control both hot and cold water with a single lever or knob. They are simple to use and install.
Double-Handle Faucets: These have separate handles for hot and cold water, offering more precise control over water temperature.
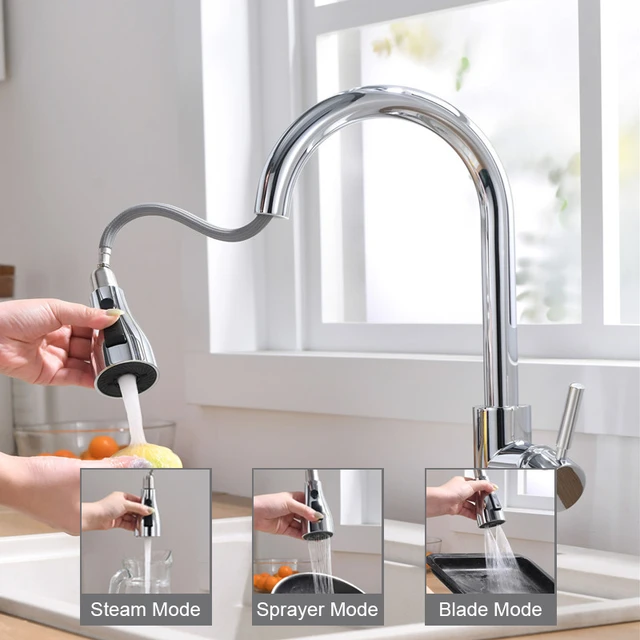
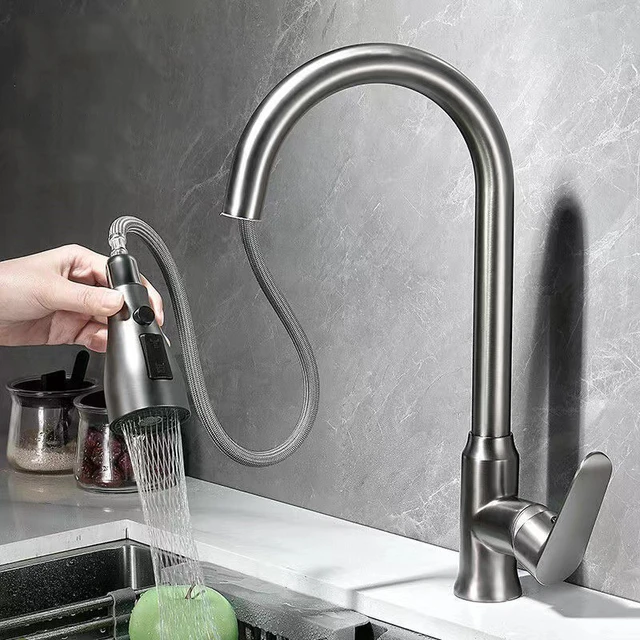
Pull-Down/ Pull-Out Faucets: These feature a spray wand that can be pulled down or out to extend the reach of the faucet, making it easier to clean dishes and the sink.
Commercial-Style Faucets: These have a high-arc design and often include a pull-down sprayer, combining functionality with an industrial look.
Choosing the Right Faucet
Consider Sink Holes: Check how many pre-drilled holes your sink has. Faucets can require one to four holes depending on the model.
Match Style and Finish: Choose a faucet that matches your kitchen’s decor and other fixtures. Popular finishes include chrome, brushed nickel, and matte black.
Check Features: Look for features like water-saving capabilities, a high-arc spout, or a built-in sprayer to meet your needs.
 Tools and Materials Needed
Essential Tools
- Basin wrench
- Adjustable wrench
- Phillips and flathead screwdrivers
- Plumber’s tape (Teflon tape)
- Bucket or pan
- Towel or rag
Materials
- New faucet
- Flexible supply lines (if not included with the faucet)
- Plumber’s putty or silicone caulk (optional, depending on the faucet)
 Preparation Steps
Turn Off Water Supply
Locate Shut-Off Valves: Find the hot and cold water shut-off valves under the sink. Turn them clockwise to close.
Drain Remaining Water: Turn on the faucet to release any water left in the lines, ensuring the pipes are empty.
Clear the Area
Empty the Cabinet: Remove items from under the sink to give yourself ample workspace.
Use a Towel or Rag: Place a towel or rag under the area to catch any residual water and protect against scratches.
Removing the Old Faucet
Disconnect the Supply Lines
Use an Adjustable Wrench: Loosen and disconnect the supply lines from the shut-off valves and the faucet. Place a bucket or pan underneath to catch any water drips.
Label Lines: If necessary, label the hot and cold lines to avoid confusion during the installation of the new faucet.
Remove Mounting Nuts
Locate Mounting Nuts: Find the mounting nuts that secure the faucet to the sink. These are typically located underneath the sink near the base of the faucet.
Use a Basin Wrench: A basin wrench makes it easier to reach and loosen the nuts in tight spaces. Turn the nuts counterclockwise to remove them.
Lift Out the Old Faucet: Once the mounting nuts are removed, lift the old faucet out from the top of the sink.
 Installing the New Faucet
Assemble the New Faucet
Refer to the Instructions: Follow the manufacturer’s instructions to assemble any parts of the new faucet before installation.
Apply Plumber’s Putty (if necessary): If the faucet base requires a seal, roll plumber’s putty between your hands to form a rope, apply it around the base, then press the faucet into place. Alternatively, you can use a silicone caulk.
Position the Faucet
Insert Faucet: From above the sink, insert the faucet through the pre-drilled holes in the sink.
Secure with Mounting Nuts: From underneath the sink, secure the faucet using the provided mounting nuts. Hand-tighten first, then use the basin wrench to ensure they are snug but not overtightened.
Connect the Supply Lines
Attach Supply Lines to Faucet: For each supply line, wrap the threads with plumber’s tape to ensure a tight seal. Connect the supply lines to the corresponding hot and cold inlet on the new faucet.
Connect Supply Lines to Valves: Attach the other end of the supply lines to the shut-off valves. Tighten the connections using an adjustable wrench.
Check for Leaks
Turn On Water Supply: Slowly turn on the shut-off valves by turning them counterclockwise.
Test the Faucet: Turn on the faucet to run both hot and cold water. Check for leaks at each connection point under the sink.
Check Seals: Ensure no water is seeping around the base of the faucet. Tighten connections or add more plumber’s putty or silicone sealant if necessary.
Additional Steps for Faucets with Sprayers
Connect the Sprayer Hose
Insert Hose: Insert the sprayer hose through the designated hole in the faucet body.
Attach Quick Connect: Most modern faucets have a quick connect system for the sprayer hose. Push the hose connector until it clicks securely in place.
Secure Weight: Attach the weight to the sprayer hose, following the manufacturer’s instructions. The weight helps retract the hose back into the faucet body.
Test the Sprayer Function
Run Water: Turn on the faucet and test the sprayer by pulling it out and pressing the spray button.
Check for Leaks: Ensure there are no leaks around the sprayer connections. Tighten any loose connections if necessary.
 Tips for a Smooth Installation
Use the Right Tools
Basin Wrench: This specialized tool is crucial for reaching the mounting nuts and fittings in tight spaces.
Adjustable Wrench: An adjustable wrench can be versatile for various size nuts and fittings.
Apply Plumber’s Tape
Thread Sealing: Always use plumber’s tape on threaded connections to prevent leaks. Wrap the tape clockwise around the threads for a proper seal.
Follow Instructions
Manufacturer’s Guide: Each faucet model can have specific installation steps. Always follow the manufacturer’s instructions for the best results.
Maintenance Tips for Your New Faucet
Regular Cleaning
Avoid Harsh Cleaners: Use mild soap and water or a vinegar solution to clean the faucet. Avoid abrasive cleaners that can damage the finish.
Routine Wipe-Down: Regularly wipe down the faucet with a soft cloth to prevent water spots and mineral buildup.
Addressing Minor Issues
Fix Drips Quickly: If the faucet starts to drip, tighten connections or replace washers promptly to prevent water waste.
Check Aerator: If water flow decreases, remove and clean the aerator to remove sediment buildup.
Troubleshooting Common Issues
Leaks at Connections
Tighten Connections: Ensure all connections are tight. Use plumber’s tape if necessary to improve the seal.
Check O-Rings and Washers: Inspect O-rings and washers for damage. Replace them if they are worn or damaged.
Low Water Pressure
Clean Aerator: Remove and clean the aerator to clear any debris or sediment.
Check Supply Lines: Ensure there are no kinks or blockages in the supply lines.
Difficult Installation
Seek Help: If you encounter difficulties during installation, consider enlisting the help of a friend or family member.
Consult a Professional: If you’re uncomfortable with any step of the process, don’t hesitate to call a professional plumber.
Safety Considerations
Turn Off Power (if applicable)
Under-Sink Power Outlets: If you have under-sink power outlets for appliances like dishwashers, turn off the power at the breaker box to avoid electric shock.
Use Protective Gear
Gloves and Goggles: Wear gloves to protect your hands from sharp edges and safety goggles to protect your eyes from debris.
Use a Sturdy Ladder or Step Stool
Reaching Elevated Areas: Use a sturdy ladder or step stool to reach high areas safely. Ensure it is stable before climbing.
Conclusion
Replacing a kitchen sink faucet is a manageable task that can greatly enhance the functionality and appearance of your kitchen. By following this comprehensive guide, you can confidently replace your faucet, ensuring a leak-free and professional result. Remember to choose the right tools, follow manufacturer instructions, and address any issues promptly. Regular maintenance will keep your new faucet in excellent condition for years to come. With patience and attention to detail, you can enjoy the satisfaction of a job well done. Happy installing!