Replacing a kitchen sink faucet can seem like a daunting task, especially for those who have never tackled a plumbing project before. However, with the right tools, a bit of patience, and a clear step-by-step guide, you can replace your kitchen faucet yourself and save on labor costs. This comprehensive guide will walk you through the entire process, from selecting a new faucet to installing it, and provide tips to troubleshoot common issues.
 Some common materials used for kitchen sink faucets:
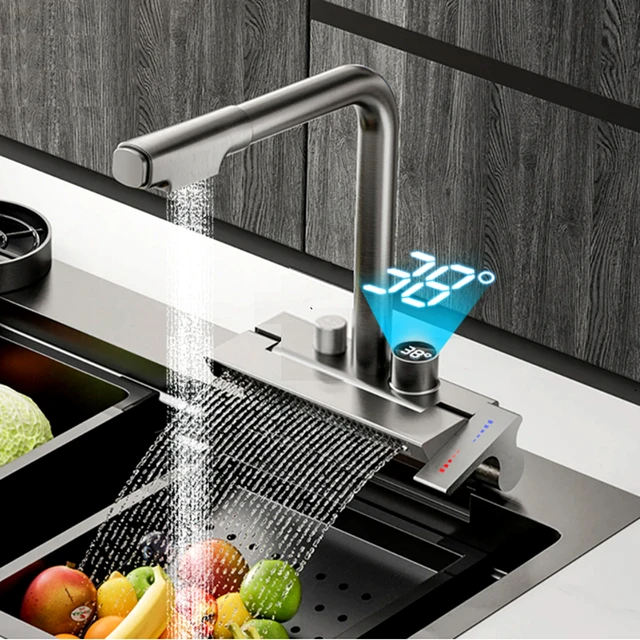
Kitchen sink faucets come in a variety of materials, each offering different benefits in terms of durability, appearance, and cost. Here are some common materials used for kitchen sink faucets:
Stainless Steel:
Description: One of the most popular materials, known for its sleek appearance and durability.
Pros: Corrosion-resistant, durable, easy to clean, modern aesthetic.
Cons: Can be more expensive than some other materials, fingerprints and water spots may be visible.
Brass:
Description: Often used as the core material for many high-quality faucets, usually coated with another finish.
Pros: Extremely durable, corrosion-resistant, has natural antibacterial properties.
Cons: Can be more expensive, typically not used in its raw form, so its appearance can vary based on the finish applied.
Chrome:
Description: A popular finish that is often applied over brass or stainless steel.
Pros: Highly durable, very shiny and reflective, easy to clean, less expensive than stainless steel.
Cons: Shows fingerprints and water spots easily, may require more frequent cleaning to maintain its shiny appearance.
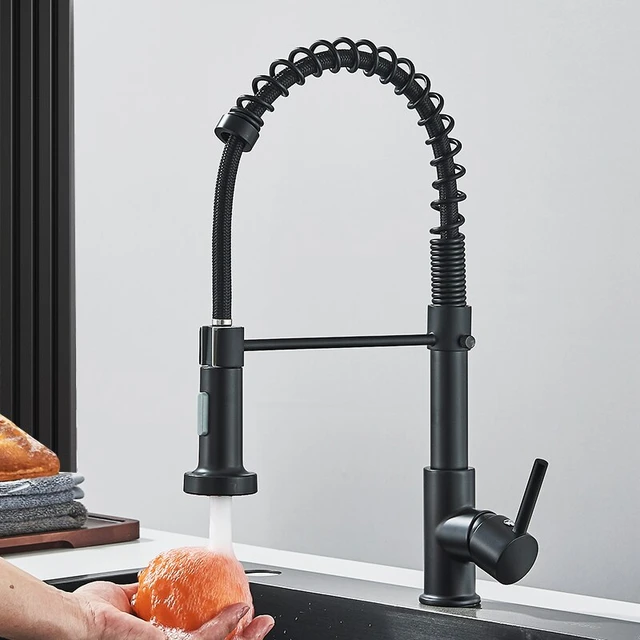
Bronze:
Description: Typically refers to either oil-rubbed or brushed bronze finishes applied over brass.
Pros: Offers a warm, earthy look, very durable, resists fingerprints and water spots.
Cons: Can be more expensive, finishes can vary and may require special care to maintain their appearance.
Nickel:
Description: Available in finishes like brushed nickel or polished nickel, usually applied over brass.
Pros: Smooth, matte appearance (brushed) or shiny (polished), durable and easy to clean, doesn’t show fingerprints as easily as chrome.
Cons: Can be more expensive, some finishes may tarnish or discolor over time.
- Essential Tools
- Adjustable wrench
- Basin wrench
- Screwdriver
- Plumber’s tape (Teflon tape)
- Pliers
- Bucket or container (to catch water)
- Towels or rags (for cleanup)
Materials
- New faucet (ensure it fits your sink)
- Supply lines (if not included with the new faucet)
- Plumber’s putty or silicone sealant (if required by the manufacturer)
- Optional: penetrating oil (like WD-40) for loosening old fittings
 Step 1: Choosing a New Faucet
Determine Your Faucet Type
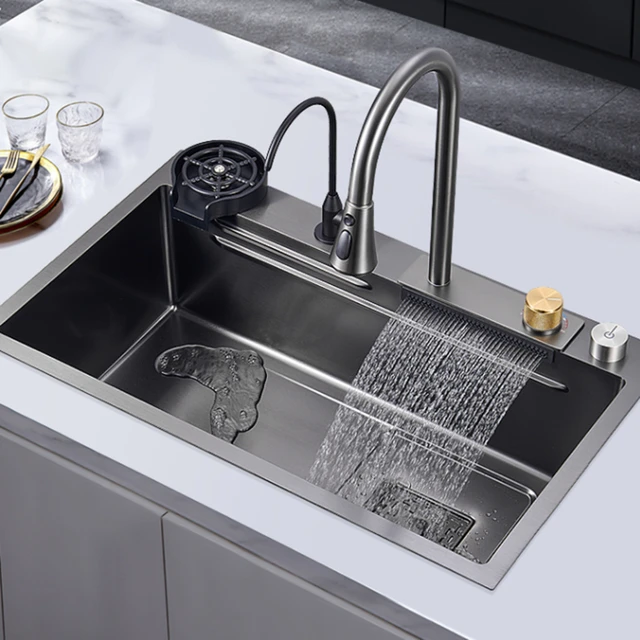
- Single-Hole Faucets: Ideal for sinks with one hole. Easy to install and a popular choice for modern kitchens.
- Center-Set Faucets: Typically used for sinks with three holes. Combines spout and handles on a single base unit.
- Widespread Faucets: Handles and spout are separate, requiring three holes. Offers a more traditional and elegant look.
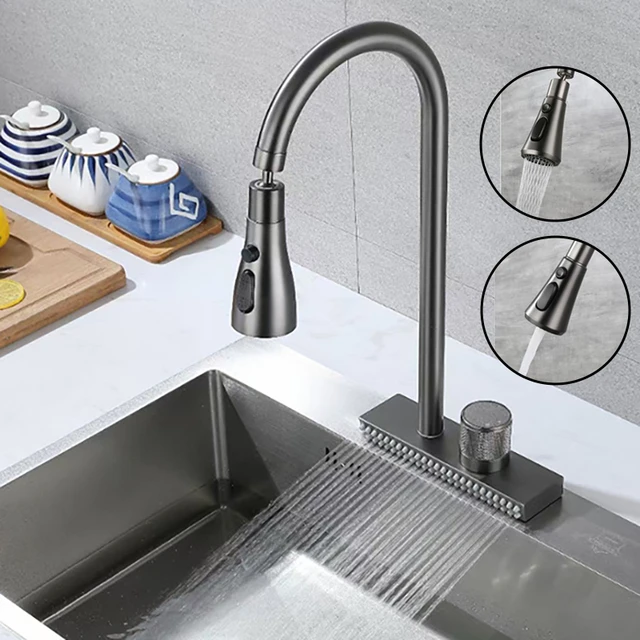
- Pull-Out and Pull-Down Faucets: Features a spray head that can be pulled out or down. Great for added flexibility and convenience.
Measure Your Sink
- Hole Configuration: Ensure the new faucet matches your sink’s hole configuration (single-hole, three-hole, etc.).
- Spacing: Measure the distance between the holes to ensure compatibility with the new faucet.
Consider Features
- Spray Options: Consider whether you want a pull-out or pull-down sprayer.
- Finish: Choose a finish that matches your kitchen décor (chrome, brushed nickel, stainless steel, etc.).
- Handle Style: Decide if you prefer a single-handle or double-handle faucet.
Step 2: Preparing for Installation
Turn Off the Water Supply
- Locate Valves: Find the shutoff valves beneath the sink. They are usually located at the back of the cabinet.
- Turn Off Valves: Turn the valves clockwise to close them and shut off the water supply.
Relieve Pressure
- Open Faucet: Open the existing faucet to relieve any remaining water pressure.
- Drain Excess Water: Place a bucket under the sink to catch any water left in the lines.
Disconnect Supply Lines
- Using Pliers: Use pliers or an adjustable wrench to disconnect the water supply lines from the faucet. Be prepared for a small amount of water to spill out.
 Step 3: Removing the Old Faucet
Loosen Mounting Nuts
- Locate Nuts: Find the mounting nuts that secure the faucet to the sink. They are usually located underneath the sink basin.
- Use Basin Wrench: Use a basin wrench to loosen and remove the mounting nuts. If the nuts are stuck, apply penetrating oil and wait a few minutes before trying again.
Remove the Faucet
- Lift Out Faucet: Once the mounting nuts are removed, lift the old faucet out of the sink.
- Clean the Area: Clean and dry the area around the sink holes to ensure a proper seal for the new faucet.
Step 4: Installing the New Faucet
Apply Plumber’s Putty or Sealant
- Manufacturer’s Instructions: Check the manufacturer’s instructions to see if plumber’s putty or silicone sealant is recommended for your faucet.
- Apply Putty/Sealant: Apply a bead of plumber’s putty or silicone sealant around the base of the new faucet to prevent water leaks.
Position the New Faucet
- Insert Faucet: Insert the faucet through the mounting holes in the sink.
- Align Properly: Make sure the faucet is properly aligned with the sink.
Secure the Faucet
- Attach Mounting Nuts: Thread the mounting nuts onto the faucet from underneath the sink. Tighten them by hand first, then use the basin wrench to secure them further.
- Check Alignment: Ensure the faucet remains aligned as you tighten the mounting nuts.
 Step 5: Connecting Water Supply Lines
Attach Supply Lines
- Apply Plumber’s Tape: Wrap plumber’s tape around the threads of the faucet’s water inlets.
- Connect Lines: Connect the water supply lines to the faucet’s inlets and tighten them with an adjustable wrench. Avoid overtightening, which can damage the fittings.
- Reconnect to Valves: Attach the other end of the supply lines to the shutoff valves.
Check for Leaks
- Restore Water Supply: Turn on the shutoff valves slowly to restore the water supply.
- Inspect for Leaks: Turn on the faucet and check all connections for leaks. Tighten any fittings as necessary.
Step 6: Final Adjustments and Testing
Test the Faucet
- Check Water Flow: Turn the faucet handle(s) to check the water flow. Ensure both hot and cold water are functioning properly.
- Test Spray Function: If your faucet includes a pull-out or pull-down sprayer, test this feature to ensure it works smoothly.
Adjust Handle and Spout
- Ensure Smooth Operation: Make sure the handle(s) and spout move smoothly with no resistance.
Check Aerator
- Clean Aerator: Remove and rinse the aerator to clear any debris that may have been dislodged during installation.
Troubleshooting Common Issues
Low Water Pressure
- Inspect Aerator: A clogged aerator can reduce water flow. Remove, clean, and reattach it.
- Check Supply Lines: Ensure supply lines are properly connected and not kinked.
Leaks at Connections
- Tighten Connections: Use an adjustable wrench to tighten any loose connections. Do this gently to avoid overtightening.
- Replace Washers: If leaks persist, inspect washers and replace any that are worn or damaged.
Loose Faucet
- Tighten Mounting Nuts: Use a basin wrench to tighten the mounting nuts under the sink to secure the faucet firmly.
 Maintenance Tips
Regular Cleaning
- Gentle Cleaners: Use mild soap and water or a gentle cleaner to keep your faucet clean and shiny.
- Avoid Abrasives: Avoid using abrasive cleaners or pads that can scratch the surface.
Inspect for Leaks
- Routine Checks: Periodically check all connections and the base of the faucet for any signs of leaks.
- Address Issues Promptly: Fix any leaks quickly to prevent water damage and preserve the life of your faucet.
Check Aerator
- Clean Regularly: Remove and clean the aerator periodically to maintain good water flow and pressure.
Conclusion
Replacing a kitchen sink faucet is a straightforward task that can be accomplished with some basic tools and a little time. By following this comprehensive guide, you can upgrade your kitchen with a new, functional, and stylish faucet. Remember to choose the right faucet for your sink, follow the installation steps carefully, and troubleshoot any issues that arise. With proper care and maintenance, your new faucet will serve you well for years to come. Happy plumbing!