 Introduction:
Redoing kitchen cabinets is a cost-effective way to give your kitchen a fresh and updated look. Whether you want to repaint, refinish, or completely replace the cabinets, it’s essential to understand the process involved. In this comprehensive guide, we will explore the steps to redo kitchen cabinets. By following these simple instructions, you can transform your kitchen and create a space that reflects your style and personality.
Introduction to Redoing Kitchen Cabinets
Redoing kitchen cabinets involves various techniques such as painting, refinishing, or replacing to give them a new look.
A. Benefits of Redoing Cabinets: Redoing kitchen cabinets can enhance the appearance, functionality, and value of your kitchen.
B. Budget-Friendly Option: Redoing cabinets is often more affordable compared to a full kitchen renovation.
Evaluating the Cabinets
Before starting the process, carefully evaluate the condition of the cabinets.
A. Cabinet Structure: Check for any structural damage, such as loose hinges, broken frames, or drawers that don’t slide smoothly.
B. Surface Condition: Assess the existing finish or paint for any scratches, peeling, or wear that may need to be addressed.
 Choosing a Redoing Method
Select the appropriate redoing method based on your goals and budget.
A. Repainting Cabinets: For a cost-effective update, repainting cabinets can achieve a fresh and vibrant look.
B. Refinishing Cabinets: Refinishing involves sanding, staining, or varnishing cabinets to restore their original beauty.
C. Replacing Cabinet Doors: If the cabinets are in poor condition or not to your taste, replacing the doors can give a completely new look.
 Some common types of kitchen cabinets:
There are various types of kitchen cabinets available, each designed to serve specific storage and organizational purposes. Here are some common types of kitchen cabinets:
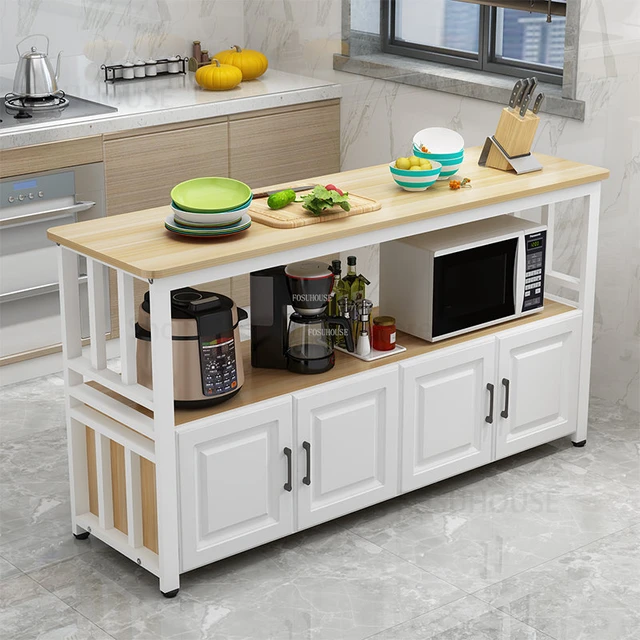
Base Cabinets:
Base cabinets are the most common type of cabinets found in kitchens. They are installed at the base or floor level and provide both storage and countertop support. Base cabinets typically have drawers, shelves, or a combination of both.
Wall Cabinets:
Wall cabinets are installed above the countertop, usually mounted on the wall, and offer additional storage space. They are commonly used to store items that are frequently accessed or to display decorative items.
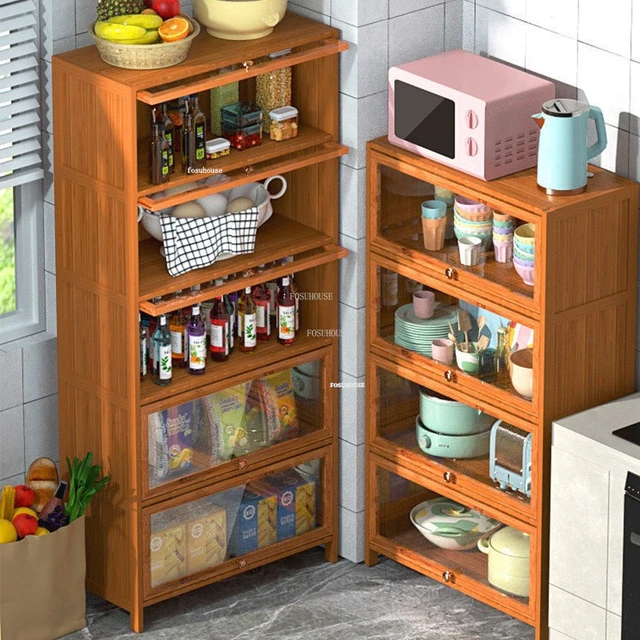
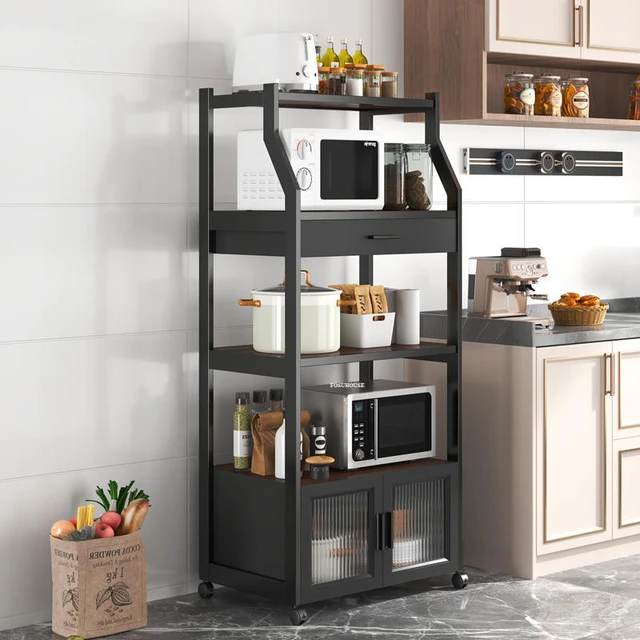
Tall Cabinets:
Tall cabinets, also known as pantry cabinets or utility cabinets, are floor-to-ceiling cabinets that provide ample storage space for items such as food, brooms, and cleaning supplies. They are particularly useful for maximizing vertical storage in the kitchen.
Corner Cabinets:
Corner cabinets are designed to utilize the available space in kitchen corners effectively. They usually have a specialized shape, such as a diagonal or L-shaped design, with rotating or pull-out shelves to access items stored in the corner easily.
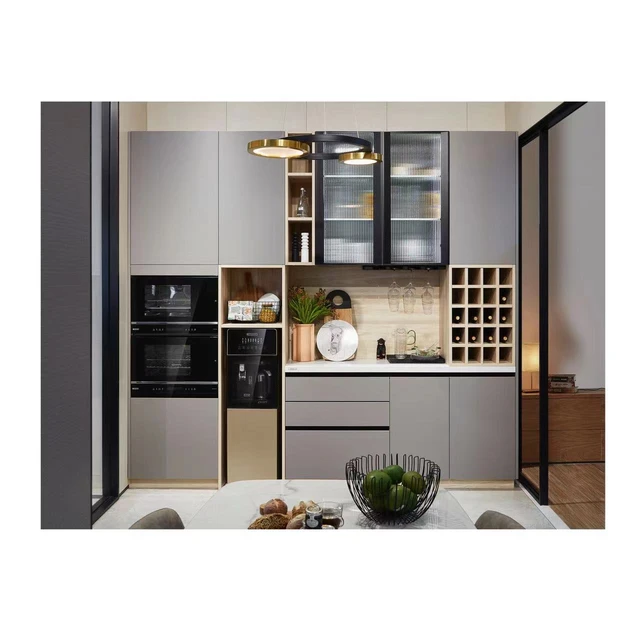
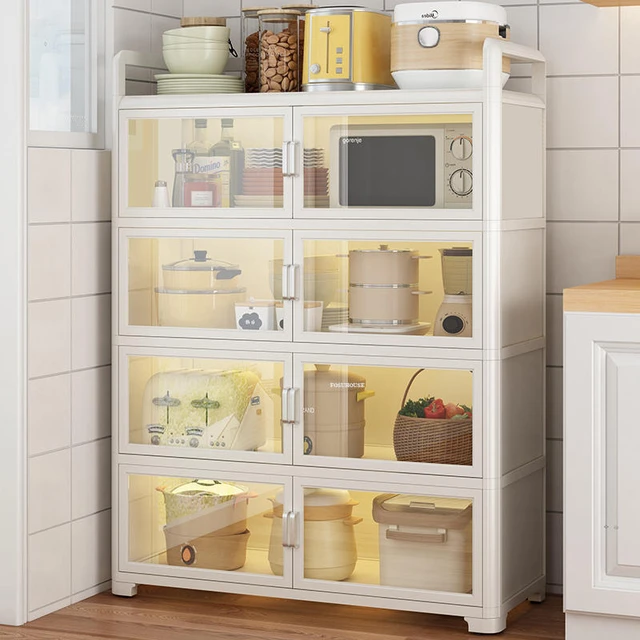
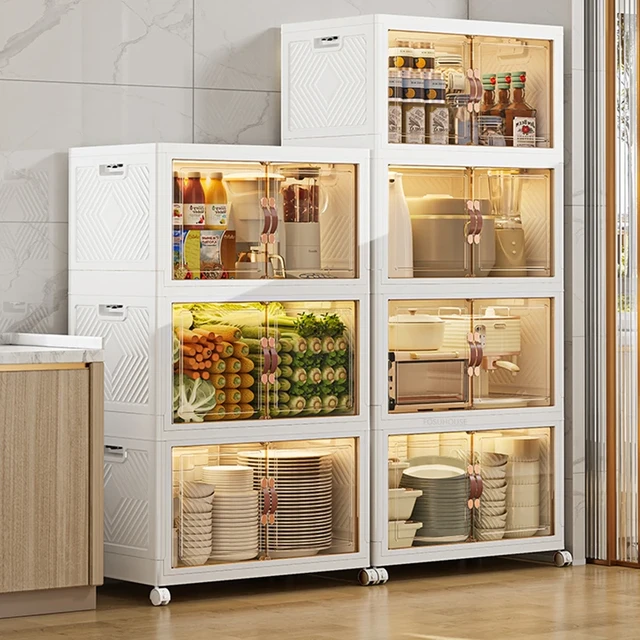
Glass-Front Cabinets:
Glass-front cabinets feature doors with glass panels, allowing for display and showcasing of items such as fine china, glassware, or decorative pieces. They offer an aesthetic appeal and can create a visually open and spacious look in the kitchen.
Open Shelving:
Open shelving is an alternative to traditional cabinets, consisting of open shelves mounted on the wall. It provides a more accessible and visually open storage solution. Open shelves are often used to display frequently used kitchen items or to showcase decorative pieces.
As for their placement, the specific location of kitchen cabinets depends on the kitchen layout and personal preferences. However, here are some general guidelines:
Base cabinets are typically placed against walls or underneath countertops where they provide support and serve as the foundation for workspaces.
Wall cabinets are installed above the countertop, allowing for easy access to frequently used items and additional storage space.
Tall cabinets are often placed in areas dedicated to pantries or utility storage, away from the main cooking and preparation areas.
Corner cabinets are positioned in kitchen corners to maximize storage in these typically underutilized spaces.
The placement of cabinets should consider functional aspects, such as ease of access, ergonomic considerations, and efficient workflow in the kitchen. Personal preferences and design aesthetics also play a role in determining the arrangement and placement of kitchen cabinets.
 Preparing the Cabinets
Proper preparation is crucial for a successful redoing project.
A. Remove Cabinet Doors and Hardware: Take off the cabinet doors, drawer fronts, and hardware.
B. Clean the Surfaces: Thoroughly clean the surfaces, removing any dirt, grime, or grease. TSP (trisodium phosphate) can be used for tough stains.
C. Sand the Surfaces: Lightly sand the cabinet surfaces to create a smooth and even base for paint or stain to adhere.
Repainting Cabinets
If you choose to repaint the cabinets, follow these steps for a professional finish.
A. Prime the Surfaces: Apply a coat of primer to promote paint adhesion and create a smooth finish.
B. Paint the Cabinets: Use high-quality paint and a brush or roller to apply multiple thin and even coats of paint.
C. Optional Finishing Touches: Consider adding decorative finishes such as distressing, glazing, or antiquing for a customized look.
Refinishing Cabinets
Refinishing cabinets involves sanding and staining or varnishing to revive their appearance.
A. Sanding the Surfaces: Use fine-grit sandpaper to remove the existing finish, creating a smooth surface.
B. Staining or Varnishing: Apply a wood stain or varnish, following the manufacturer’s instructions, to restore the natural beauty of the cabinets.
C. Optional Sealing: Consider applying a clear top coat to protect the cabinets and enhance durability.
Replacing Cabinet Doors
If you prefer a complete transformation, replacing cabinet doors can provide a new look.
A. Measure the Doors: Accurately measure the dimensions of the existing doors to ensure a proper fit.
B. Select New Doors: Choose cabinet doors that match your desired style and opt for high-quality materials for durability.
C. Install New Doors: Carefully remove the old doors and replace them with the new ones using hinges and screws.
Reassembling and Installing Cabinets
After completing the redoing process, reassemble and reinstall the cabinets.
A. Reattach Cabinet Doors and Hardware: Securely attach the cabinet doors and reinstall the hardware.
B. Install Cabinets: Position the cabinets back in place, ensuring they are level and securely anchored to the wall.
Final Touches
Complete the project with final touches to enhance the overall appearance.
A. Replace or Update Hardware: Consider replacing the cabinet hardware for a cohesive and updated look.
B. Clean and Organize: Clean the cabinets thoroughly and organize the contents to maximize storage and functionality.
C. Add Decorative Details: Consider adding decorative elements such as crown molding, trim, or under-cabinet lighting to enhance the visual appeal.
 Conclusion
Redoing kitchen cabinets is an excellent way to transform your kitchen without the need for a complete renovation. By evaluating the cabinets, choosing an appropriate redoing method, and following the step-by-step instructions, you can achieve a fresh and updated look that matches your style and preference. Whether repainting, refinishing, or replacing, thorough preparation and attention to detail are key to a successful project. With a newly redone kitchen, you can enjoy a functional, inviting, and beautiful space for years to come.